1
2
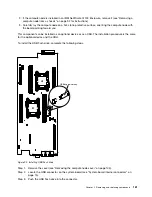
2.5-inch Hard disk
drive cage
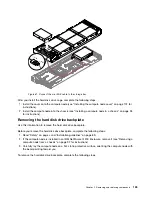
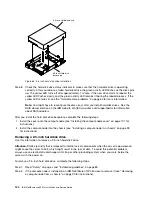
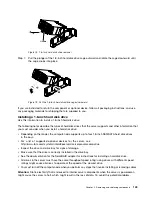
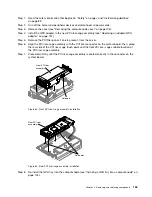
Figure 70. Lift the 2.5-inch hard disk drive cage upward
Step 6.
Remove the filler panel, if one is present.
Step 7.
Touch the static-protective package that contains the disk drive to any unpainted metal surface
on the server; then, remove the disk drive from the package.
Step 8.
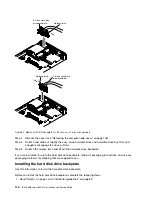
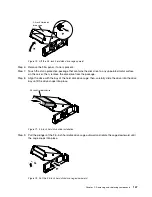
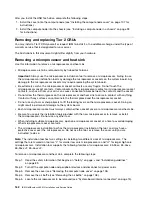
Align the drive with the bay of the hard disk drive cage; then, carefully slide the drive into the drive
bay until the drive snaps into place.
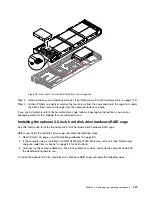
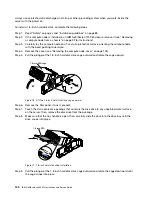
2.5-inch Hard disk drive
Figure 71. 2.5-inch hard disk drive installation
Step 9.
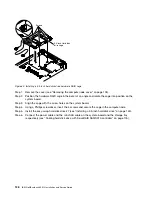
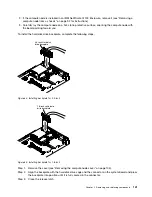
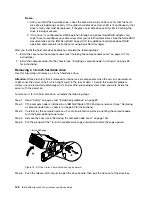
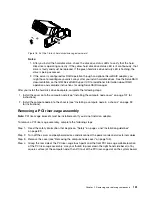
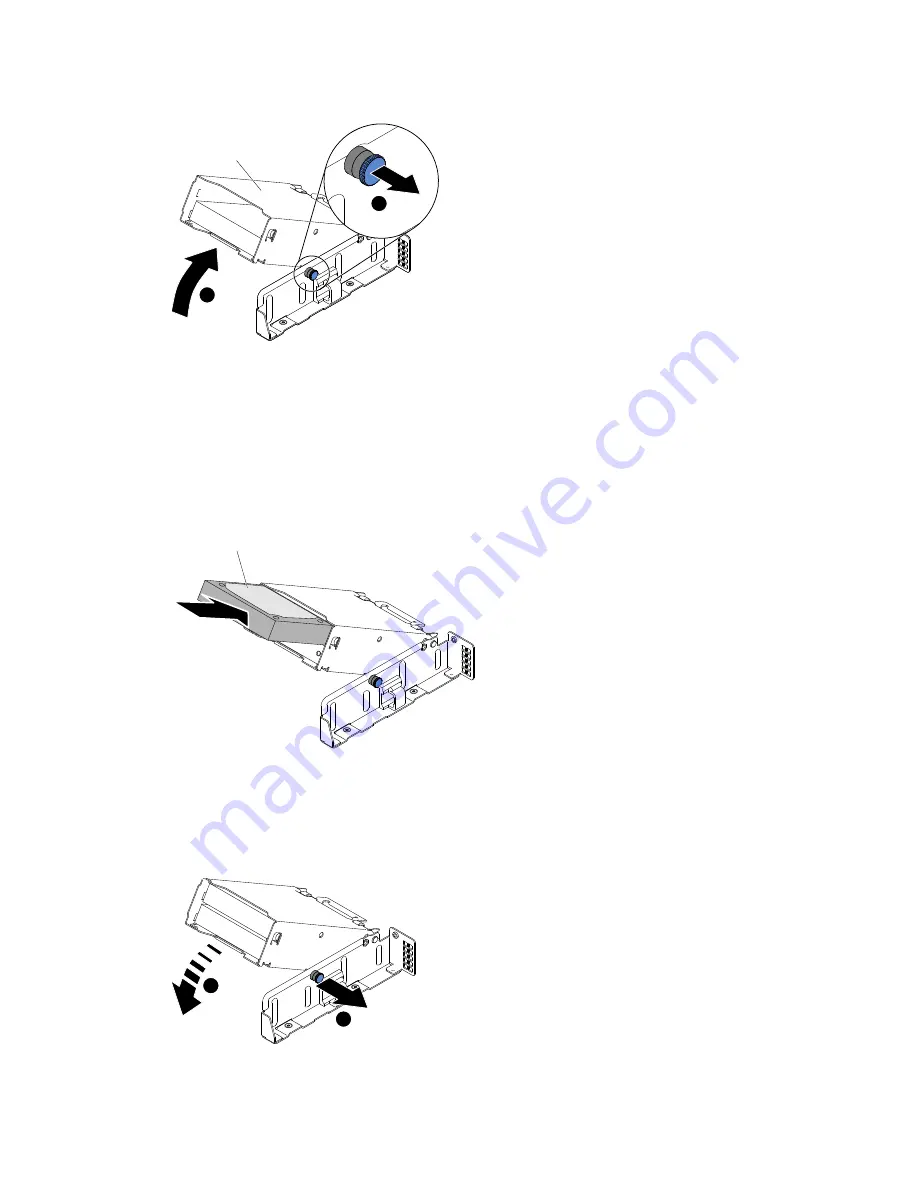
Pull the plunger of the 2.5-inch hard disk drive cage outward and rotate the cage downward until
the cage snaps into place.
1
2
Figure 72. Put the 2.5-inch hard disk drive cage downward
Removing and replacing components
147
Summary of Contents for NeXtScale nx360 M4
Page 1: ...IBM NeXtScale nx360 M4 Installation and Service Guide Machine Type 5455 ...
Page 6: ...iv IBM NeXtScale nx360 M4 Installation and Service Guide ...
Page 34: ...20 IBM NeXtScale nx360 M4 Installation and Service Guide ...
Page 58: ...44 IBM NeXtScale nx360 M4 Installation and Service Guide ...
Page 94: ...80 IBM NeXtScale nx360 M4 Installation and Service Guide ...
Page 192: ...178 IBM NeXtScale nx360 M4 Installation and Service Guide ...
Page 538: ...524 IBM NeXtScale nx360 M4 Installation and Service Guide ...
Page 562: ...548 IBM NeXtScale nx360 M4 Installation and Service Guide ...
Page 722: ......
Page 730: ......
Page 737: ......
Page 738: ...Part Number 00KC216 Printed in China 1P P N 00KC216 1P00KC216 ...

