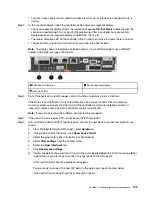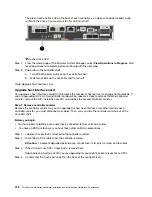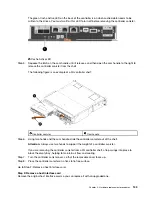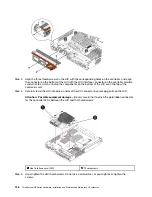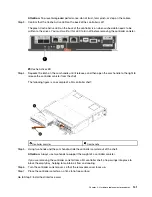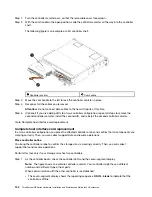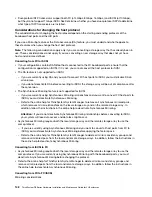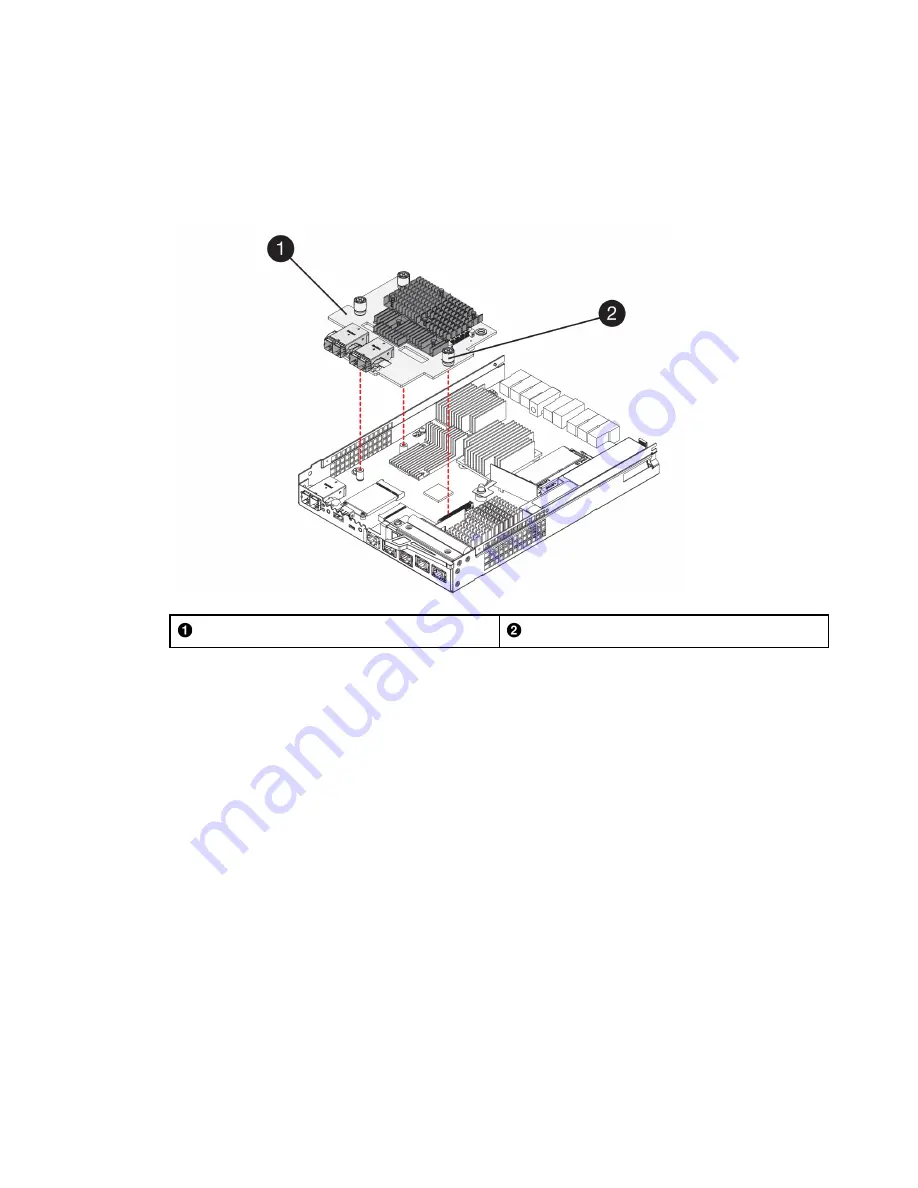
Step 5. Using your fingers or a Phillips screwdriver, loosen the three thumbscrews that secure the HIC to
the controller card.
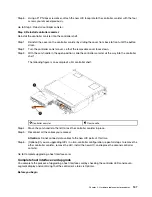
Step 6. Carefully detach the HIC from the controller card by lifting the card up and sliding it back.
Attention:
Be careful not to scratch or bump the components on the bottom of the HIC or on the
top of the controller card.
Host interface card (HIC)
Thumbscrews
Step 7. Place the HIC on a static-free surface.
Go to Step 3: Install host interface card.
Step 3: Install host interface card
Install the new HIC to increase the number of host ports in your storage array.
Before you begin
• You have an ESD wristband, or you have taken other antistatic precautions.
• You have a #1 Phillips screwdriver.
• You have one or two HICs, based on whether you have one or two controllers in your storage array. The
HICs must be compatible with your controllers.
Attention: Possible loss of data access
– Never install a HIC in a controller canister if that HIC was
designed for another DE Series controller. In a two-controller configuration, both controllers and both HICs
must be identical. The presence of incompatible or mismatched HICs will cause the controllers to lock down
when you apply power.
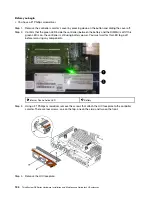
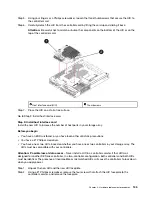
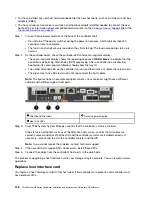
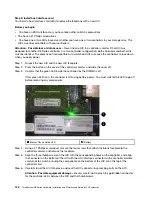
Step 1. Unpack the new HIC and the new HIC faceplate.
Step 2. Using a #1 Phillips screwdriver, remove the four screws that attach the HIC faceplate to the
controller canister, and remove the faceplate.
.
Hardware replacement procedures
135
Summary of Contents for DE120S
Page 96: ...90 ThinkSystem DE Series Hardware Installation and Maintenance Guide for 2U Enclosures ...
Page 282: ...276 ThinkSystem DE Series Hardware Installation and Maintenance Guide for 2U Enclosures ...
Page 284: ...278 ThinkSystem DE Series Hardware Installation and Maintenance Guide for 2U Enclosures ...
Page 291: ......
Page 292: ......


