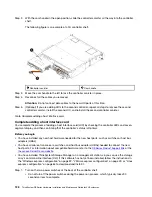
• The fans in each shelf are very loud when they first start up. The loud noise during start-up is
normal.
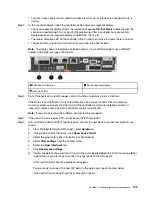
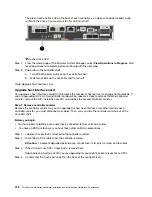
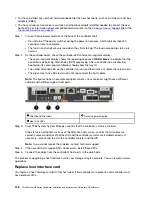
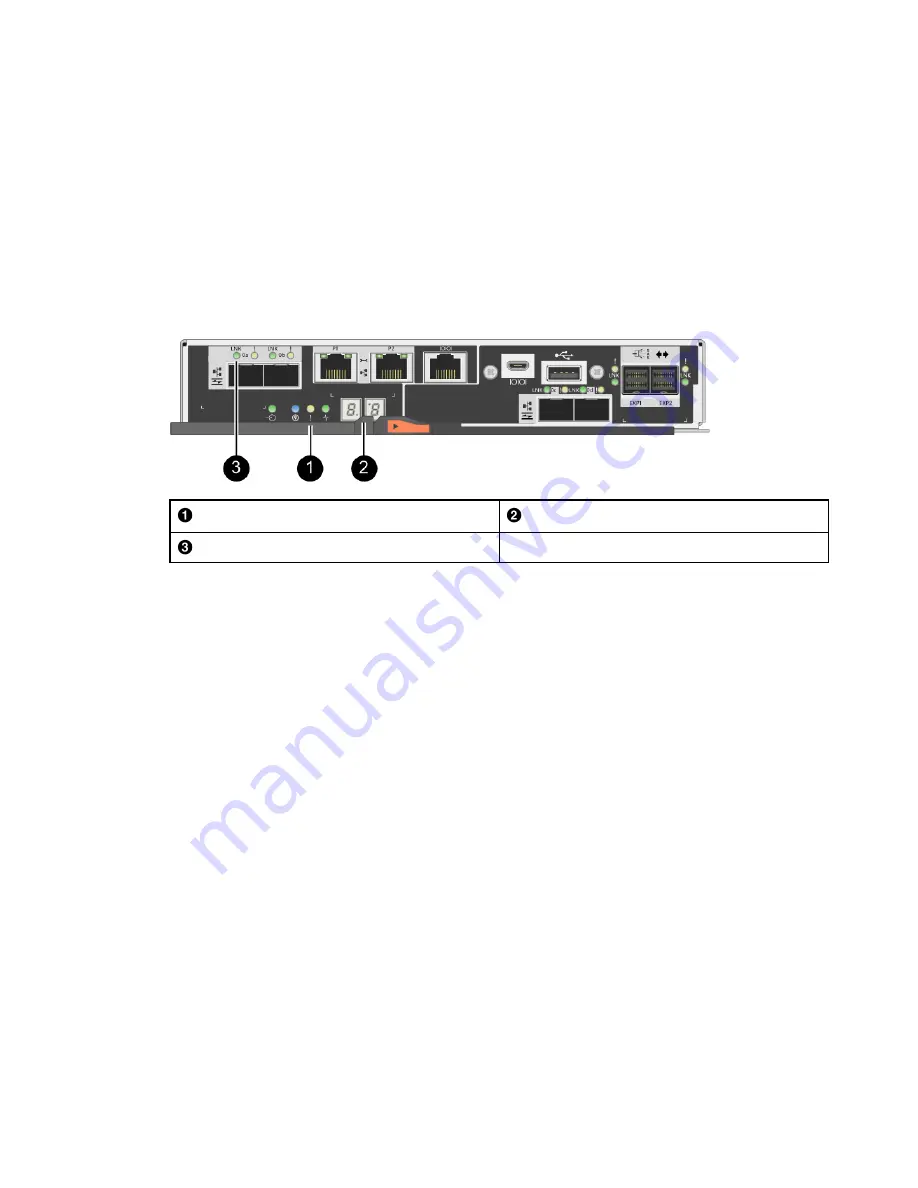
Step 2. As the controller boots, check the controller LEDs and seven-segment display.
• The seven-segment display shows the repeating sequence
OS
,
Sd
,
blank
to indicate that the
controller is performing Start-of-day (SOD) processing. After a controller has successfully
booted up, its seven-segment display should show the tray ID.
• The amber Attention LED on the controller turns on and then turns off, unless there is an error.
• The green Host Link LEDs remain off until you connect the host cables.
Note:
The figure shows an example controller canister. Your controller might have a different
number and a different type of host ports.
Attention LED (amber)
Seven-segment display
Host Link LEDs
Step 3. From ThinkSystem System Manager, confirm that the controller's status is Optimal.
If the status is not Optimal or if any of the Attention LEDs are on, confirm that all cables are
correctly seated, and check that the HIC and the controller canister are installed correctly. If
necessary, remove and reinstall the controller canister and the HIC.
Note:
If you cannot resolve the problem, contact technical support.
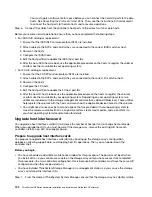
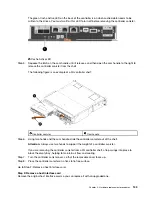
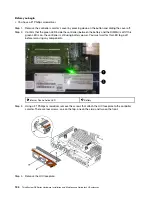
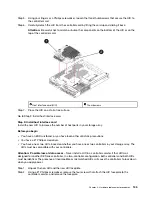
Step 4. If the new HIC ports require SFP+ transceivers, install these SFPs.
Step 5. If you installed a HIC with SFP+ (optical) ports, confirm the new ports have the host protocol you
expect.
a. From ThinkSystem System Manager, select
Hardware
.
b. If the graphic shows the drives, click
Show back of shelf
.
c. Select the graphic for either Controller A or Controller B.
d. Select
View settings
from the context menu.
e. Select the
Host Interfaces
tab.
f.
Click
Show more settings
.
g. Review the details shown for the HIC ports (the ports labelled
e0
x
or
0
x
in HIC Location
slot 1
)
to determine if you are ready to connect the host ports to the data hosts:
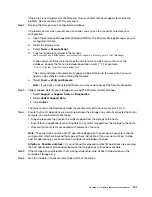
If the new HIC ports have the protocol you expect:
You are ready to connect the new HIC ports to the data hosts; go to the step below.
If the new HIC ports do not have the protocol you expect:
.
Hardware replacement procedures
129
Summary of Contents for DE120S
Page 96: ...90 ThinkSystem DE Series Hardware Installation and Maintenance Guide for 2U Enclosures ...
Page 282: ...276 ThinkSystem DE Series Hardware Installation and Maintenance Guide for 2U Enclosures ...
Page 284: ...278 ThinkSystem DE Series Hardware Installation and Maintenance Guide for 2U Enclosures ...
Page 291: ......
Page 292: ......


