


Getting Started Manual
WR6Zi-GSM-E
148
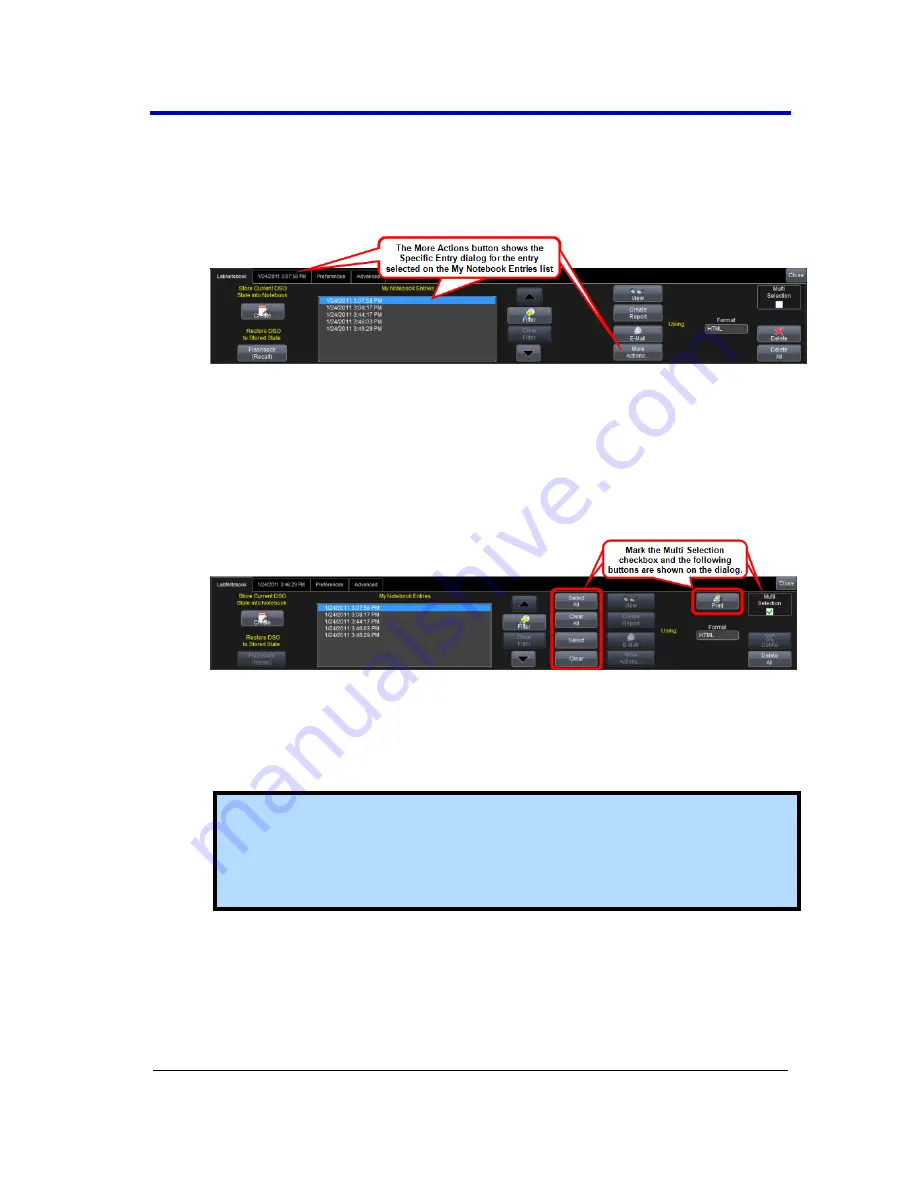
5.
Use the
View
,
Create Report
, and
buttons as desired. The
More Actions
button shows the
Specific Entry
dialog for the entry
selected on the
My Notebook Entries
list. Using this dialog is
explained in
Managing Notebook Entry Data
in the online help.
6.
You can select the
Format
of your LabNotebook entry from
HTML
,
RTF
, and
choices. The
Delete
button removes the specific row
selected on the
My Notebook Entries
list while the
Delete All
button removes every entry on the list.
7.
Marking the
Multi Selection
checkbox shows the
Select All
,
Clear
All
,
Select
,
Clear
, and
buttons.
The
Select All
,
Clear All
,
Select
, and
Clear
buttons are used to
select/deselect multiple entries on the
My Notebook Entries
list.
The
button can only be used for Multi Selection printing of
My Notebook Entries
from the main LabNotebook dialog.
Note
: If selected in
Preferences
, your entry can show your
waveforms in
print colors
. This means it's printed on a white
background in order to save printer ink. Otherwise, waveforms
are shown on a black background.
8.
Use the
Delete
button to delete the selected entry (or entries if
the Multi Selection checkbox is marked). The
Delete All
button
can be used to remove all notebook entries shown on the My
Notebook Entries list with the touch of a single button.


