


6 | Function description
Working with the HR 600/2 unit
6.5.2.4 Customizing a profile
6.5.2.4.1 Select a profile and save it under a new name
In most cases, it makes sense to adapt an existing profile to your own require-
ments. To do so, use the [Template profiles] which were delivered together with
the HR 600/2 unit. You can also customise a profile from your own [Profile library].
As a standard user you cannot edit profiles.
ü
To select a profile:
a) If in your own [Profile library] no profile exists yet, get a profile template. With
respect to this, please read Chapter Enabling a profile template [
b) In the function selection field, enable the tab [Profile library].
c) Selecting the [Common settings] tab
d) A profile table will appear.
Profile name
Board
Component
Automation
Sensor
Adaptor
(head)
Common
settings
Profile settings
Configuration
Placement
Image and document
Show process instructions
Bottom left
Specifications
Sensor
Adaptor (head)
Head position
PCB positioning
Board Pos. X:
Board Pos. Y:
Profile definitions
Profile name
Board
Library
Soldering
Placement
Profile library
Archive
Save target position
Actual parameters
Data table
System settings
System info
X-Axis
Y-Axis
Z-Axis
Angle of rotation
Profile parameters
Value
Parameters
Profile
Document name
Tracking ID
Profile ID
Recording date
User
Profile printout
29.11.2014 12:47
Bottom left
Board
Profile
Component
Sensor
Automation
Adaptor (head)
Head position
Profile library
Online-HR 600
Current image
Archive
Profiles
Actual parameters
Search for profiles
Show template profiles
Add
Delete
Search for duplicates
Overwrite
Reset calibration value
Activate
Profile parameters
Search term
Desoldering parameters
Component
Desoldering
Placement
Soldering
Inspection
Pin 1 orientation
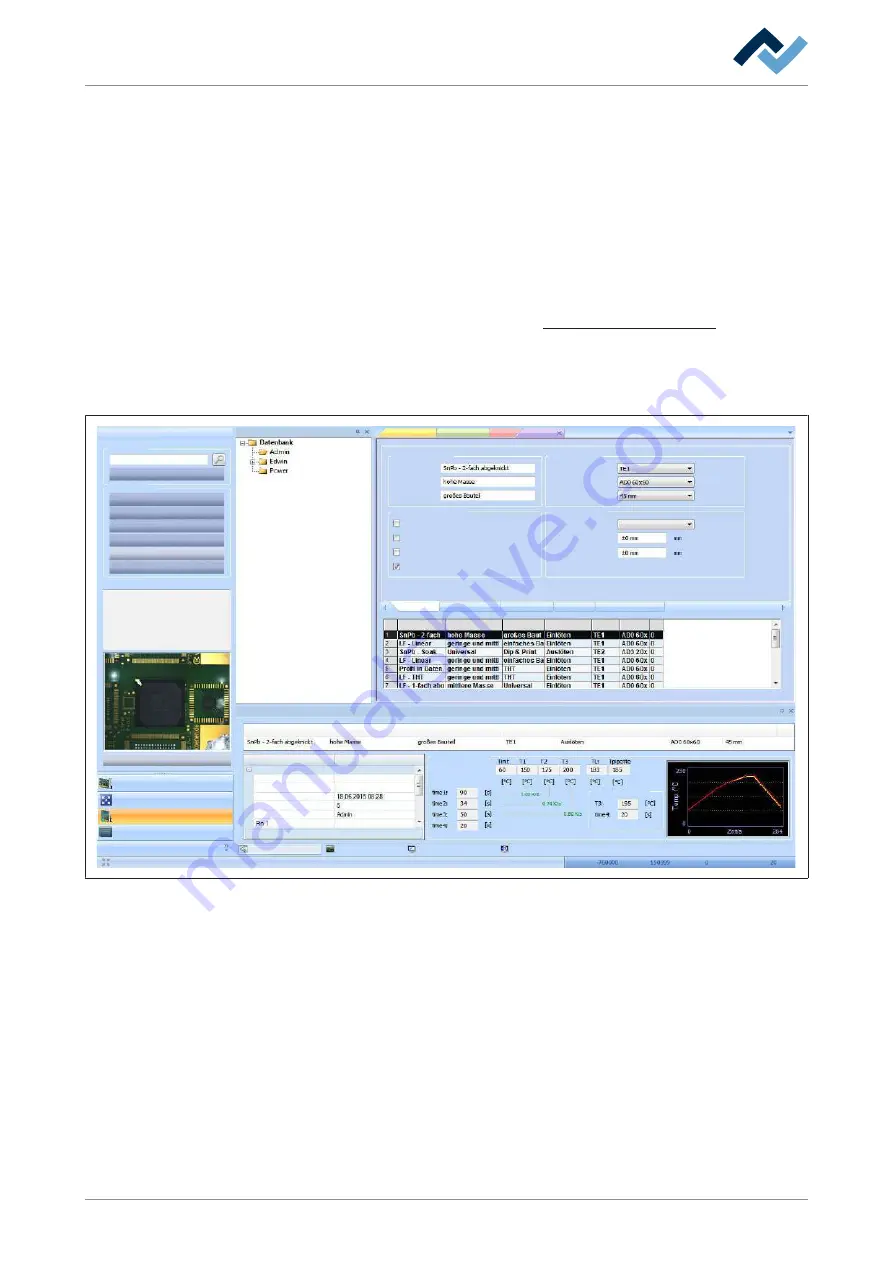
Profile automation
Fig. 42:
Profile table
e) Select a profile in the table.
f) Click the entry field [Profile name] and enter a new name. Assign unambigu-
ous, descriptive profile names because you can also search by profile name.
g) In the directory tree under [Library], click on the directory in which the profile
should be saved.
h) Click on the [Profile parameters] button in the [Add] frame.
ð
The profile appears as a new profile in the [Profile library]. Now you can adjust
the profile to the process. Enable the following tabs one after the other: [Com-
mon settings], [Profile settings], [Configuration], [Placement] and [Image and
document]. In each tab, you can now edit the profile.
Ersa GmbH
3BA00207_01 Operating Instructions HR 600_2 | Rev. 3
107 / 169


