48
Development Tools User’s Manual
IXP2400/IXP2800 Network Processors
Developer Workbench
2.7.1
Adding C Source Files to Your Project
After creating and saving C source files, you need to add them to your project. To do this:
1. On the
Project
menu, click
Insert Compiler Source Files
.
The
Insert Compiler Source Files into Project
dialog box appears.
2. From the
Look in
list, browse to the folder containing your C source file(s).
3. Select the file(s) that you want to insert into your project.
4. Click
Insert
.
In the Project Workspace window, to the left of the Compiler Source Files folder, a ‘+’ appears (if
the folder was previously empty) indicating the folder now contains files. Click the ‘+’ to expand
the folder and display the files. You should see the files that you have just added to your project.
2.7.2
Selecting Compiler Build Settings
Before building your project, you must select your C Compiler options.
Note:
General build settings are detailed in
.
2.7.2.1
Selecting Additional Compiler Include Paths
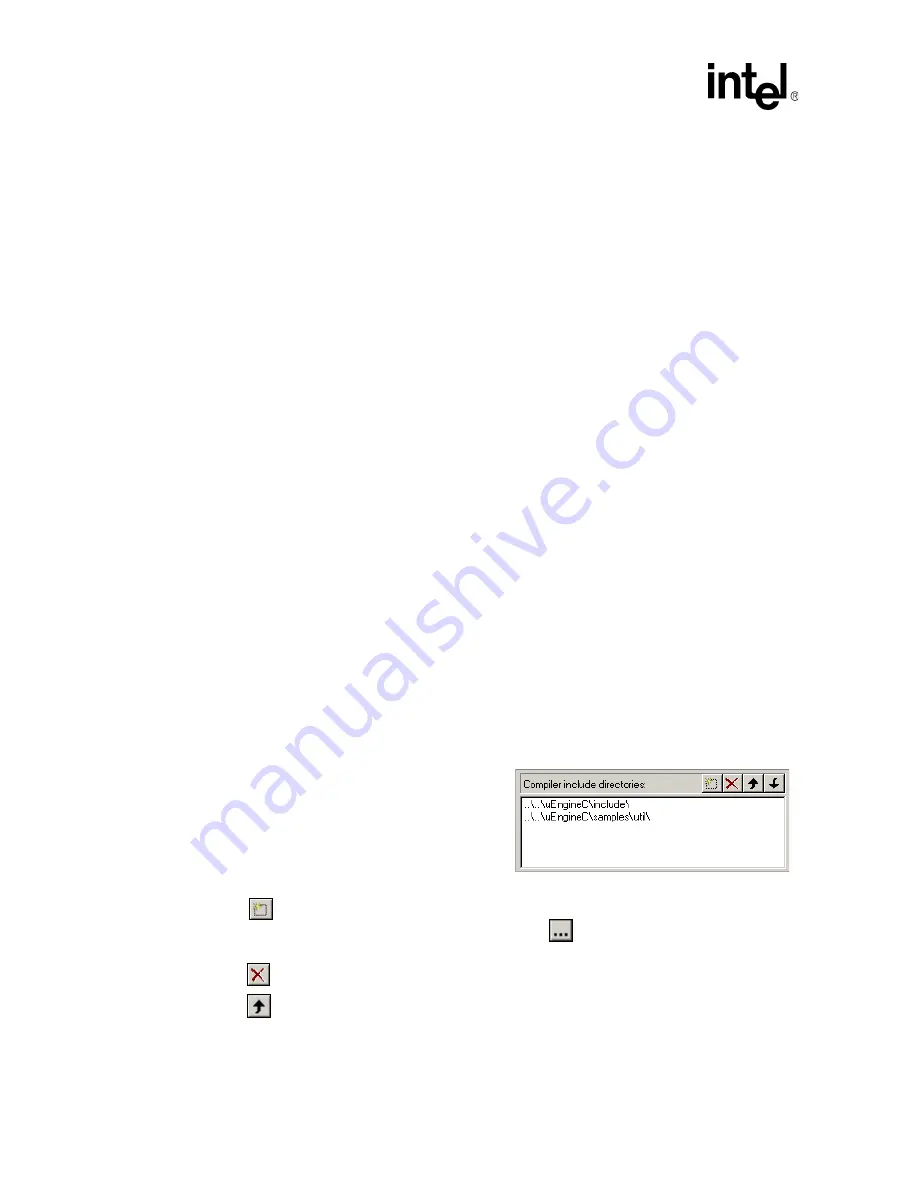
The C Compiler needs to know which areas of the file system to search for locating files referenced
in #include statements in C source code files. This control displays a list of paths with a GUI for
typing in or editing of directory paths, or browsing to directories to be added to the list. The GUI
also provides the means for deleting or changing the search order of the paths.
Regardless of whether the path information is entered in an absolute or relative format, it is
automatically converted to a relative format. This allows the project to be moved to other locations
on a system or to other systems without rendering the path information invalid in most instances, as
long as the relative location of the paths is maintained. This path information is passed to the
Assembler so it may locate the files referenced in #include statements in the source code. It is also
used by the dependency checker for locating C source files in the project.
To specify additional Compiler include
directories:
1. On the
Build
menu, click
Settings
.
2. In the
Build Settings
dialog box, click the
General
tab (if not already selected).
The following controls are provided:
•
A
button to specify a new path.
Type the path name in the space provided or use the
button to search for it. You must
double-click the include path listed in order to display the browse button.
•
A
button to delete an included path from the list.
•
A
button to move an included path up the list.


