36
Development Tools User’s Manual
IXP2400/IXP2800 Network Processors
Developer Workbench
7. Select the number of copies in the
Copies
area.
8. Click
.
2.5.9
Inserting Into and Removing Files from a Project
2.5.9.1
Inserting Files Into a Project
You can insert Assembler source files, Compiler source files, and script files into a project.
To do this:
1. On the
Project
menu, click
Insert Assembler Source File
, or
Insert
Compiler Source File
, or
Insert Script Files
, whichever is appropriate.
The corresponding dialog box appears.
2. Browse to the desired folder and select one or more files to be inserted.
3. Click
Insert
.
The newly inserted files are added to the list of files displayed in FileView in the corresponding
folder.
2.5.9.2
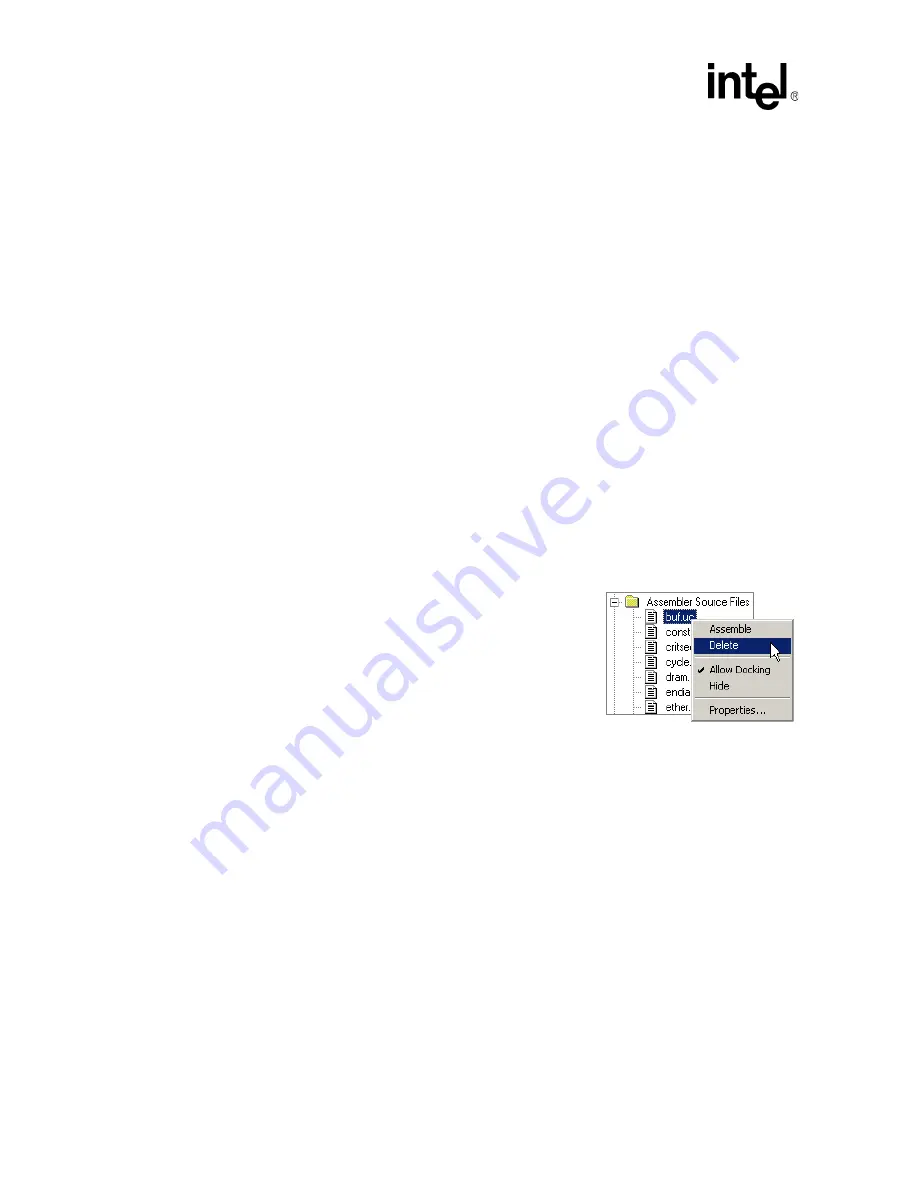
Removing Files From a Project
To remove a file from your project:
1. In the
Project Workspace
, click the
File View
tab.
2. Right-click the file that you want to delete.
3. Click
Delete
on the shortcut menu, or
Select the file and then press the DELETE key.
Note:
The file is removed from the project but it is not deleted from the disk.
2.5.10
Editing Files
The Workbench editor is similar to standard text editors. See
for a list of Edit
controls.
If a file has been modified, an asterisk appears after its name in the Workbench title bar.
2.5.10.1
Tab Configuration
To configure tab settings, select
Options
from the
Tools
menu. The dialog box shown in
appears. The user selects the file type – Microcode assembler, Microengine C or Default – for
which the tab settings will have effect. For the selected file type, the user specifies:
•
The tab size, which determines the number of space characters that equal one tab character.
•
Whether or not the editor converts tab characters to spaces.


