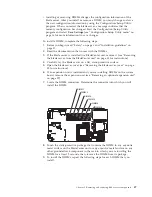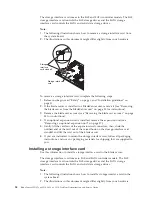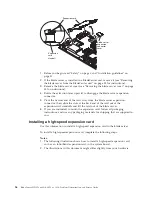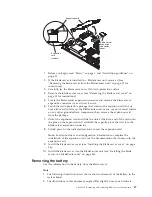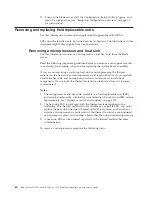
Microprocessor
Heat sink
1.
Before you begin, read “Safety” on page v and “Installation guidelines” on
page 31.
2.
If the blade server is installed in a BladeCenter unit, remove it (see “Removing
the blade server from the BladeCenter unit” on page 33 for instructions).
3.
Remove the blade server cover (see “Removing the blade server cover” on page
35 for instructions).
4.
If an optional expansion unit is installed, remove the expansion unit (see
“Removing an optional expansion unit” on page 37).
5.
Remove the heat sink.
Attention:
Do not touch the thermal material on the bottom of the heat sink.
Touching the thermal material will contaminate it. If the thermal material on
the microprocessor or heat sink becomes contaminated, you must replace the
heat sink.
a.
Loosen the screw on one side of the heat sink to break the seal with the
microprocessor.
b.
Press firmly on the captive screws and loosen them with a screwdriver.
c.
Use your fingers to gently pull the heat sink from the microprocessor.
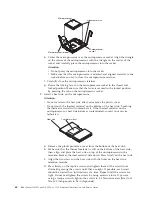
Attention:
Do not use any tools or sharp objects to lift the release lever on the
microprocessor socket. Doing so might result in permanent damage to the
system board.
Microprocessor
release lever
Microprocessor
retainer
6.
Chapter 5. Removing and replacing blade server components
61
Summary of Contents for BladeCenter HS12 Type 1916
Page 1: ...BladeCenter HS12 Type 8014 8028 or 1916 Problem Determination and Service Guide...
Page 2: ......
Page 3: ...BladeCenter HS12 Type 8014 8028 or 1916 Problem Determination and Service Guide...
Page 36: ...24 BladeCenter HS12 Type 8014 8028 or 1916 Problem Determination and Service Guide...
Page 186: ...174 BladeCenter HS12 Type 8014 8028 or 1916 Problem Determination and Service Guide...
Page 190: ...178 BladeCenter HS12 Type 8014 8028 or 1916 Problem Determination and Service Guide...
Page 198: ...186 BladeCenter HS12 Type 8014 8028 or 1916 Problem Determination and Service Guide...
Page 203: ......
Page 204: ...Part Number 60Y1601 Printed in USA 1P P N 60Y1601...

