v
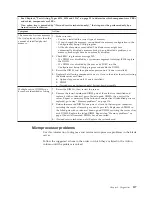
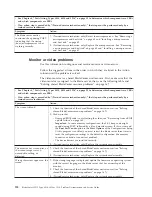
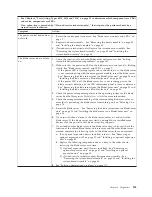
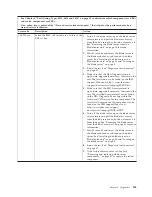
Follow the suggested actions in the order in which they are listed in the Action column until the problem is
solved.
v
See Chapter 4, “Parts listing, Types 8014, 8028 and 1916,” on page 25 to determine which components are CRUs
and which components are FRUs.
v
If an action step is preceded by “(Trained service technician only),” that step must be performed only by a
trained service technician.
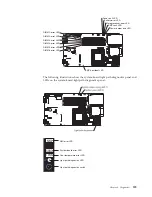
Lit light path
diagnostics LED
Description
Action
Microprocessor
error
The microprocessor has failed or overheated,
or the start microprocessor is missing.
1.
Check the advanced management module
(AMM) log for more information. See
“Using the Configuration/Setup Utility
program” on page 15.
2.
If the log shows that a microprocessor is
disabled or that a microprocessor IERR has
occurred, perform one of the following
actions:
a.
(Trained service technician only) Reseat
the microprocessor that is indicated by
the lit LED. See “Removing a
microprocessor and heat sink” on page
60 and “Installing a microprocessor and
heat sink” on page 62.
b.
(Trained service technician only)
Replace the microprocessor that is
indicated by the lit LED. See
“Removing a microprocessor and heat
sink” on page 60 and “Installing a
microprocessor and heat sink” on page
62.
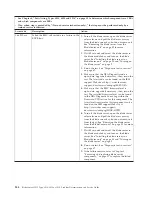
NMI (NMI error)
The system board has failed.
1.
Replace the blade server cover, reinsert the
blade server in the BladeCenter unit, and
then restart the blade server. Check the
BMC log for information about the error.
See “Using the Configuration/Setup Utility
program” on page 15.
2.
(Trained service technician only) Replace
the system-board assembly - See
“Removing the system-board assembly” on
page 65 and “Installing the system-board
assembly” on page 66.
S BRD (System
board error)
The system board has failed
(Trained service technician only) Replace the
system-board assembly - See “Removing the
system-board assembly” on page 65 and
“Installing the system-board assembly” on
page 66.
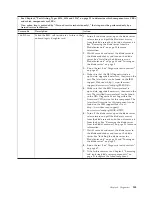
TEMP (Over
temperature error)
The system temperature has exceeded a
threshold level.
1.
Check the function of the shared
BladeCenter unit resources. See “Solving
shared BladeCenter resource problems” on
page 167.
2.
Make sure that the room temperature is
not too high. See “Features and
specifications” on page 6 for temperature
information.
Chapter 6. Diagnostics
131
Summary of Contents for BladeCenter HS12 Type 1916
Page 1: ...BladeCenter HS12 Type 8014 8028 or 1916 Problem Determination and Service Guide...
Page 2: ......
Page 3: ...BladeCenter HS12 Type 8014 8028 or 1916 Problem Determination and Service Guide...
Page 36: ...24 BladeCenter HS12 Type 8014 8028 or 1916 Problem Determination and Service Guide...
Page 186: ...174 BladeCenter HS12 Type 8014 8028 or 1916 Problem Determination and Service Guide...
Page 190: ...178 BladeCenter HS12 Type 8014 8028 or 1916 Problem Determination and Service Guide...
Page 198: ...186 BladeCenter HS12 Type 8014 8028 or 1916 Problem Determination and Service Guide...
Page 203: ......
Page 204: ...Part Number 60Y1601 Printed in USA 1P P N 60Y1601...

