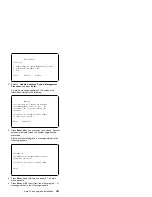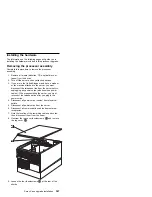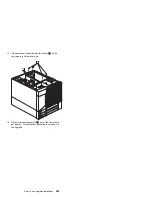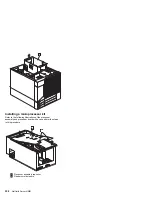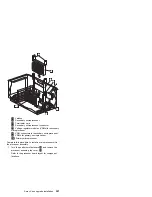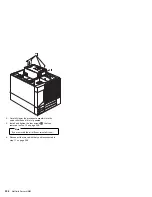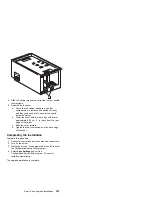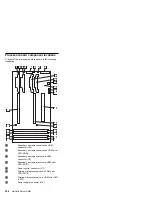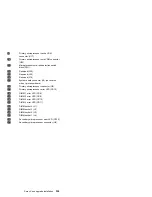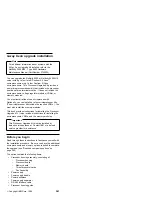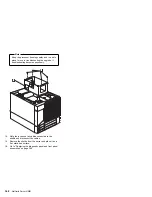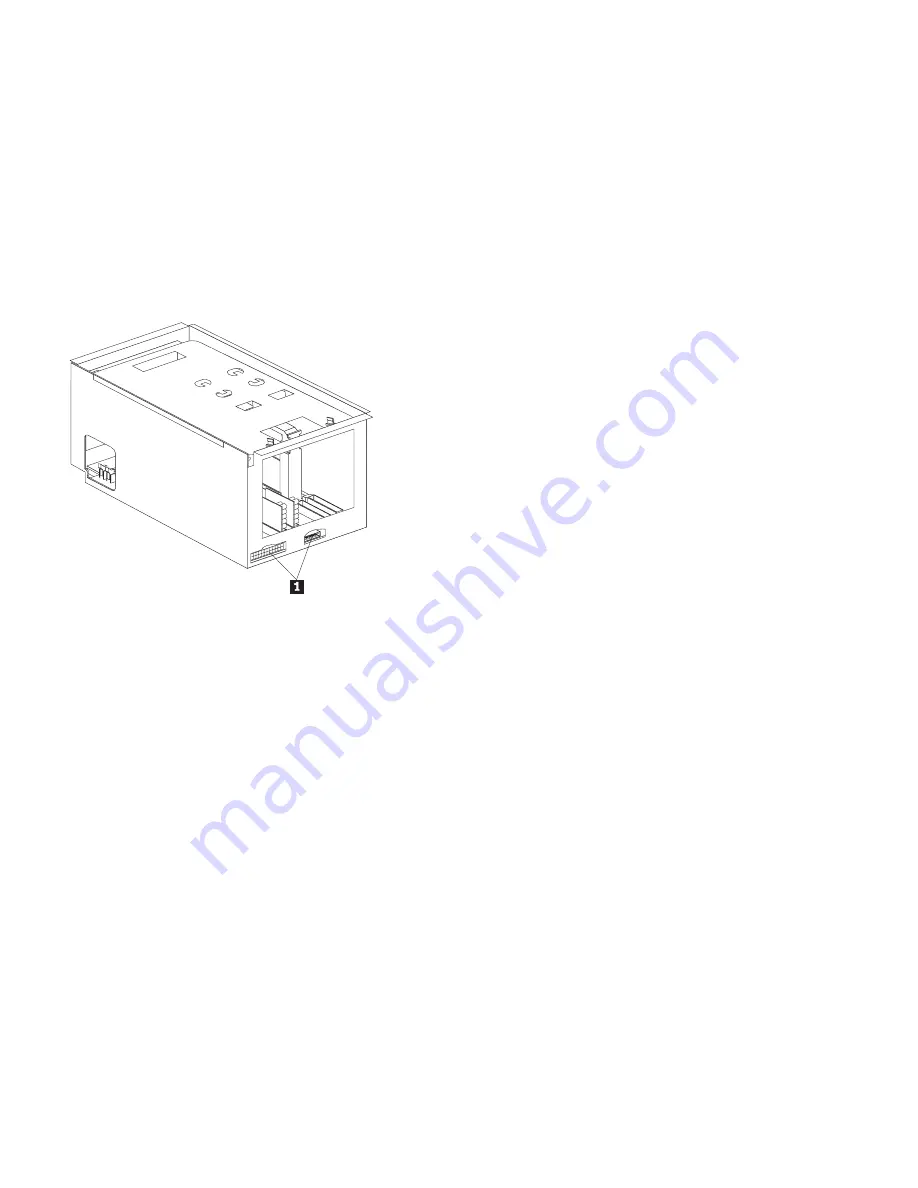
5. Slide the shuttle into place and tighten the four shuttle
thumbscrews.
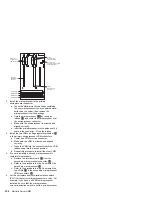
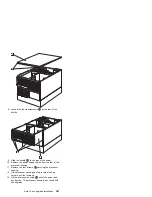
6. Reinstall the top cover.
a. Check that all cables, adapters, and other
components are installed and seated correctly
and that you have not left loose tools or parts
inside the server.
b. Lower the cover with the rear edge of the cover
approximately 2.5 cm (1 in.) back from the rear
edge of the server.
c. Slide the cover forward.
d. Tighten the two thumbscrews on the back edge
of the cover.
Completing the installation
Complete this procedure.
1. Connect all server and device cables and connectors.
2. Turn on the server.
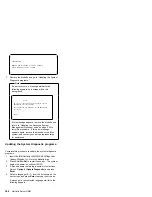
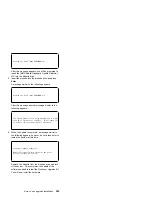
3. Watch the screen. When prompted, press F1 to enter
the Configuration/Setup Utility program.
4. Select Save Settings and exit the
Configuration/Setup Utility program. The server
restarts automatically.
The upgrade installation is complete.
2-way Xeon upgrade installation
357
Summary of Contents for 86604RU - Netfinity 5500 - 4RU
Page 2: ......
Page 8: ...vi Netfinity Server HMM...
Page 214: ...1 Hard disk drive 2 Drive tray handle open position 206 Netfinity Server HMM...
Page 244: ...Screws 236 Netfinity Server HMM...
Page 247: ...Netfinity 5500 Type 8660 239...
Page 314: ...306 Netfinity Server HMM...
Page 324: ...316 Netfinity Server HMM...
Page 325: ...Related service information 317...
Page 326: ...318 Netfinity Server HMM...
Page 327: ...Related service information 319...
Page 340: ...332 Netfinity Server HMM...
Page 341: ...Related service information 333...
Page 346: ...338 Netfinity Server HMM...
Page 402: ...IBM Part Number 00N5902 Printed in U S A S1 L 98 3...

