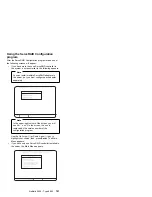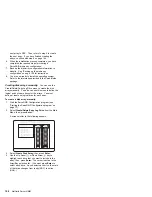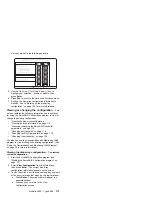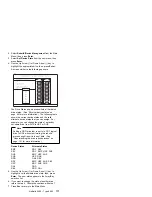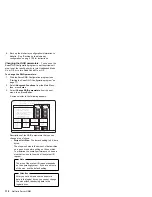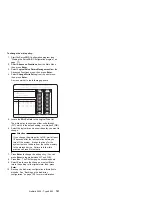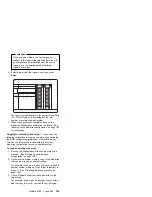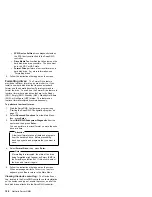
A screen similar to the following appears:
Bay
Array
Bay
Array
1
2
3
4
5
6
7
8
9
10
11
12
13
14
15
16
Ch
1
Ch
2
INI
RDY
RDY
RDY
RDY
RDY
CDR
A
ONL
1
2
3
4
5
6
7
8
9
10
11
12
13
14
15
16
INI
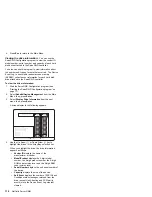
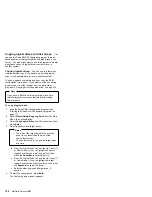
Select a choice using the Up Arrow ( ) and Down Arrow ( ) keys and press Enter.
Press Esc to return to previous menu.
IBM ServeRAID Adapter Disk Array Configuration Ver. X.XX
Adapter Number: 1
Bus Number: 0
Host ID = BIOSNull Cfg
1. Help
2. Display Adapter Status
3. Change Adapter Host/SCSI ID
4. Set BIOS Compatability Mapping
5. Set Channel -> Bank Mapping
6. Enable/Disable Hot Swap Rebuild
7. Exit
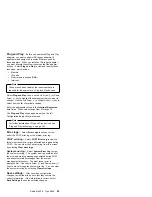
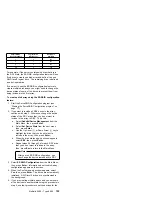
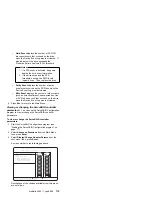
1. Enable Hot Swap Rebuild
2. Disable Hot Swap Rebuild
Display/Change Adapter Parameter
Hot Swap Rebuild State
Disabled
5. Use the Up Arrow (
↑
) or Down Arrow (
↓
) key to
highlight your selection - enable or disable; then,
press Enter.
6. Press Esc to return to the Advanced Functions menu.
7. Back up the disk-array configuration information to
diskette. See to “Backing up the disk-array
configuration” on page 126 for more information.
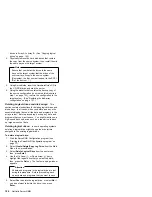
Viewing or changing the configuration:
This
section contains the following information and instructions
for using the ServeRAID Configuration program to view or
change the existing configuration.
“Viewing the disk-array configuration”
“Viewing the drive information” on page 114
“Viewing or changing the ServeRAID controller
parameters” on page 115
“Changing device states” on page 116
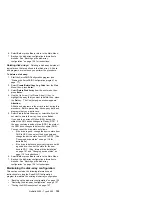
“Changing the RAID parameters” on page 118
“Changing the write policy” on page 120
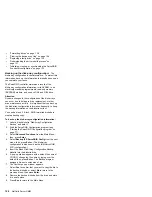
You also can use the Administration and Monitoring Utility
program to view or change the existing configuration. (See
“Using the Administration and Monitoring Utility Program”
on page 26 for more information.)
Viewing the disk-array configuration:
To view the
current configuration:
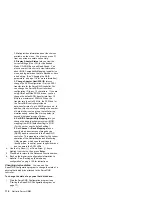
1. Start the ServeRAID Configuration program (see
“Starting the ServeRAID Configuration program” on
page 77).
2. Select View Configuration from the Main Menu;
then, press Enter. The current disk-array
configuration information appears on the screen.
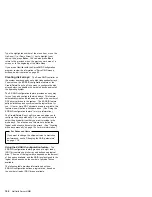
3. To see the stripe order (the channel and bay numbers
of the physical drives that make up the logical drives):
a. Press Enter. The stripe order will appear in a
separate window.
b. Press any key to return to the View
Configuration screen.
Netfinity 5500 - Type 8660
113
Summary of Contents for 86604RU - Netfinity 5500 - 4RU
Page 2: ......
Page 8: ...vi Netfinity Server HMM...
Page 214: ...1 Hard disk drive 2 Drive tray handle open position 206 Netfinity Server HMM...
Page 244: ...Screws 236 Netfinity Server HMM...
Page 247: ...Netfinity 5500 Type 8660 239...
Page 314: ...306 Netfinity Server HMM...
Page 324: ...316 Netfinity Server HMM...
Page 325: ...Related service information 317...
Page 326: ...318 Netfinity Server HMM...
Page 327: ...Related service information 319...
Page 340: ...332 Netfinity Server HMM...
Page 341: ...Related service information 333...
Page 346: ...338 Netfinity Server HMM...
Page 402: ...IBM Part Number 00N5902 Printed in U S A S1 L 98 3...

