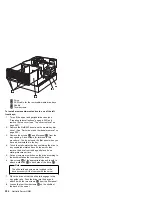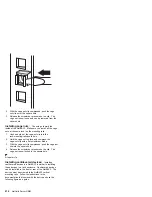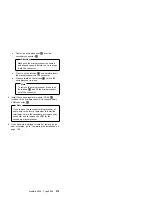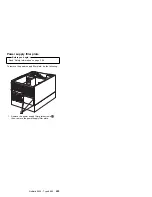
2. With the cage nut-clip compressed, push the cage
nut-clip out of the square hole.
3. Release the screwdriver pressure on the clip. The
cage nut is now loose and can be removed from the
square hole.
Installing cage nuts:
The nuts go toward the
inside of the NetBAY3. Make sure you install all the cage
nuts at the same level on the mounting rails.
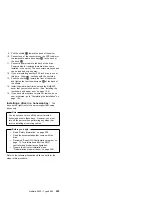
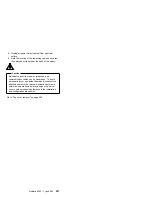
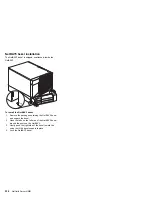
1. Hook one side of the cage-nut clip into the
rack-mounting-rail square hole.
2. Hold the cage nut in place and compress the
cage-nut clip with a flat screwdriver blade.
3. With the cage-nut clip compressed, push the cage-nut
clip into the square hole.
4. Release the screwdriver pressure on the clip. The
cage nut is now locked in the square hole.
5i topmar=1p.
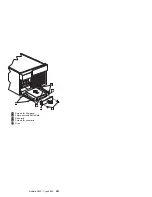
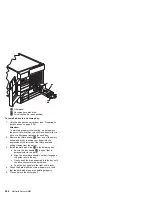
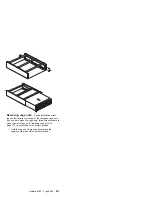
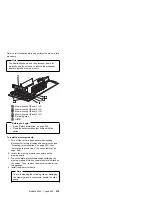
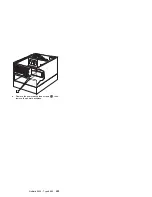
Installing cantilevered devices:
Installing
cantilevered devices in a NetBAY3 is similar to installing
these devices in a rack enclosure. Cantilevered devices
can be installed in the front or rear of the NetBAY3. The
devices must be screwed to the NetBAY3 vertical
mounting rails. Follow the instructions in the
documentation that comes with the device and use the
following figure as a guide.
212
Netfinity Server HMM
Summary of Contents for 86604RU - Netfinity 5500 - 4RU
Page 2: ......
Page 8: ...vi Netfinity Server HMM...
Page 214: ...1 Hard disk drive 2 Drive tray handle open position 206 Netfinity Server HMM...
Page 244: ...Screws 236 Netfinity Server HMM...
Page 247: ...Netfinity 5500 Type 8660 239...
Page 314: ...306 Netfinity Server HMM...
Page 324: ...316 Netfinity Server HMM...
Page 325: ...Related service information 317...
Page 326: ...318 Netfinity Server HMM...
Page 327: ...Related service information 319...
Page 340: ...332 Netfinity Server HMM...
Page 341: ...Related service information 333...
Page 346: ...338 Netfinity Server HMM...
Page 402: ...IBM Part Number 00N5902 Printed in U S A S1 L 98 3...

