


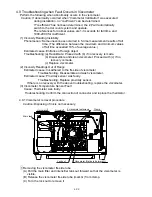


4-14
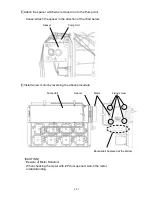
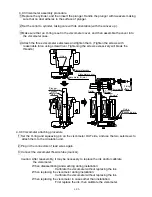
6 Remove the fastener fastening the pressure sensor to the joint and remove
the pressure sensor by pulling.
"Caution": Put wiping paper under the Pressure sensor to provide for an ink drip.
7 After cleaning the portion dirtied by ink, wet the new O-ring with makeup and mount
on the joint.
8 Insert the pressure sensor and fasten to the joint with the fastener that was removed
in step 6.
"Caution" Use a new O-ring.
Mount carefully so the O-ring does not fall out or catch.
9 Return the unit to its original state by performing the procedure in reverse order.
10 Dispense ink and make sure the ink pressure is normal.
Joint
Fastener
Pressure sensor
Joint
O-ring 7.5
Summary of Contents for IJ RX2
Page 1: ...Service Manual HITACHI Printer Model RX2 Revision Feb 2014 Version A ...
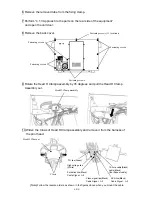
Page 13: ...1 8 2 External views Rear side 1 2 2 Main body internal ...
Page 14: ...1 9 1 2 3 Print head ...
Page 101: ...3 26 Circuit diagram of EZJ127A ...
Page 102: ...3 27 Circuit diagram of EZJ127B ...
Page 116: ...3 41 Circuit diagram of EZJ129 ...
Page 164: ...4 40 5 Reset the time of the R air filter to 0 on the Parts usage time management screen ...
Page 247: ...7 Attached Drawing 7 1 Circulation System Diagram Circulation System Diagram 7 1 ...
Page 249: ...7 3 7 2 2 Electrical Connection Diagram RX2 B Basic model 7 3 ...


