


System Configuration
8–11
System Configuration
Screens
The features related to the gun flush boxes are the
potlife autodump, the mixed load volume, and the
purge/load interlock alarm.
Information
Turning the gun flush boxes on or off will enable or
disable the features related to the gun flush boxes and
the purge/load interlock. The system will assume that
the number of gun flush boxes is the same as the
number of guns selected previously on this screen.
The default setting is
Gun Flush Boxes On"
.
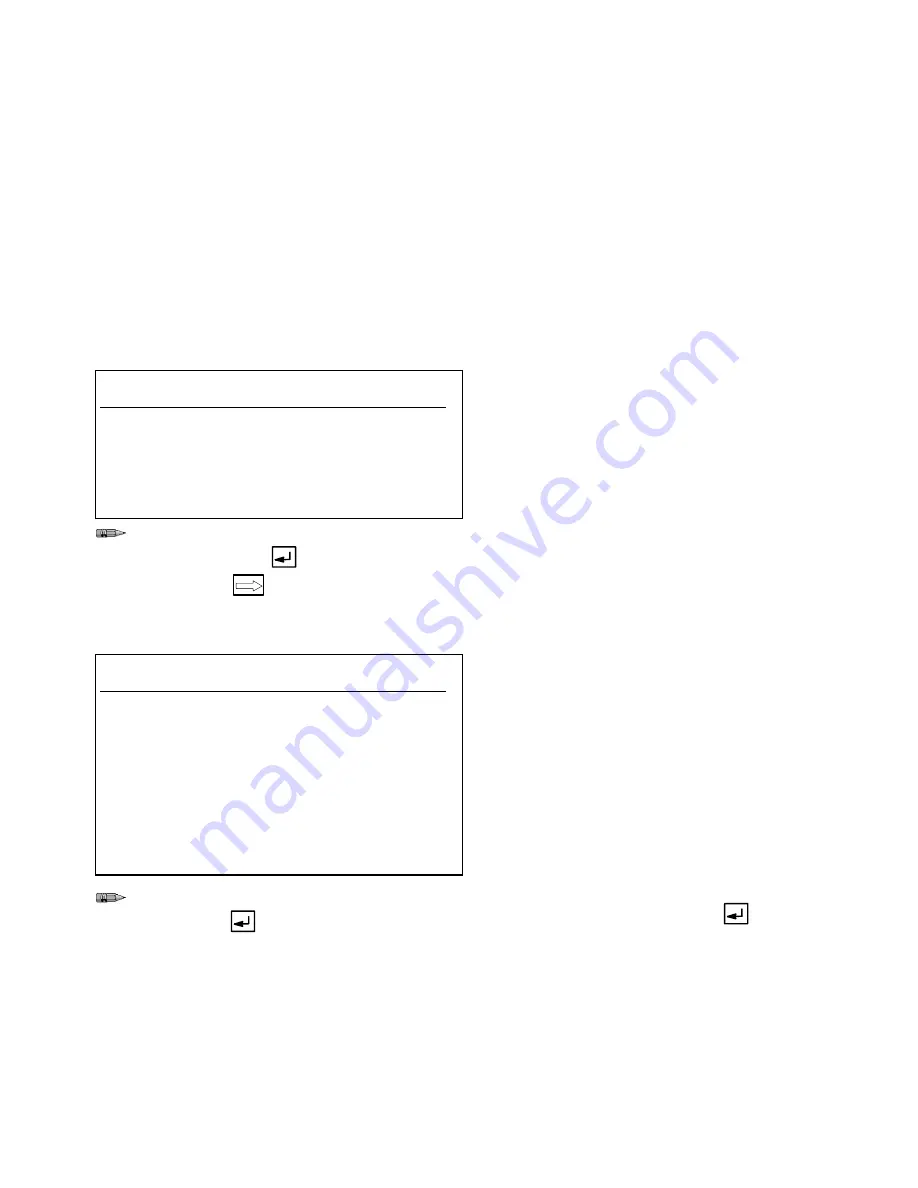
C11:
Mix/Purge
SYSTEM CONFIGURATION
Station: 1
MIX/PURGE
Select Mix/Purge Input:
1. Remote Operator Station
2. Digital Inputs
> 1
Type the number for the desired Mix/Purge
input source, then
.
Next screen
.
Select whether to have mix/purge input come from the
Remote Operator Station or from digital inputs.
C12:
Flow Control
SYSTEM CONFIGURATION
Station: 1
FLOW CONTROL OPTIONS
Select Flow Control Options:
1. Off
2. Hand Gun Operation
3. Automatic Gun Operation
> 2
Press Enter to Accept Data and Edit
the Flow Control Options.
Type the number for the desired flow control
option, then
.
Flow control is used to assure that the same amount of
fluid consistently sprays out of the gun at all times for a
better finish. The flow control is set according to the
fluid viscosity and finish requirements. The Precision-
Mix II 3K controller reads the flow from the mix pro-
cess flow meters or from a mixed material meter, and
adjusts the fluid regulator as needed.
Select #1, OFF, if flow control hardware is not
installed on the system. Flow control cannot be
used without the proper hardware. Refer to the
Installation section.
If flow control is installed, select #2 or #3, depend-
ing on whether you are using a hand gun or an
automatic gun. Pressing Enter
key will take you
to the next Flow Control screen. Follow the
Flow
Control Setup
procedure on page 8–18 to com-
plete the flow control setup.
Summary of Contents for PrecisionMix ii
Page 6: ...6 ...
Page 7: ...1 1 Warnings Warnings 1 ...
Page 8: ...1 2 Warnings ...
Page 11: ...Overview 2 1 Overview 2 ...
Page 12: ...2 2 Overview ...
Page 15: ...Overview 2 5 ...
Page 31: ...Installation 3 1 Installation 3 ...
Page 32: ...Installation 3 2 ...
Page 58: ...Installation 3 28 Notes ...
Page 67: ...Operation 4 1 Operation 4 ...
Page 68: ...Operation 4 2 ...
Page 83: ...Operation 4 17 Notes ...
Page 90: ...Operation 4 24 ...
Page 91: ...Screen Map 5 1 Screen Map 5 ...
Page 92: ...5 2 Screen Map ...
Page 94: ...5 4 Screen Map ...
Page 95: ...Run Monitor 6 1 Run Monitor 6 ...
Page 96: ...Run Monitor 6 2 ...
Page 103: ...Totalizers 7 1 Totalizers 7 ...
Page 104: ...Totalizers 7 2 ...
Page 108: ...Totalizers 7 6 ...
Page 109: ...System Configuration 8 1 System Configuration 8 ...
Page 110: ...System Configuration 8 2 ...
Page 142: ...System Configuration 8 34 ...
Page 143: ...Recipe Setup 9 1 Recipe Setup 9 ...
Page 144: ...Recipe Setup 9 2 ...
Page 165: ...10 1 Troubleshooting Troubleshooting 10 ...
Page 166: ...10 2 Troubleshooting ...
Page 182: ...10 18 Troubleshooting ...
Page 183: ...11 1 Service Service 11 ...
Page 184: ...11 2 Service ...
Page 192: ...11 10 Service ...
Page 193: ...12 1 Parts Parts 12 ...
Page 194: ...12 2 Parts ...
Page 207: ...12 15 Parts Notes ...
Page 228: ...12 36 Parts ...
Page 229: ...13 1 Utilities Software Utilities Software 13 ...
Page 230: ...13 2 Utilities Software ...
Page 254: ...13 26 Utilities Software ...
Page 255: ...14 1 Technical Data Technical Data 14 ...
Page 256: ...14 2 Technical Data ...
Page 259: ...14 5 Technical Data Notes ...


