GE H
EALTHCARE
D
IRECTION
5245279, R
EVISION
3
LOGIQ™ P6/P6 P
RO
S
ERVICE
M
ANUAL
7 - 4
Section 7-3 - Screen Captures
Section 7-3
Screen Captures
There may be times when the customer or field engineer will want to capture a presentation on the
screen so it may be recovered by the OnLine Center through InSite. This is accomplished by first saving
the image(s) to the clipboard using a Print Key.
The P2 key is the factory default print key to accomplish a secondary screen capture. However, the
default is for the video area only or the customer may have customized the P2 Key function. Therefore,
screen capture should involve the following steps:
1.) Check and record any custom settings for the Print2 button.
2.) Set the Print2 button to Whole Screen, Secondary Capture.
3.) Capture the required screens to the Hard Drive or CD-R / DVD-R.
4.) Restore the Print2 button to it’s original settings.
7-3-1
Check and Record the P2 Key Function
Check the function of the Print2 Key in the event that the customer may have made some custom
settings.
1.) Select
Utilit
y from the FrontPanel.
2.) Select
Connectivity
from the Menu.
3.) Select the
Buttons
tab on the Connectivity screen.
4.) In the
Button
field, select Print2.
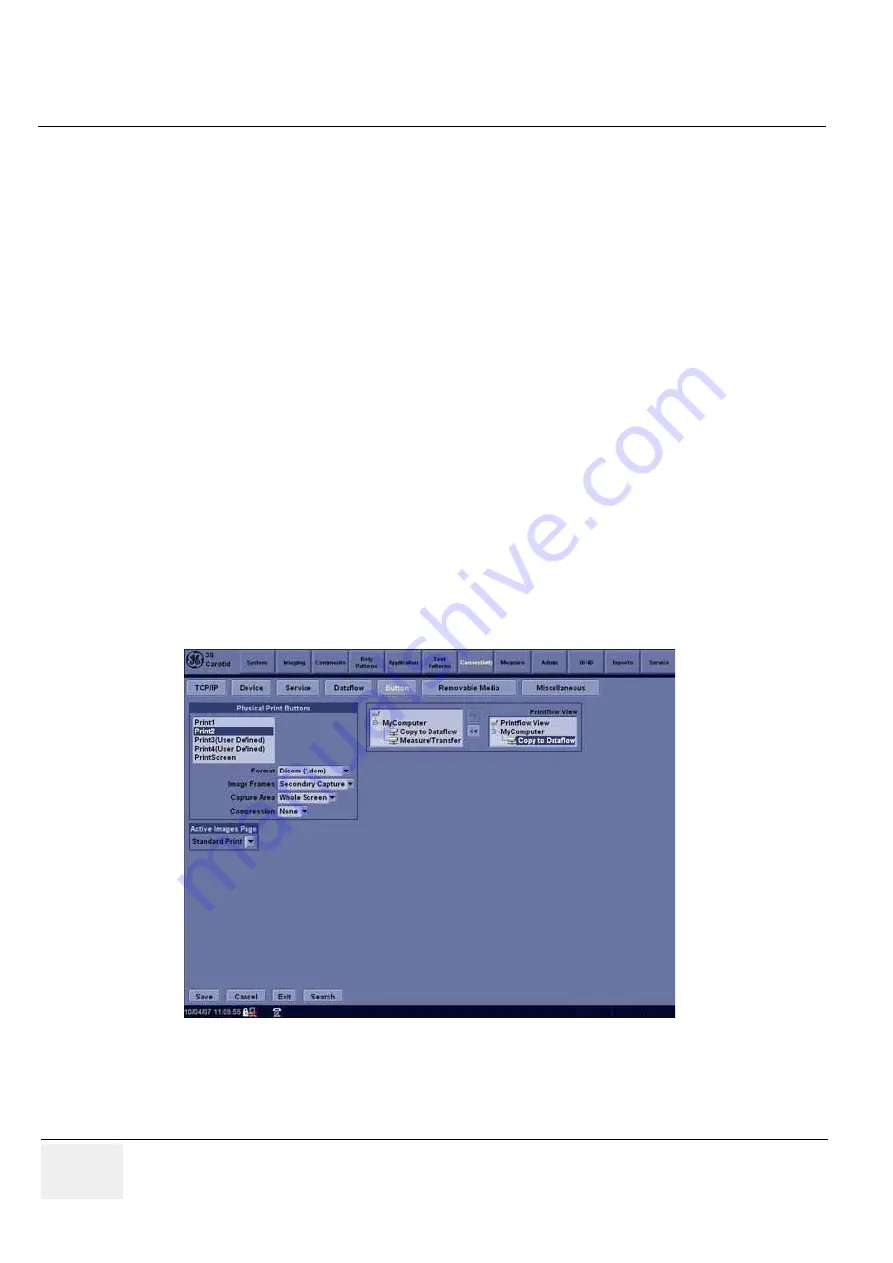
The Connectivity/Buttons Screen will be displayed like the one shown in Figure 7-7.
P2 is the factory default Screen Capture Key. If it is not set to Whole Screen or Screen Capture, as
shown in Figure 7-7, proceed to step 5 to record the customer’s custom settings.
Figure 7-2 Buttons Set Up Screen
Summary of Contents for LOGIQ P6
Page 2: ...GE HEALTHCARE DIRECTION 5245279 REVISION 3 LOGIQ P6 P6 PRO SERVICE MANUAL Page 1 2 ...
Page 9: ...GE HEALTHCARE DIRECTION 5245279 REVISION 3 LOGIQ P6 P6 PRO SEVICE MANUAL vii JA ZH CN KO ...
Page 22: ...GE HEALTHCARE DIRECTION 5245279 REVISION 3 LOGIQ P6 P6 PRO SERVICE MANUAL Page 1 10 ...
Page 477: ......


