Customizing Your System
16
-
30
LOGIQ 7 Basic User Manual
Direction 2392206-100 Rev. 1
EZBackup/Move (continued)
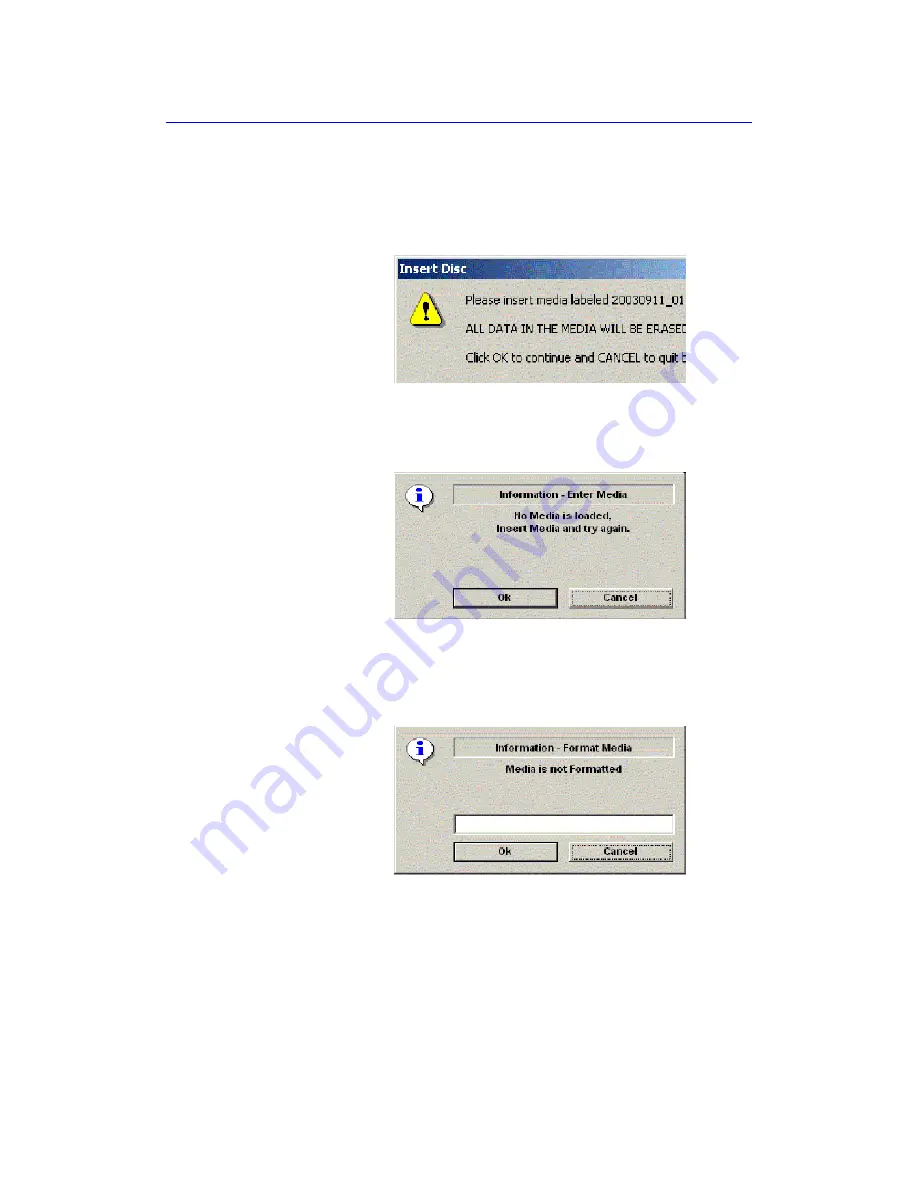
4. A pop-up message appears that provides you with the
media label. Label the media, then insert the media. Press
OK
.
Figure 16-20. Insert Media Message
NOTE:
This message appears if you press Next without inserting
the backup media.
Figure 16-21. No Media Message
NOTE:
If the media is unformatted, the following message appears.
The system then formats the media prior to performing the
backup.
Figure 16-22. Formatting Media Message
Summary of Contents for LOGIQ 7
Page 4: ...i 2 LOGIQ 7 Basic User Manual Direction 2392206 100 Rev 1 This page intentionally left blank ...
Page 16: ...i 14 LOGIQ 7 Basic User Manual Direction 2392206 100 Rev 1 ...
Page 28: ...Introduction 1 12 LOGIQ 7 Basic User Manual Direction 2392206 100 Rev 1 ...
Page 140: ...Preparing for an Exam 4 28 LOGIQ 7 Basic User Manual Direction 2392206 100 Rev 1 ...
Page 306: ...Scanning Display Functions 6 42 LOGIQ 7 Basic User Manual Direction 2392206 100 Rev 1 ...
Page 418: ...Abdomen and Small Parts 8 18 LOGIQ 7 Basic User Manual Direction 2392206 100 Rev 1 ...
Page 644: ...Cardiology 10 128 LOGIQ 7 Basic User Manual Direction 2392206 100 Rev 1 ...
Page 688: ...Urology 12 8 LOGIQ 7 Basic User Manual Direction 2392206 100 Rev 1 ...
Page 698: ...Pediatrics 13 10 LOGIQ 7 Basic User Manual Direction 2392206 100 Rev 1 ...
Page 882: ...Customizing Your System 16 106 LOGIQ 7 Basic User Manual Direction 2392206 100 Rev 1 ...
Page 928: ...Probes and Biopsy 17 46 LOGIQ 7 Online Help Direction 2392536 100 Rev 1 ...
Page 974: ...User Maintenance 18 46 LOGIQ 7 Online Help Direction 2392536 100 Rev 1 ...
Page 983: ...GE Medical Systems ...
Page 984: ...1 2 LOGIQ 7 Basic User Manual Direction 2392206 100 Rev 1 ...


