Optimizing B-Mode
LOGIQ 7 Online Help
5
-
49
Direction 2392536-100 Rev. 1
Reshaping a
Sample Area
To reshape the sample area:
1. Position the cursor on the ROI to reshape and press the left
Set
key.
2. The ROI system menu displays. Select
Set sample area
shape
.
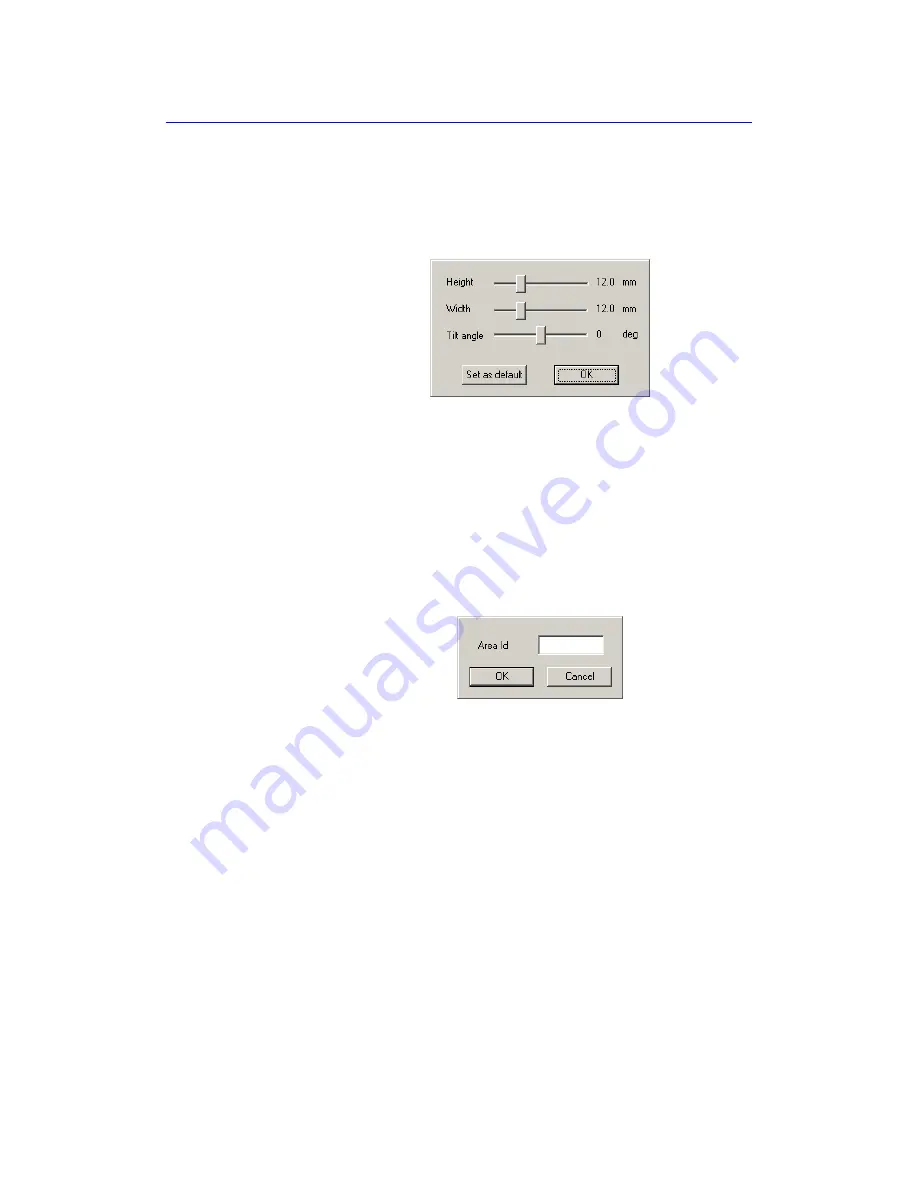
Figure 5-19. Sample Area Information Box
3. Adjust Height, Width and Tilt angle.
4. Press
OK
. The selected ROI size changes.
Labeling a
Sample Area
The sample area label is used to identify data associated with
the sample area when exporting.
1. Position the cursor on the ROI to label and press the left
Set
key.
2. The ROI system menu displays. Select
Label sample area
.
The Label Dialog box displays.
Figure 5-20. Label Dialog Box
3. Enter a name for the sample area.
4. Select
OK
.
Summary of Contents for LOGIQ 7
Page 4: ...i 2 LOGIQ 7 Basic User Manual Direction 2392206 100 Rev 1 This page intentionally left blank ...
Page 16: ...i 14 LOGIQ 7 Basic User Manual Direction 2392206 100 Rev 1 ...
Page 28: ...Introduction 1 12 LOGIQ 7 Basic User Manual Direction 2392206 100 Rev 1 ...
Page 140: ...Preparing for an Exam 4 28 LOGIQ 7 Basic User Manual Direction 2392206 100 Rev 1 ...
Page 306: ...Scanning Display Functions 6 42 LOGIQ 7 Basic User Manual Direction 2392206 100 Rev 1 ...
Page 418: ...Abdomen and Small Parts 8 18 LOGIQ 7 Basic User Manual Direction 2392206 100 Rev 1 ...
Page 644: ...Cardiology 10 128 LOGIQ 7 Basic User Manual Direction 2392206 100 Rev 1 ...
Page 688: ...Urology 12 8 LOGIQ 7 Basic User Manual Direction 2392206 100 Rev 1 ...
Page 698: ...Pediatrics 13 10 LOGIQ 7 Basic User Manual Direction 2392206 100 Rev 1 ...
Page 882: ...Customizing Your System 16 106 LOGIQ 7 Basic User Manual Direction 2392206 100 Rev 1 ...
Page 928: ...Probes and Biopsy 17 46 LOGIQ 7 Online Help Direction 2392536 100 Rev 1 ...
Page 974: ...User Maintenance 18 46 LOGIQ 7 Online Help Direction 2392536 100 Rev 1 ...
Page 983: ...GE Medical Systems ...
Page 984: ...1 2 LOGIQ 7 Basic User Manual Direction 2392206 100 Rev 1 ...


