Customizing Your System
16
-
76
LOGIQ 7 Basic User Manual
Direction 2392206-100 Rev. 1
Device
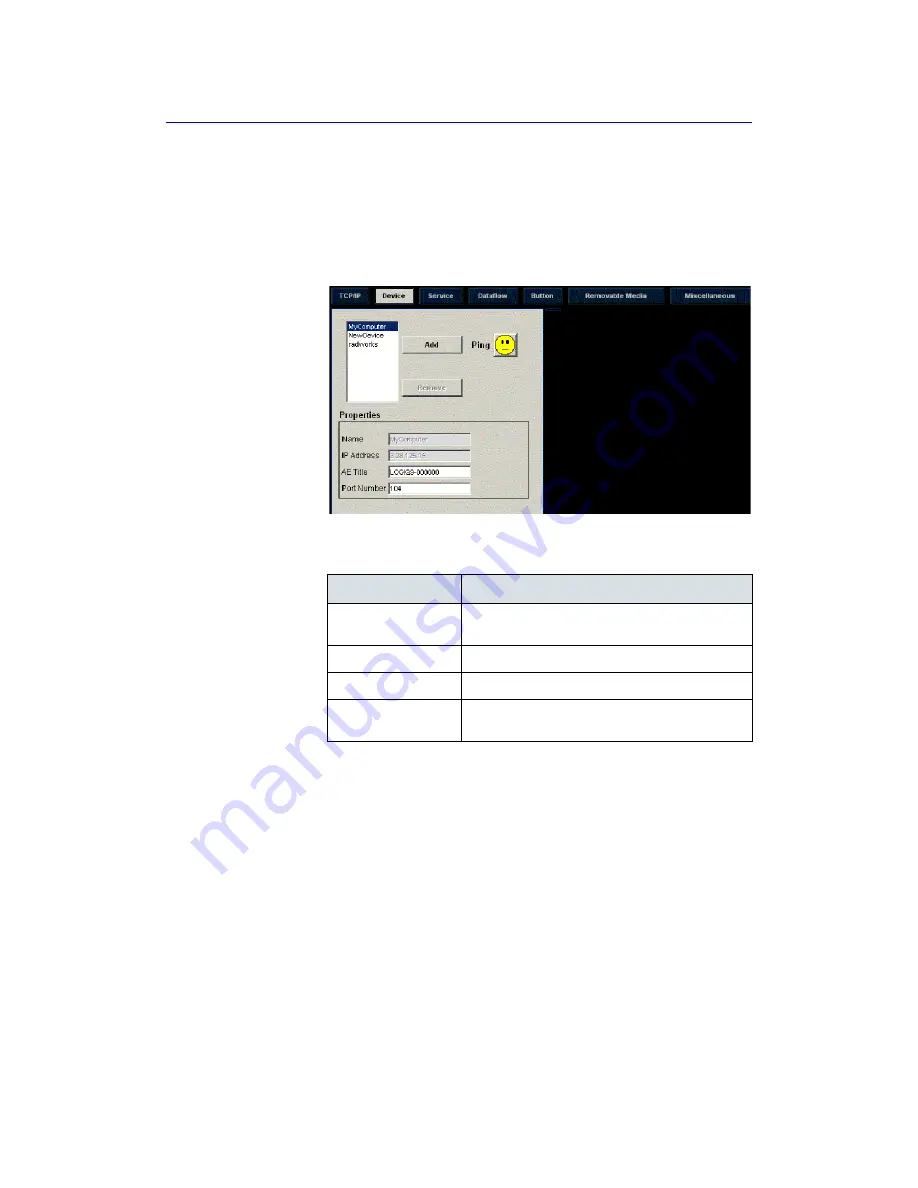
To add a new device,
1. Press
Add.
2. Type the device name in the Name field.
3. Type the device’s IP address in the IP Address field.
Figure 16-53. Connectivity Device Preset Menu
To ping a device,
1. Select the device.
2. Press Ping. If the smiley face smiles, then the connection
has been confirmed. If the smiley face frowns, then the
connection has not been made. Check the device name and
IP address.
Table 16-43: Device
Preset Parameter
Description
Add/Remove
Press Add to add a new device; press Remove to
delete a device.
Ping
Press Ping to confirm that a device is connected.
Properties: Name
Type the name of the device.
Properties: IP
Address
Type the device’s IP address.
Summary of Contents for LOGIQ 7
Page 4: ...i 2 LOGIQ 7 Basic User Manual Direction 2392206 100 Rev 1 This page intentionally left blank ...
Page 16: ...i 14 LOGIQ 7 Basic User Manual Direction 2392206 100 Rev 1 ...
Page 28: ...Introduction 1 12 LOGIQ 7 Basic User Manual Direction 2392206 100 Rev 1 ...
Page 140: ...Preparing for an Exam 4 28 LOGIQ 7 Basic User Manual Direction 2392206 100 Rev 1 ...
Page 306: ...Scanning Display Functions 6 42 LOGIQ 7 Basic User Manual Direction 2392206 100 Rev 1 ...
Page 418: ...Abdomen and Small Parts 8 18 LOGIQ 7 Basic User Manual Direction 2392206 100 Rev 1 ...
Page 644: ...Cardiology 10 128 LOGIQ 7 Basic User Manual Direction 2392206 100 Rev 1 ...
Page 688: ...Urology 12 8 LOGIQ 7 Basic User Manual Direction 2392206 100 Rev 1 ...
Page 698: ...Pediatrics 13 10 LOGIQ 7 Basic User Manual Direction 2392206 100 Rev 1 ...
Page 882: ...Customizing Your System 16 106 LOGIQ 7 Basic User Manual Direction 2392206 100 Rev 1 ...
Page 928: ...Probes and Biopsy 17 46 LOGIQ 7 Online Help Direction 2392536 100 Rev 1 ...
Page 974: ...User Maintenance 18 46 LOGIQ 7 Online Help Direction 2392536 100 Rev 1 ...
Page 983: ...GE Medical Systems ...
Page 984: ...1 2 LOGIQ 7 Basic User Manual Direction 2392206 100 Rev 1 ...


