Firewall Protection Profile
SSL content scanning and inspection
FortiGate Version 4.0 Administration Guide
01-400-89802-20090424
401
•
While the SSL sessions are being set up, the client and server communicate in clear text
to exchange SSL session keys. The session keys are based on the client and server
certificates. The FortiGate SSL decrypt/encrypt process intercepts these keys and uses a
built-in signing CA certificate named Fortinet_CA_SSLProxy to create keys to send to the
client and the server. This signing CA certificate is used only by the SSL decrypt/encrypt
process. The SSL decrypt/encrypt process then sets up encrypted SSL sessions with the
client and server and uses these keys to decrypt the SSL traffic to apply content scanning
and inspection.
Some client programs (for example, web browsers) can detect this key replacement and
will display a security warning message. The traffic is still encrypted and secure, but the
security warning indicates that a key substitution has occurred.
You can stop these security warnings by importing the signing CA certificate used by the
server into the FortiGate unit SSL content scanning and inspection configuration. Then the
FortiGate unit creates keys that appear to come from the server and not the FortiGate unit.
You can replace the default signing CA certificate, Fortinet_CA_SSLProxy, with another
signing CA certificate. To do this you need the signing CA certificate file, the CA certificate
key file, and the CA certificate password.
All SSL content scanning and inspection uses the same signing CA certificate. If your
FortiGate unit is operating with virtual domains enabled, the same signing CA certificate is
used by all virtual domains.
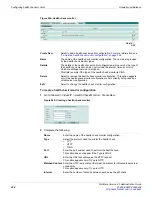
To add a signing CA certificate for SSL content scanning and inspection
1
Obtain a copy of the signing CA certificate file, the CA certificate key file, and the
password for the CA certificate.
2
Go to
System > Certificates > Local Certificates
and select
Import
.
3
Set
Type
to
Certificate
.
4
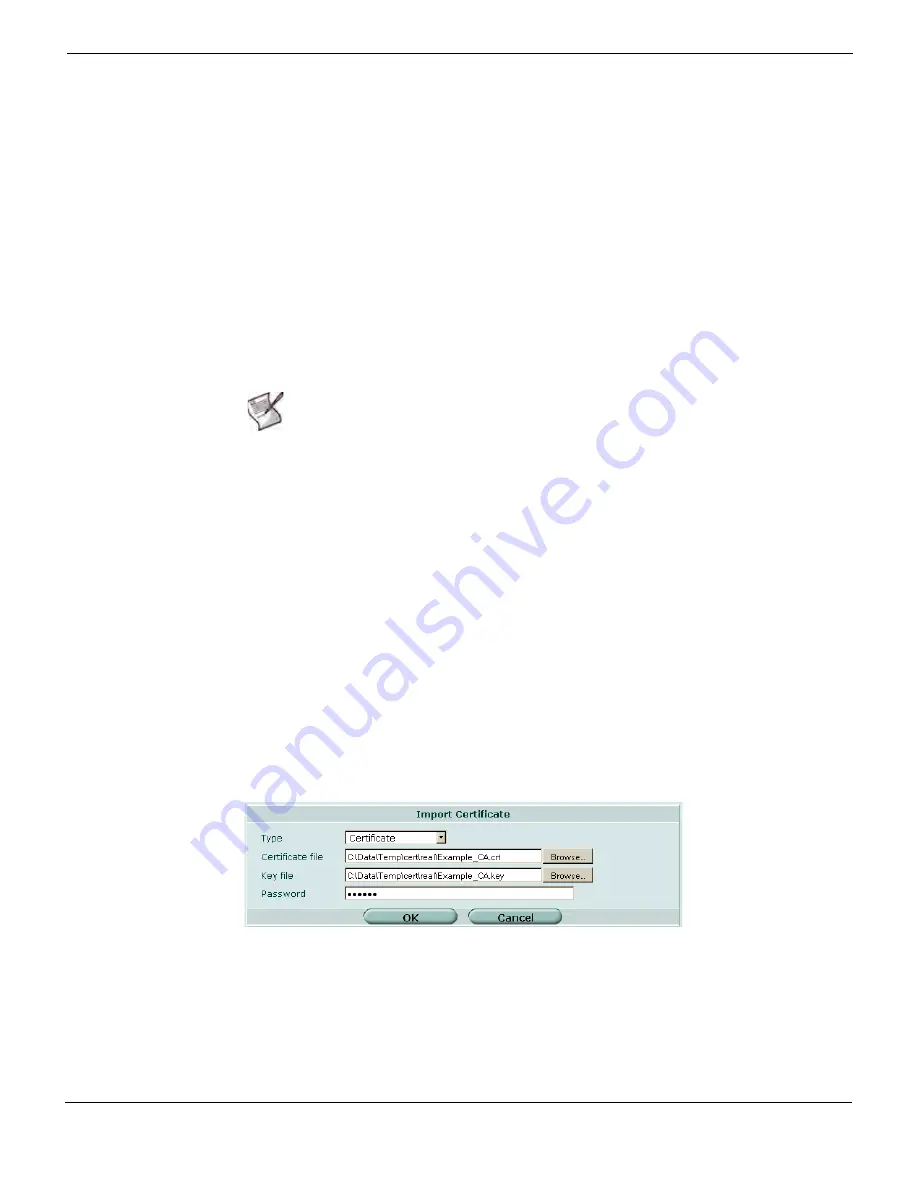
For
Certificate file
use the
Browse
button to select the signing CA certificate file.
5
For
Key file
use the
Browse
button to select the CA certificate key file.
6
Enter the CA certificate
Password
.
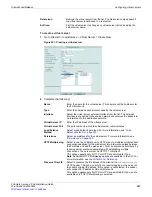
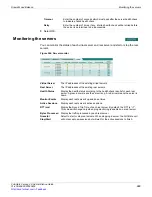
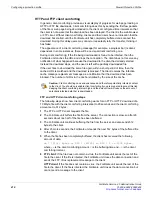
Figure 249: Importing a signing CA certificate for SSL content scanning and inspection
7
Select
OK
.
The CA certificate is added to the Local Certificates list. In this example the signing CA
certificate name is Example_CA. This name comes from the certificate file and key file
name. If you want the certificate to have a different name, change these file names.
8
Add the imported signing CA certificate to the SSL content scanning and inspection
configuration. Use the following CLI command if the certificate name is Example_CA.
Note:
You can add one signing CA certificate for SSL content scanning and inspection. The
CA certificate key size must be 1024 or 2048 bits. 4096-bit keys are not supported for SSL
content scanning and encryption.
Summary of Contents for Gate 60D
Page 705: ...www fortinet com...
Page 706: ...www fortinet com...

