


Click on “My Places” with the right-hand mouse button and select the menu item
“Save as....”. The file can now be saved on the PC as a KML/KMZ file.
KML/KMZ Import in the Falk Navi-Manager
The following section describes how KML and KMZ files can be imported to the navigation
device via the Navi-Manager.
Start the Navi-Manager. On the Navi-Manager interface in the menu bar under “
Plugins
“,
call up the menu item “
KML Import Plugin
“.
The window for the import
assistant will then appear here.
Acknowledge this by clicking on
the “
Next
” button. You should use
the “
Select
” button to select the
KML or KMZ file you want on your
PC or another data carrier. Then
press the “Next” button.
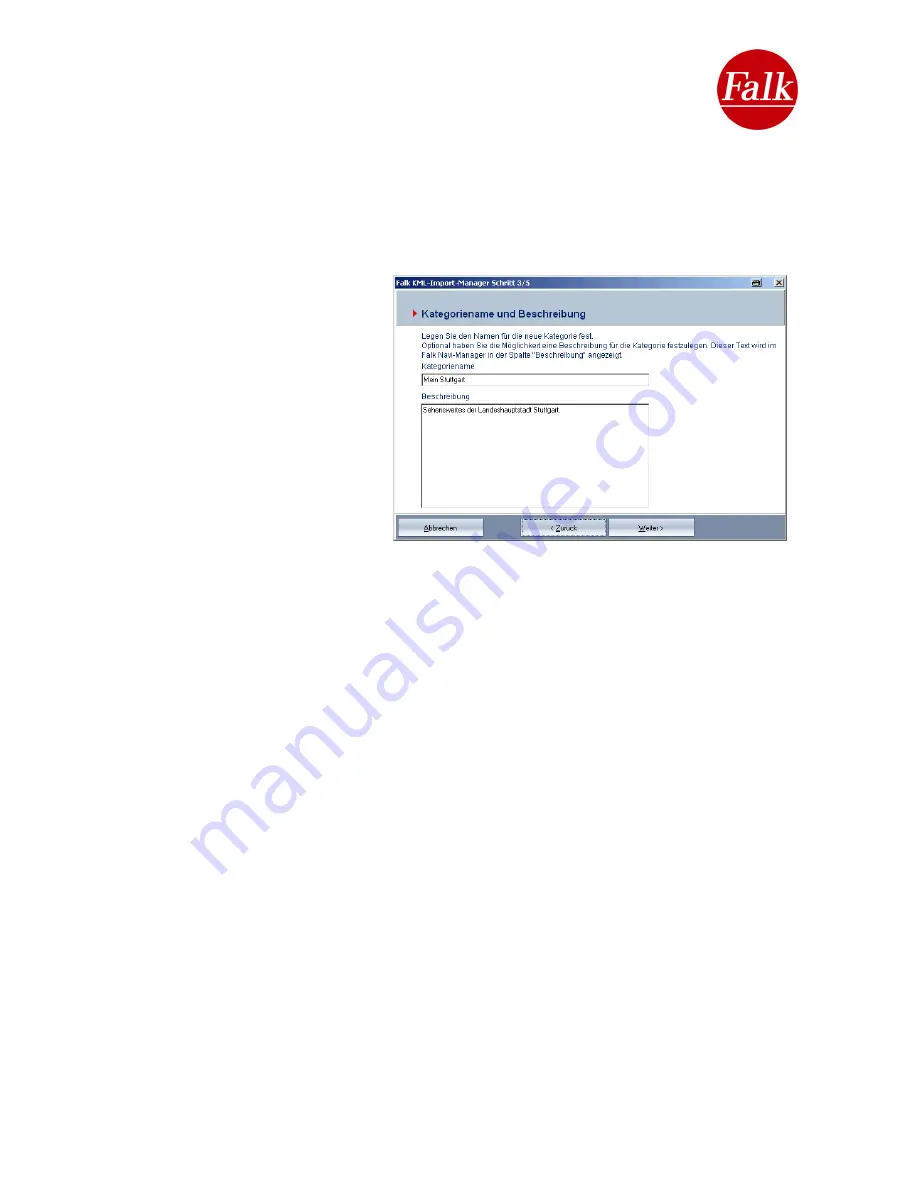
In the next window, you need to
allocate an individual category
name to your POI category. You
also have the option of storing
more detailed information about
the particular POI category here.
Once you have provided the POI
category with a name and the information you wish, confirm the details you have entered
once again by clicking the “
Next
” button.
In the next step, you have the option of selecting an
Icon
which will be displayed on the map
for the respective POIs. You will be shown a small selection of icons to choose from.
However, you can also select an
icon
of your own from your PC (if present). This icon should
have a
resolution of 72 dpi
and the image size
16x16 pixels
.
Finally, confirm your entry again with the “
Next
” button.
If you do not specify a dedicated icon, the standard icon will be used to show the POI on the
map.
The final window summarises the information for the POI category which is to be imported
once again. When you click on the “
Complete
” button, you start the conversion process.
Note
: The conversion may take a little while.
The converted POI category appears automatically after a few seconds in the tab “My
Favourites
”. The POI category is now located on the PC. To transfer the POI category to the
navigation device, you must click on the right-hand side of the window on the button “Copy
from
PC > Flash
” or “Copy from
PC > SD card
”.
Following a successful transfer, the dedicated POI category will be stored on the navigation
device for further use. Please consult the software manual for more details about how to use
POIs with the Falk Navigator.
Note
: The POIs imported via the KML Import Plugin cannot be rated on the navigation
device.
User Manual Falk Navigator 10
- 108 -
Summary of Contents for Navigator 10
Page 1: ......


