6-13
CrossPoint 450 Plus and MAV Plus Switchers • HTML Operation
Create a tie
Select and switch an input as follows:
1
.
Click the Video Only, Audio Only, or Video & Audio button to select video,
audio, or both for switching (audio follow or audio breakaway). Each mouse
click on a button toggles the other two buttons off.
2
.
Move the mouse over the matrix of input and output selection buttons. Click
a button to create a preliminary tie (if not tied) or preliminary untie (if tied) of
the input and output associated with that button. A “P” (for preliminary)
appears in the button.
If you lose track of the input and output associated with a specific button, let
the mouse rest over one of the tie buttons for a moment. A field pops up (as
shown on figure 6-10) that identifies the input and output for that button.
To tie an input to all outputs, click that input’s input number.
3
.
Click the Take button to make the configuration changes or Cancel button to
abandon the configuration changes.
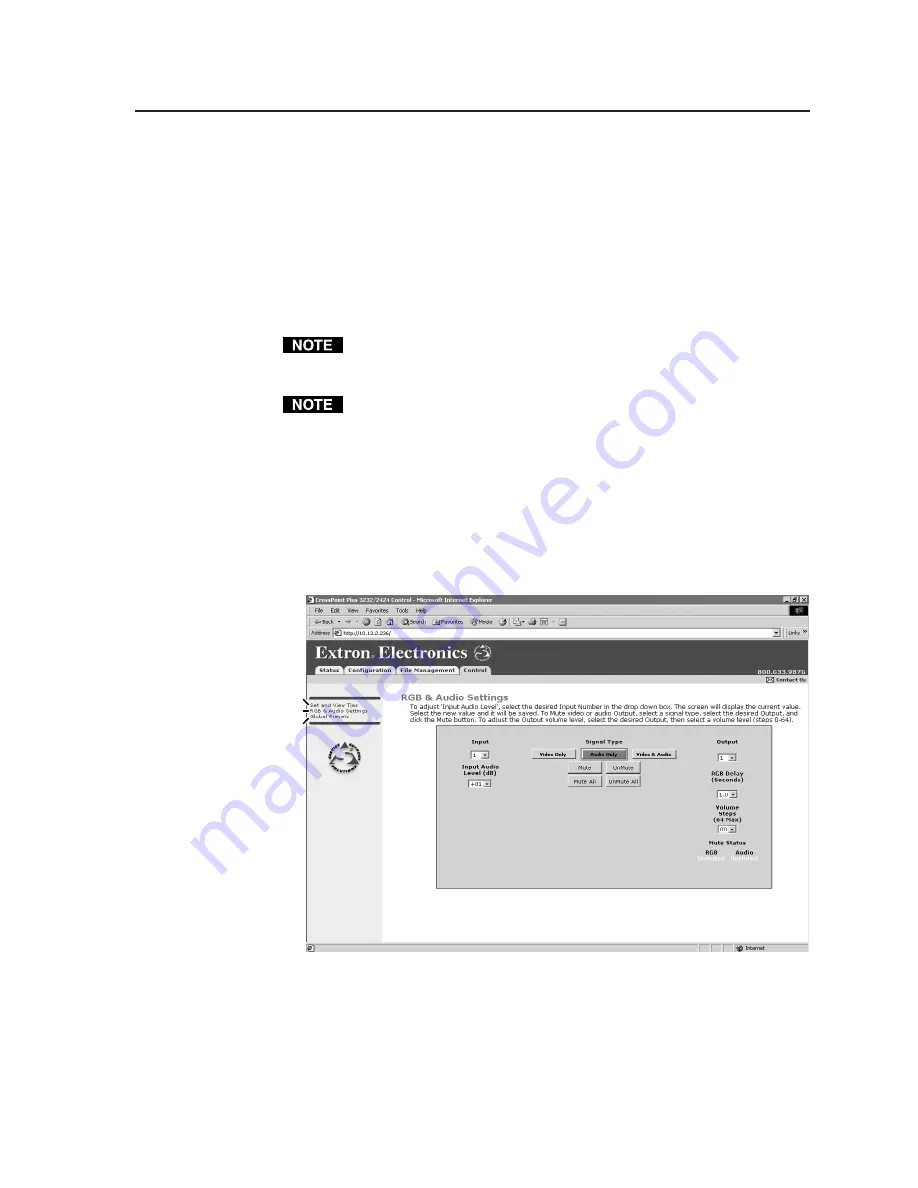
RGB and Audio Settings page
The RGB and Audio Settings page provides a way to set the input audio gain and
attenuation, set the output volume, mute and unmute all video and audio outputs,
and (for CrossPoint 450 Plus switchers only) set the RGB delay (switching interval).
Access the RGB and Audio Settings page (figure 6-11) by clicking the RGB & Audio
Settings link on the Control page.
Refresh.
Select Global Presets.
Select Set & View Ties.
Figure 6-11 — RGB and Audio Settings page
im Vertrieb von
CAMBOARD Electronics
www.camboard.de
Tel. 07131 911201
Fax 07131 911203


