EPSON Stylus COLOR 900/900N
Chapter 5 Adjustments
141
5.2.6.3 Making the Bi-D Adjustment
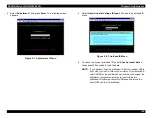
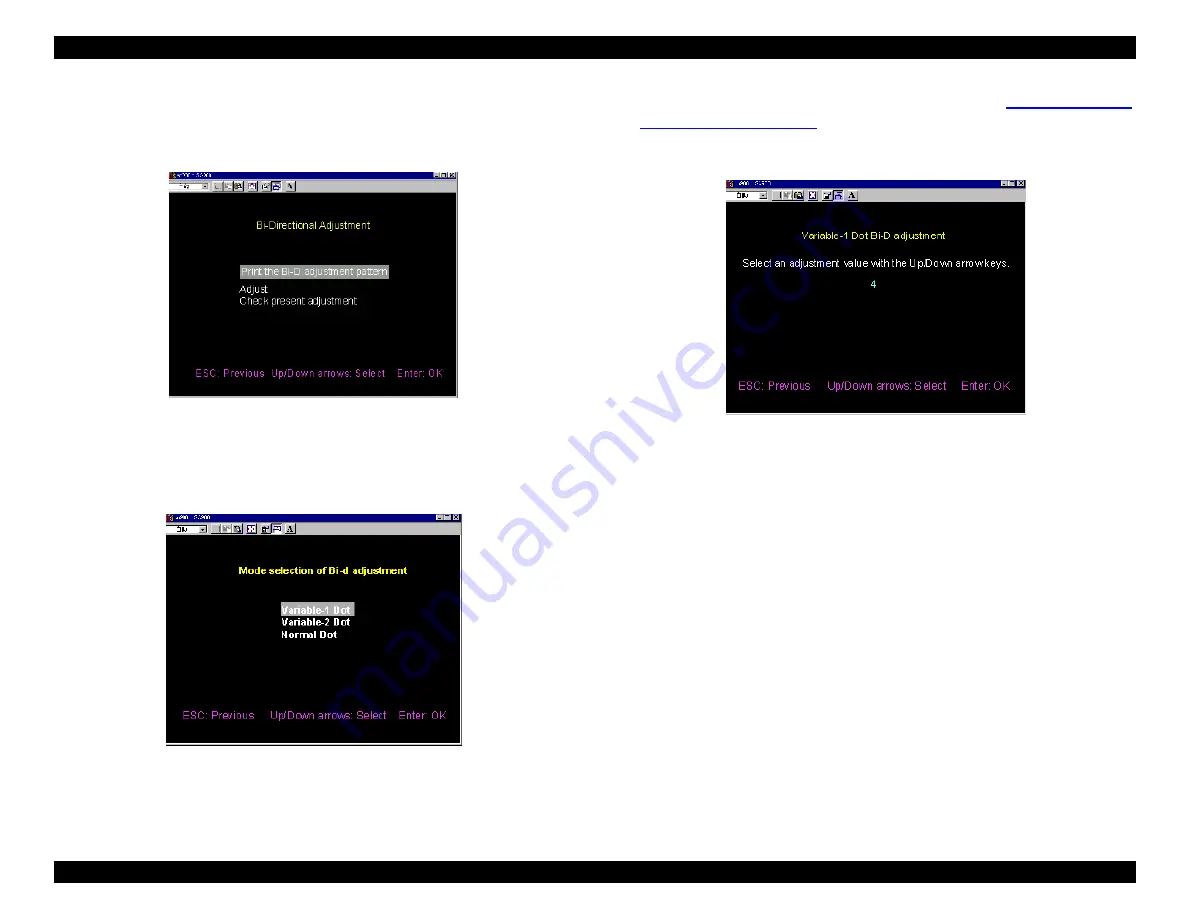
After you print the adjustment pattern, the Bi-D adjustment menu
automatically returns:
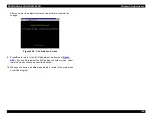
Figure 5-32. Bi-D Adjustment Menu
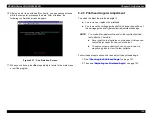
6. Select Adjust.
You see the adjustment mode menu:
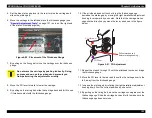
Figure 5-33. Bi-D Adjustment Mode Menu
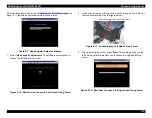
7. Based on the adjustment pattern you printed (see
on page 138), select a mode you need to
adjust. (In the example that follows, Variable 1 Dot is selected.) The
adjustment value input screen appears:
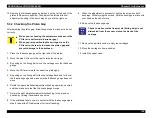
Figure 5-34. Adjustment Value Input Screen (Variable-1)
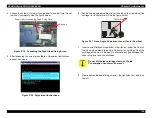
8. Use the Up and Down arrow keys to increase or decrease the
adjustment value, and then press Enter to input the selected value.
You can input any value between -34 and +34.
NOTE: Regardless of the value you enter, the current value shown in
the next Bi-D print pattern is always zero.
Summary of Contents for 900N
Page 1: ...EPSONStylusCOLOR900 900N Color ink jet printer TM SC900 N 6 59 0 18 ...
Page 8: ... 37 5 PRODUCTDESCRIPTION ...
Page 37: ... 37 5 OPERATINGPRINCIPLES ...
Page 67: ... 37 5 TROUBLESHOOTING ...
Page 89: ... 37 5 DISASSEMBLYANDASSEMBLY ...
Page 121: ... 37 5 ADJUSTMENTS ...
Page 156: ... 37 5 MAINTENANCE ...
Page 169: ... 37 5 APPENDIX ...
Page 179: ...EPSON Stylus COLOR 900 900N Chapter 7 Appendix 176 Figure 7 3 C265 Main Board Soldering side ...
Page 181: ...EPSON Stylus COLOR 900 900N Chapter 7 Appendix 178 Figure 7 6 C265 PNL Board ...
Page 195: ...06 03 01 02 for S E ASIA 03 03 05 03 04 EPSON STYLUS COLOR 900 No 7 10056 Rev 01 ...
Page 197: ......
Page 198: ......
Page 199: ......
Page 200: ......
Page 201: ......


