EPSON Stylus COLOR 900/900N
Chapter 5 Adjustments
135
9. Press Enter. A new test pattern prints, but the page remains in the
printer.
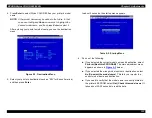
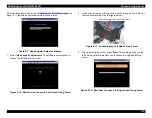
After the new test pattern prints, the re-adjustment menu appears:
Figure 5-22. Re-Adjustment Menu
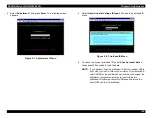
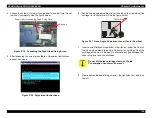
10. Select Re-Adjustment. Adjustment instructions appear on screen.
Figure 5-23. Adjustment Instructions
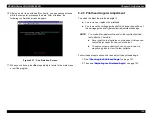
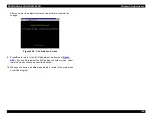
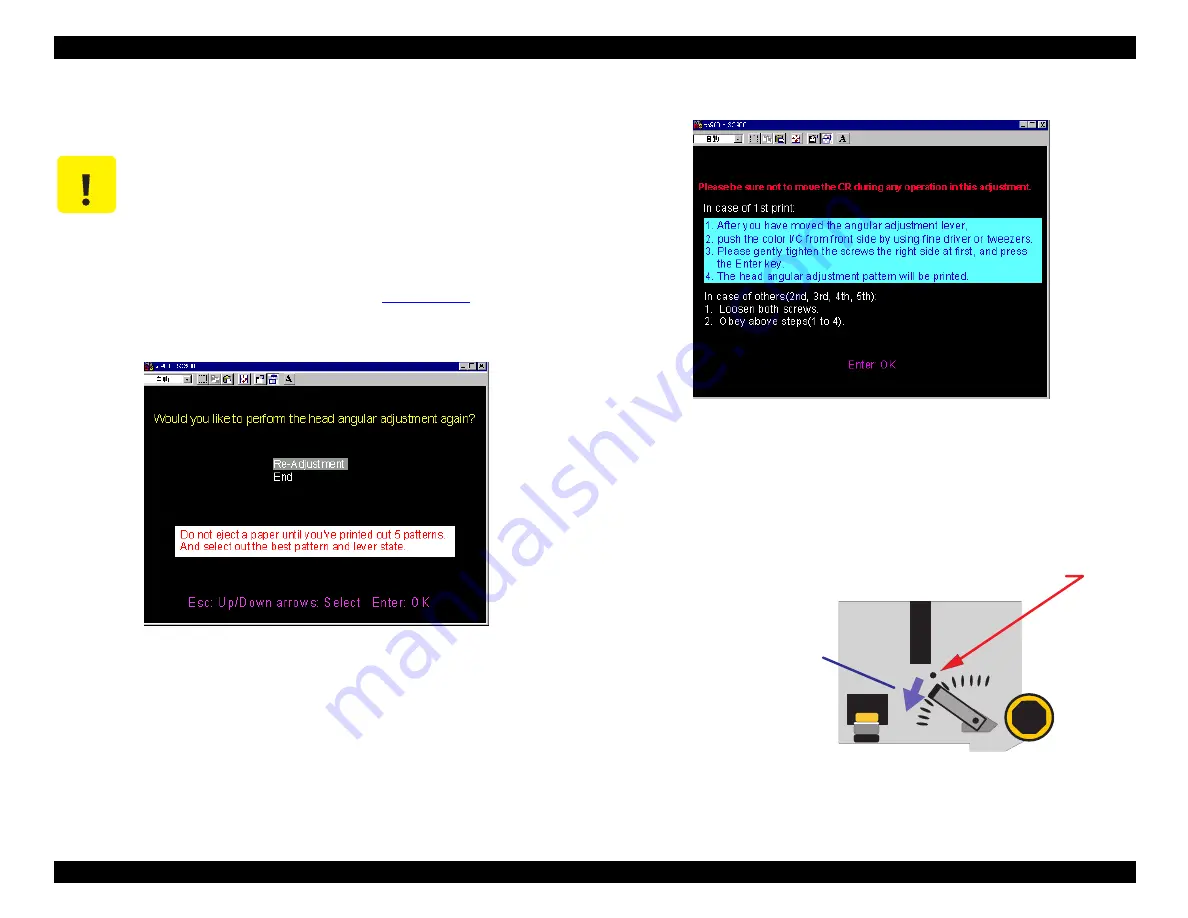
11. Follow the instructions on screen and loosen the screws as before.
Then move the adjustment lever down one notch from the center
mark, toward the front of the printer. The correct adjustment position
is most likely to be found when you move the lever in this direction.
Figure 5-24. Moving the Adjustment Lever
C A U T I O N
Do not press the Load/Eject button to eject the test
pattern. If you do so, an internal error occurs, causing
the carriage to thrash about and make loud chattering
noises.
Note that the page automatically ejects after you print
the test pattern five times. If you need to eject it
sooner, select
End as shown in
below.
C e n t e r M a r k
M o v e l e v e r d o w n ,
o n e n o t c h a t a t i m e .
Summary of Contents for 900N
Page 1: ...EPSONStylusCOLOR900 900N Color ink jet printer TM SC900 N 6 59 0 18 ...
Page 8: ... 37 5 PRODUCTDESCRIPTION ...
Page 37: ... 37 5 OPERATINGPRINCIPLES ...
Page 67: ... 37 5 TROUBLESHOOTING ...
Page 89: ... 37 5 DISASSEMBLYANDASSEMBLY ...
Page 121: ... 37 5 ADJUSTMENTS ...
Page 156: ... 37 5 MAINTENANCE ...
Page 169: ... 37 5 APPENDIX ...
Page 179: ...EPSON Stylus COLOR 900 900N Chapter 7 Appendix 176 Figure 7 3 C265 Main Board Soldering side ...
Page 181: ...EPSON Stylus COLOR 900 900N Chapter 7 Appendix 178 Figure 7 6 C265 PNL Board ...
Page 195: ...06 03 01 02 for S E ASIA 03 03 05 03 04 EPSON STYLUS COLOR 900 No 7 10056 Rev 01 ...
Page 197: ......
Page 198: ......
Page 199: ......
Page 200: ......
Page 201: ......

