EPSON Stylus COLOR 900/900N
Chapter 5 Adjustments
130
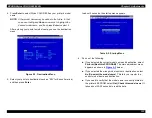
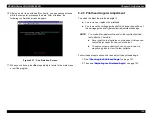
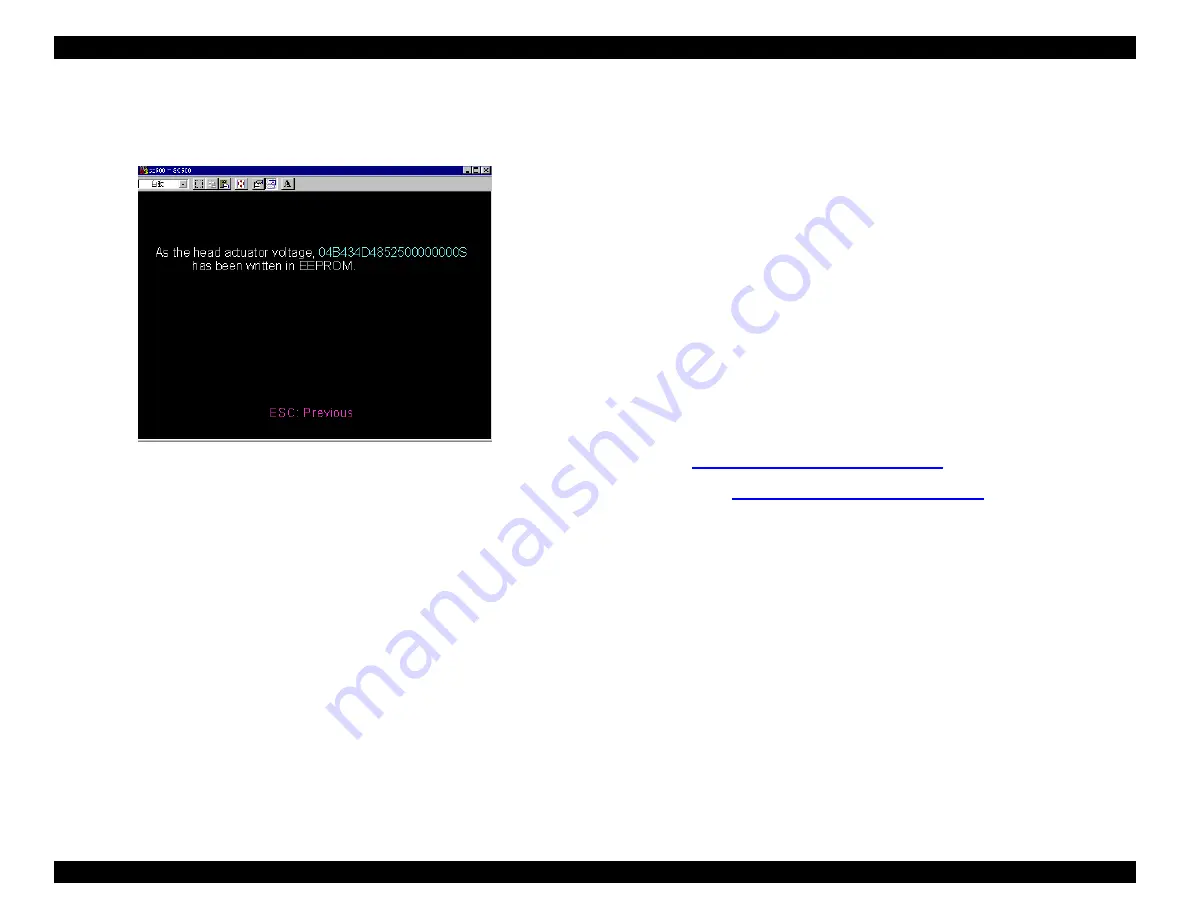
10. After you enter the printhead ID correctly, you see various screens
while the computer processes the data. After it finishes, the
following confirmation screen appears:
Figure 5-11. Confirmation Screen
11. When you’re done, press Esc repeatedly to return to the main menu
or exit the program.
5.2.5 Printhead Angular Adjustment
You need to adjust the printhead angle if:
You remove or replace the printhead.
You remove the carriage guide shaft or change the position of
the carriage guide shaft (parallelism) adjustment bushings.
Follow these steps to check and then adjust the printhead angle:
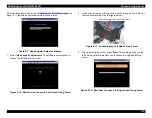
1. See
“Checking the Printhead Angle”
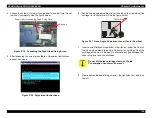
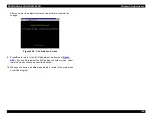
2. Then see
“Adjusting the Printhead Angle”
NOTE:
You make this adjustment based on the results of printed
test patterns. Therefore:
Never print the test patterns on plain paper. Always use
coated ink jet paper for clear, sharp output.
To ensure proper adjustment, use an eye-loupe or a
magnifying glass to view the test patterns.
Summary of Contents for 900N
Page 1: ...EPSONStylusCOLOR900 900N Color ink jet printer TM SC900 N 6 59 0 18 ...
Page 8: ... 37 5 PRODUCTDESCRIPTION ...
Page 37: ... 37 5 OPERATINGPRINCIPLES ...
Page 67: ... 37 5 TROUBLESHOOTING ...
Page 89: ... 37 5 DISASSEMBLYANDASSEMBLY ...
Page 121: ... 37 5 ADJUSTMENTS ...
Page 156: ... 37 5 MAINTENANCE ...
Page 169: ... 37 5 APPENDIX ...
Page 179: ...EPSON Stylus COLOR 900 900N Chapter 7 Appendix 176 Figure 7 3 C265 Main Board Soldering side ...
Page 181: ...EPSON Stylus COLOR 900 900N Chapter 7 Appendix 178 Figure 7 6 C265 PNL Board ...
Page 195: ...06 03 01 02 for S E ASIA 03 03 05 03 04 EPSON STYLUS COLOR 900 No 7 10056 Rev 01 ...
Page 197: ......
Page 198: ......
Page 199: ......
Page 200: ......
Page 201: ......

