EPSON Stylus COLOR 900/900N
Chapter 5 Adjustments
136
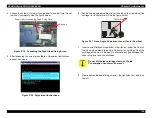
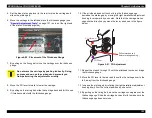
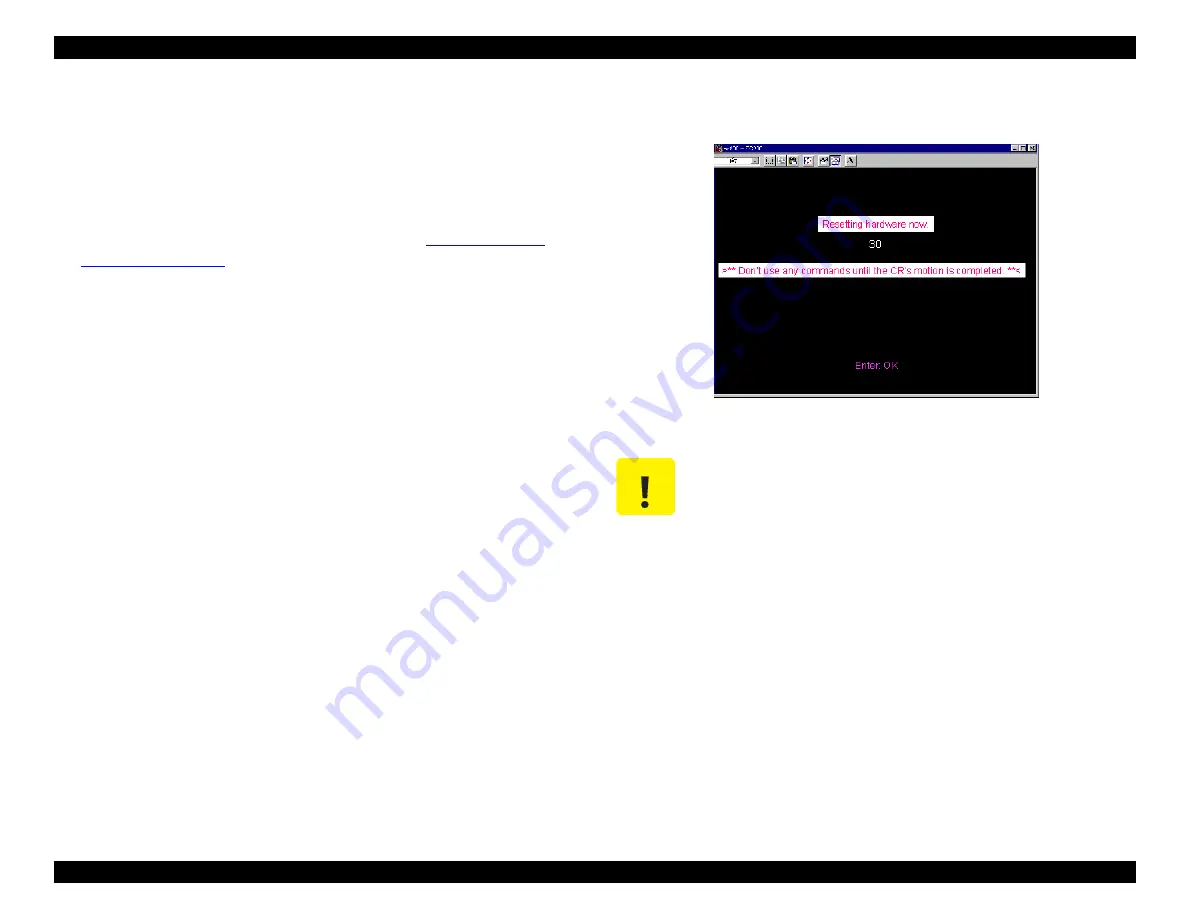
12. Push the color ink cartridge toward the rear, re-tighten the screws,
and then press Enter to print another test pattern.
13. Continue moving the adjustment lever down, notch by notch, and
print a new test pattern each time. After you print the fifth test
pattern, the printer ejects the page.
14. Choose the best pattern of the five, referring to
15. Loosen the head fixing screws, and then set the adjustment lever to
the position that corresponds to the best test pattern. Push the color
ink cartridge toward the rear and re-tighten the screws.
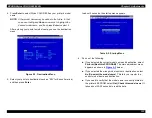
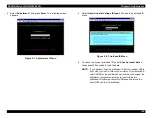
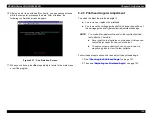
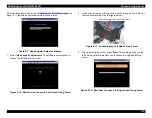
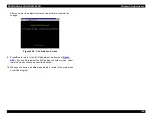
16. Select End from the re-adjustment menu. It takes about 30 seconds
for the printer to reset, during which the following screen appears:
Figure 5-25. Hardware Resetting Screen
17. When the printer finishes resetting, press Esc repeatedly to return
to the main menu or exit the program.
C A U T I O N
Do not touch the printer controls or send any print
commands during this important sequence.
Summary of Contents for 900N
Page 1: ...EPSONStylusCOLOR900 900N Color ink jet printer TM SC900 N 6 59 0 18 ...
Page 8: ... 37 5 PRODUCTDESCRIPTION ...
Page 37: ... 37 5 OPERATINGPRINCIPLES ...
Page 67: ... 37 5 TROUBLESHOOTING ...
Page 89: ... 37 5 DISASSEMBLYANDASSEMBLY ...
Page 121: ... 37 5 ADJUSTMENTS ...
Page 156: ... 37 5 MAINTENANCE ...
Page 169: ... 37 5 APPENDIX ...
Page 179: ...EPSON Stylus COLOR 900 900N Chapter 7 Appendix 176 Figure 7 3 C265 Main Board Soldering side ...
Page 181: ...EPSON Stylus COLOR 900 900N Chapter 7 Appendix 178 Figure 7 6 C265 PNL Board ...
Page 195: ...06 03 01 02 for S E ASIA 03 03 05 03 04 EPSON STYLUS COLOR 900 No 7 10056 Rev 01 ...
Page 197: ......
Page 198: ......
Page 199: ......
Page 200: ......
Page 201: ......


