English
39
Setting the Network Environment
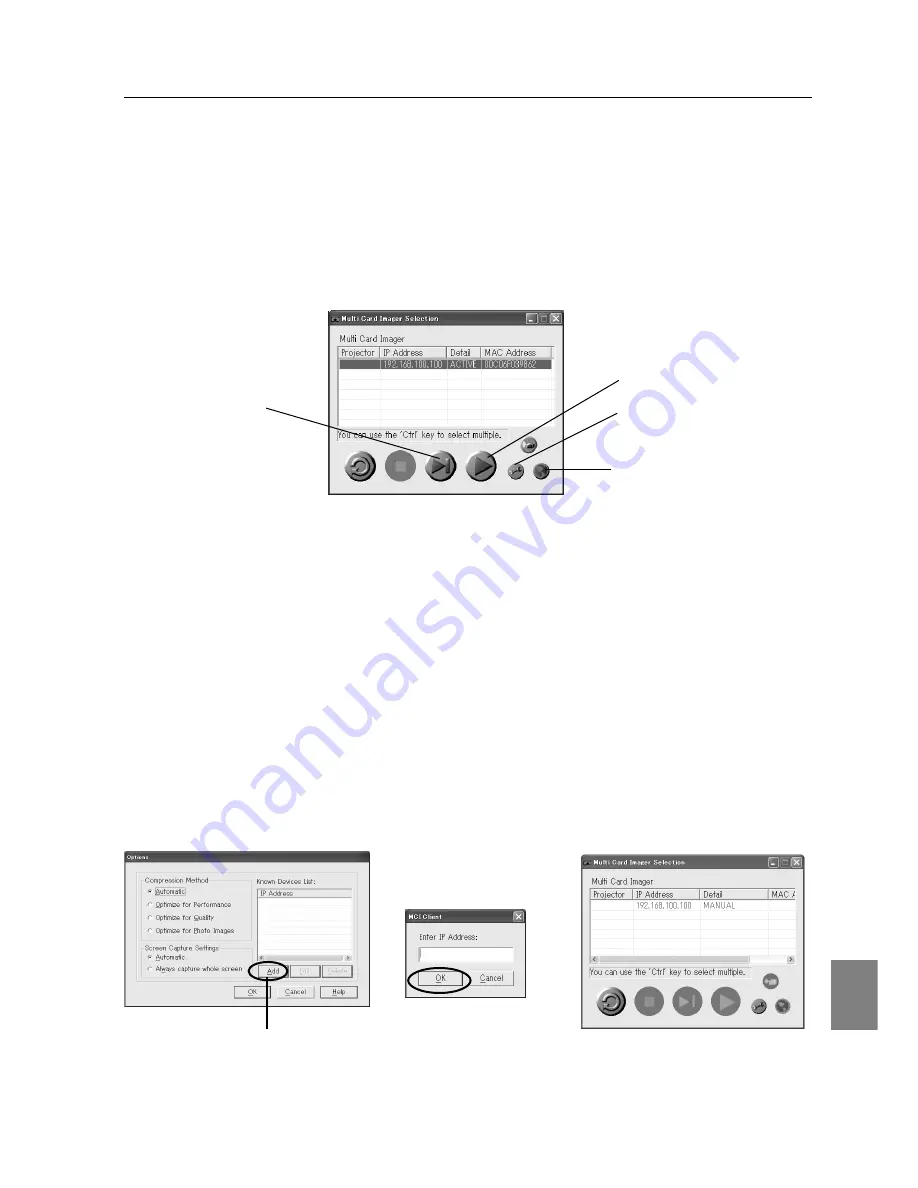
2. Select a projector
Point the projector you wish to connect with the mouse cursor. The pointed projector will be
highlighted.
3. Click "Capture" button
Click One-shot Capture button or Real time Capture button. Confirm if the image of your
computer screen is properly projected from the projector.
Caution: MCI Client computer cannot communicate with the projector installed in the segment which is
beyond the rooter. In this case, specify the IP address as following procedure.
1. Click Options button
Click Options button on the main screen. Options screen will be displayed.
Click Add button to show the IP Address screen.
2. Enter IP address
Enter the same IP address as the one set to the projector. (e.g.192.168.100.100)
Click OK button.
3. The entered IP address is shown in the window
Press OK button to close the Options Screen.
The entered IP address and "MANUAL"is added to the window.
Note:
Detailed information of the network can be configured by browser. Refer to "8. Configuration
with Browser" on P41
Options
Real time Capture
One-shot Capture
Add
Options Screen
Configure with Multi Card
Imager device button (P43)
Summary of Contents for MCD-100
Page 2: ...2...
Page 34: ...34 6 Wired LAN Configuration...
Page 40: ...40 7 Wireless LAN Configuration...
Page 60: ...60 9 Display Image via Network...
Page 88: ...88 11 Network Viewer...
Page 96: ...96...


