


Ch. 4 - Taking a Picture
Captures for Preparation and Modification
User's Guide to the SPOT Cooled Color Digital Camera, 6/9/98
53
−
The file size for a region is smaller and easier to manage.
To use the Set Image Region option, follow these steps:
2.
Position the cursor at the upper left edge of the image region that you want to capture.
3.
Click on the left mouse button and use the mouse to drag the cursor across the screen.
A dotted border appears around the region that you select.
4.
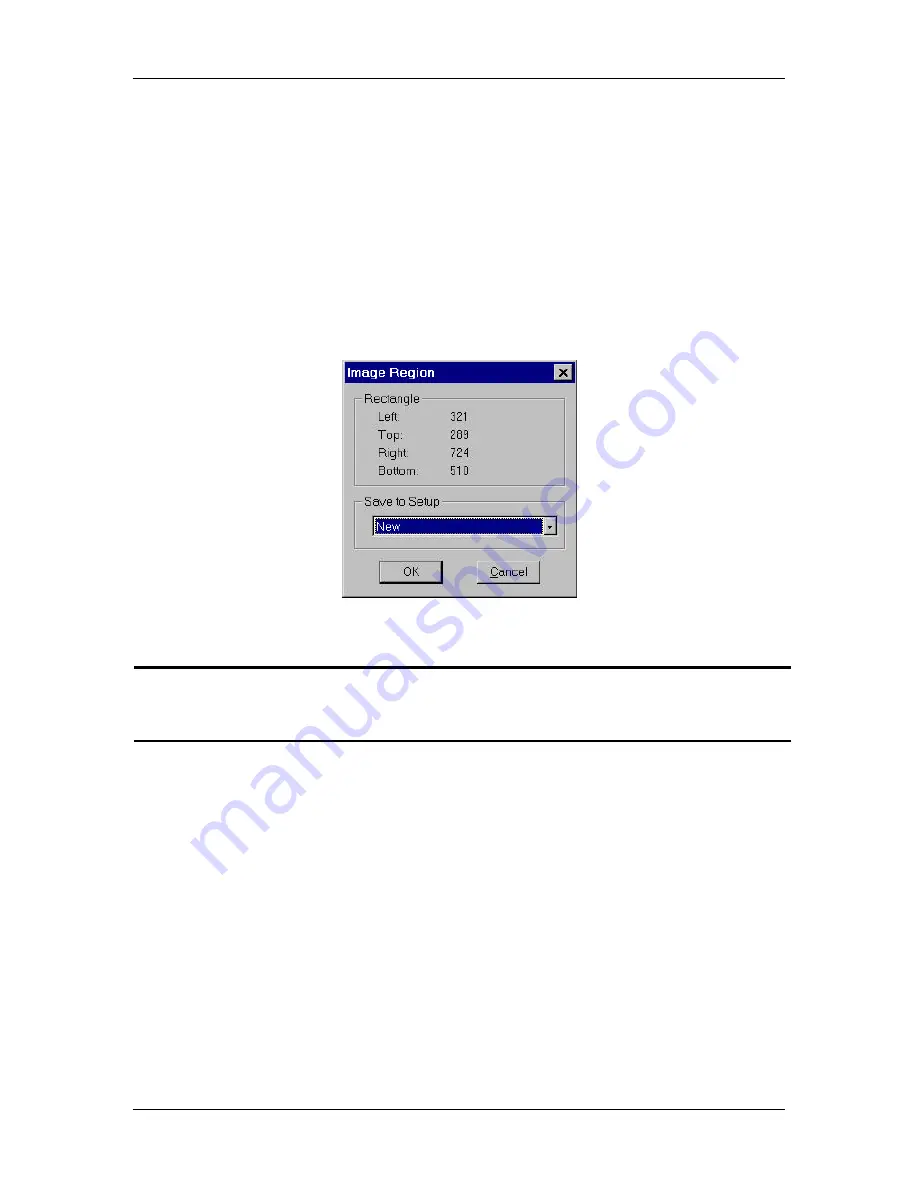
From the Camera menu, select the Set Image Region option. The Image Region
window displays the pixel locations for the borders of the region that you selected, as
illustrated below:
5.
Click on OK to save the region values to the current image setup, or select a different
image setup. The region values are now saved to the image setup.
!
Note: The image setup will automatically use the region values that you specified
for subsequent image captures. Refer to Chapter 3, Preparing to Take a Picture
for other region capture techniques.
6.
Select either the Get Image (exposure from setup) option or the Get Image (last used
exposure) option. The new image capture displays only the region that you selected.
Compute Exposure
The Compute Exposure option determines the correct red, green, and blue exposure times
for an image, as well as the gain. This allows you to avoid the auto-exposure sequence
that takes place each time that you use the Get Image (exposure from setup) option.
Using the Compute Exposure option also cause two changes to your current image setup:
§
The computed exposure values are added to your current image setup.
§
The current image setup, if set to Auto-Exposure, is changed to User-Defined.


