


Ch. 8 - Printing Options
User's Guide to the SPOT Cooled Color Digital Camera, 6/9/98
129
2.
Add an image to the page for printing. Follow these steps:
a)
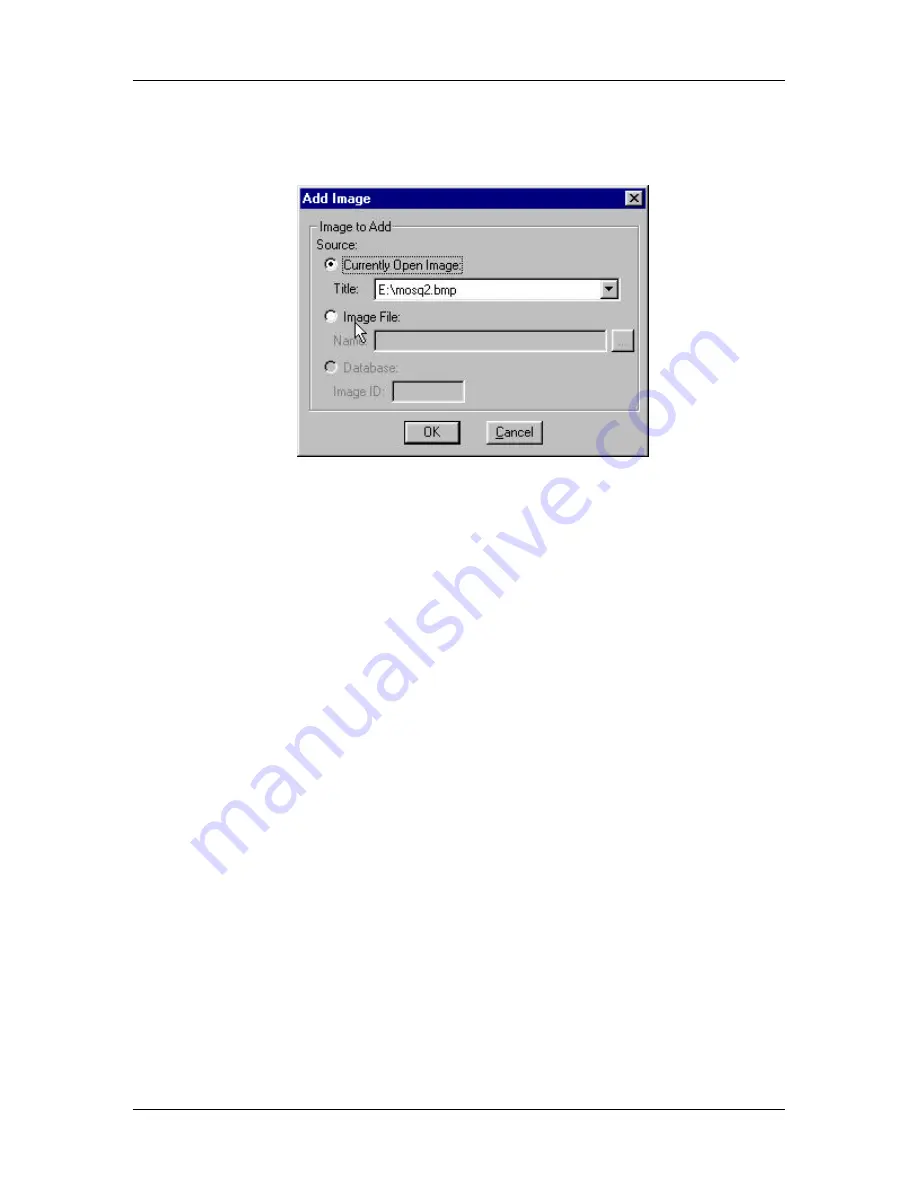
Click on the Add button. The Add Image window appears, as shown here:
b)
Select the image that you want to add. An image can be added in one of three
ways:
♦
It can be selected from an open image other than the currently active image
(i.e., the one displayed on-screen). This option can be very useful if you have
several versions of an image open and want to print out a comparison sheet.
To add an image from a list of open images, click on the
Currently Open
Image
option and select the desired image.
♦
It can be added from a file directory.
To add an image file from a directory check the
Image File
option, and click
on the square next to the box. Browse for the desired image.
♦
It can be added from an open SPOT database.
To add an image file from a SPOT database, you must know its Image ID
number. After you have determined the number, check the
Database
option,
and enter the eight digit Image ID.
c)
Click on OK. The program places the newly added image on top of the original
image, covering the original image.
3.
To add additional images, repeat step 2.


