


Ch. 2 - Navigating the SPOT Software
Preliminary Setting
User's Guide to the SPOT Cooled Color Digital Camera, 6/9/98
18
Preliminary Settings
There are two program settings that should be checked/defined prior to capturing images.
§
Preferences
§
Initialize
Preferences
The SPOT program allows you to set three basic operating preferences:
§
Toolbar position (on-screen)
§
JPEG image quality
§
Automatic fit to window sizing
To set the operating preferences, follow these steps:
1.
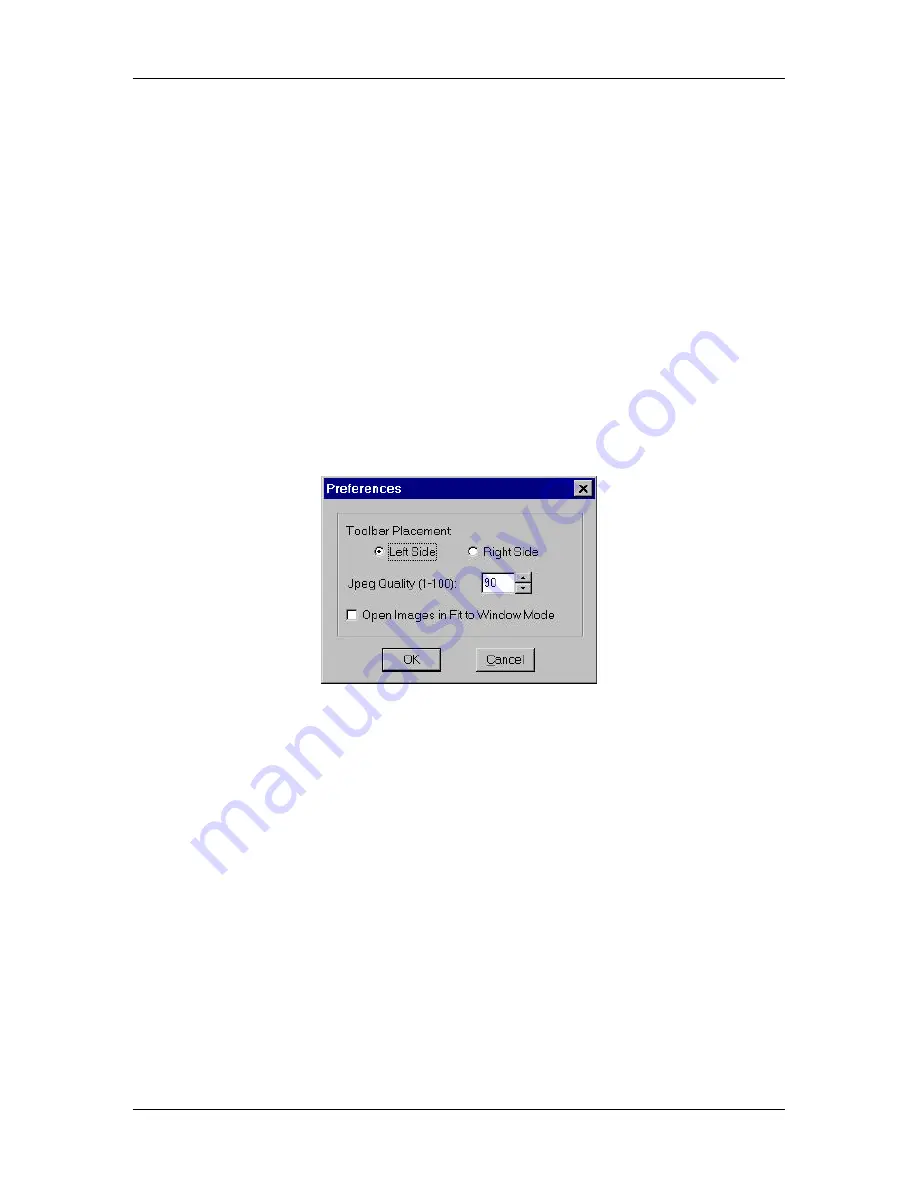
From the Setup menu, select the Preferences option. The following window appears:
2.
Select the screen position for the Toolbar Placement. The default is Left Side.
3.
Enter an integer between 1 and 100 to set the JPEG quality for images. JPEG quality
refers to the level of compression for JPEG images. A value of one is the most
compressed (and lowest image quality), while a value of 100 is the least compressed
(and highest image quality). The default setting is 100.
4.
Determine whether images should open in Fit to Window mode. This box is checked
as a default. If this option is selected, the program automatically sizes images to fit
the available screen space when you open or capture an image. Thus, you can im-
mediately see the entire image without having to zoom out. This is especially useful
with smaller monitors.
Initialize
If you turned on the SPOT power supply after you opened the program, you need to
initialize the camera in order to activate all of the capture and editing options. To do so,
select the Initialize option from the Camera menu.


