


Ch 3 – Preparing to Take a Picture
Image Setup Options
User’s Guide to the SPOT Cooled Color Digital Camera, 6/9/98
45
6.
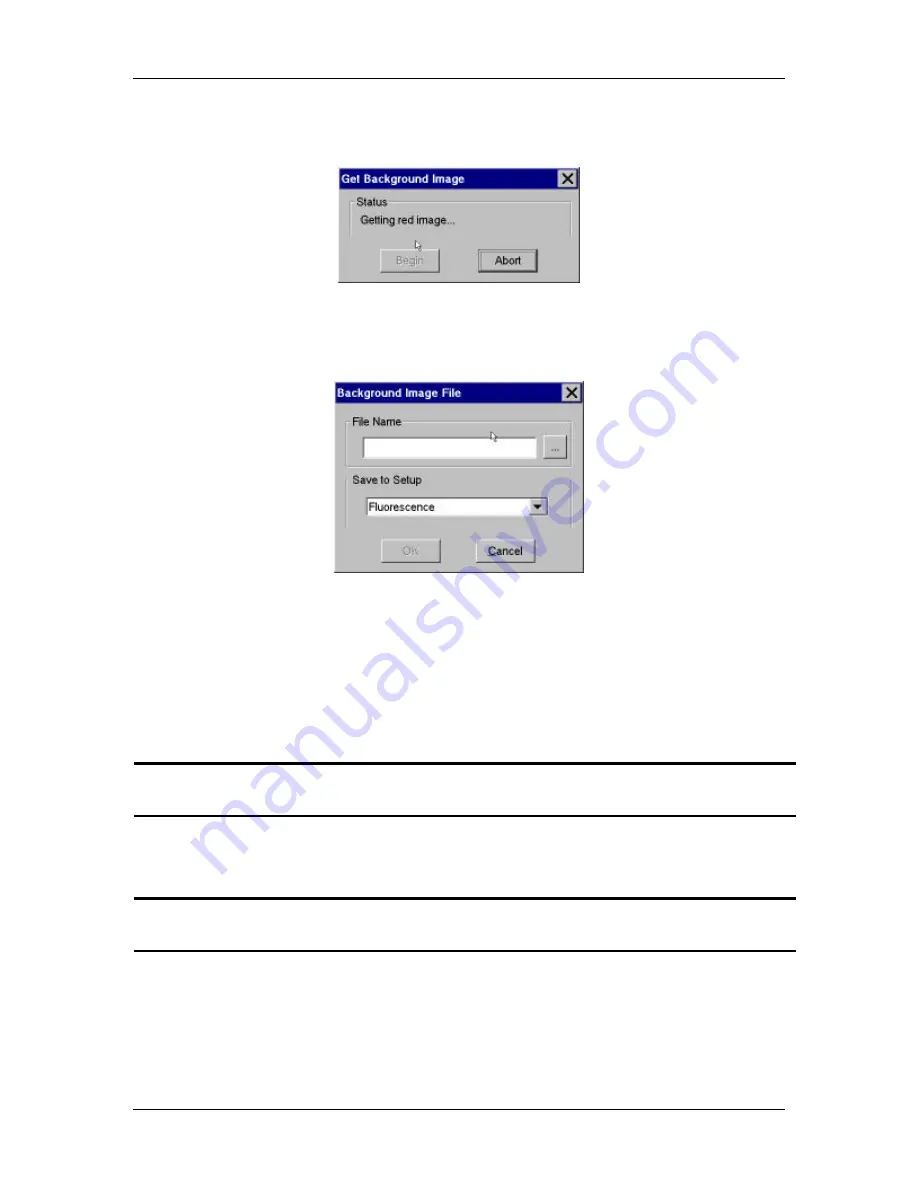
Move the slide so that only the background portion of the specimen is in the field of
view, and click on OK. The Get Background Image window appears, as shown here:
7.
When the program finishes getting the background image (i.e., the image that will be
subtracted from the final image of the specimen), the Background Image File window
prompts you to name the background image:
8.
Enter a name in the File Name box. Because background image files are different for
each objective, you might want to name the background file according to the
objective's magnification (i.e., 10x).
9.
Choose the file location that you will save the background image to. The program
automatically saves the background image file to the
c:\SpotCam\bkgdimgs
directory. To specify a different directory, click on the square to the right of the File
Name box and browse for a location.
!
Note: The default file location varies, depending on where you installed the SPOT
program.
10.
Specify the image setup that will be associated with this background image file when
using the Background Subtract option. The current setup is the default. When you
open the setup, the Background Subtract option is selected.
!
Note: Fluorescence is one of the five image setups provided as a part of the SPOT
software.
11.
Click on OK.


