198
Copying
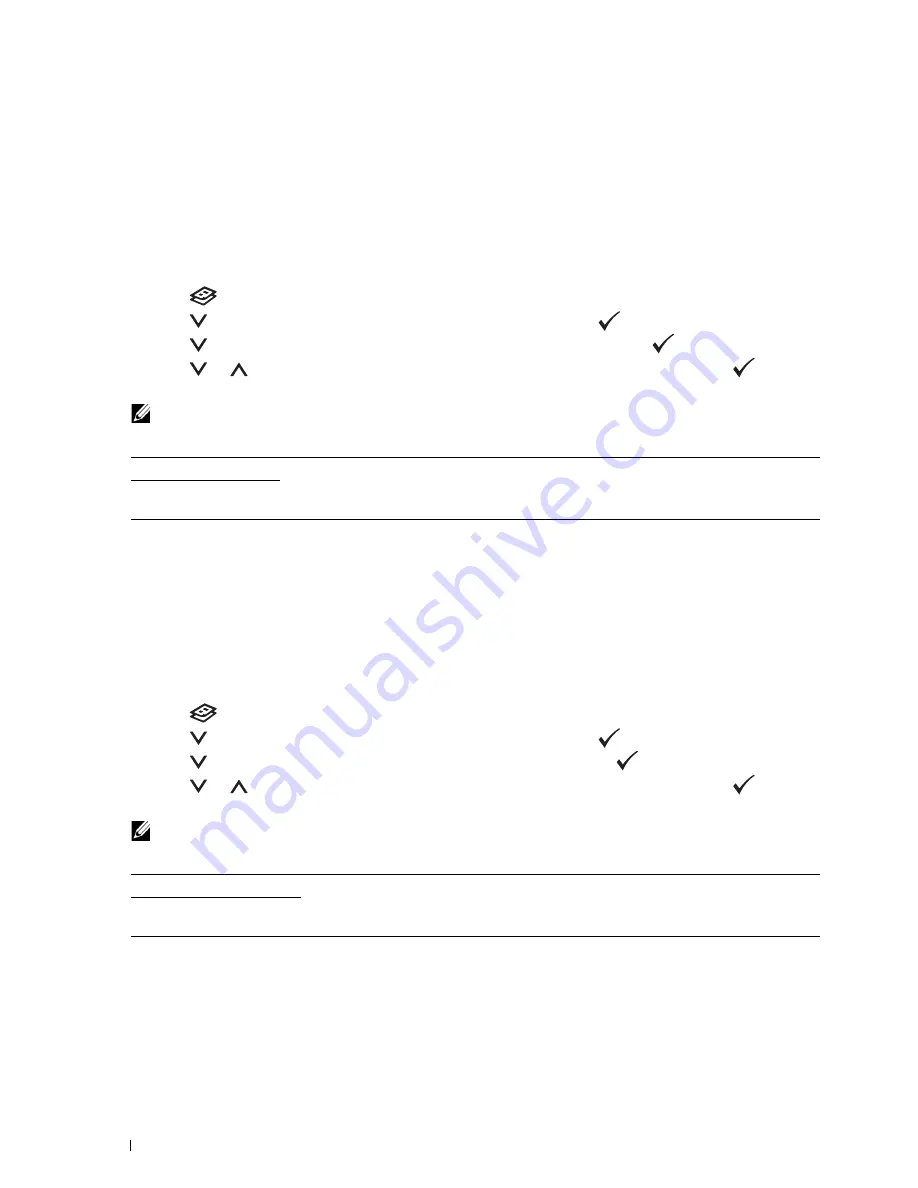
Margin Left/Right
To specify the left and right margins of the copy:
1
Load the document(s) face up into the ADF with the top edge of the document(s) in first.
OR
Place a single document face down on the document glass, and close the document cover.
For details about loading a document, see "Making Copies From the ADF" on page 191 or "Making Copies From
the Document Glass" on page 189.
2
Press the
(Copy)
button.
3
Press the
button until
Preferences
is highlighted, and then press the
(Set)
button.
4
Press the
button until
Margin Left/Right
is highlighted, and then press the
(Set)
button.
5
Press the
or
button or enter the desired value using the numeric keypad, and then press the
(Set)
button.
NOTE:
Values marked by an asterisk (
*
) are the factory default menu settings.
Margin Middle
To specify the middle margin of the copy:
1
Load the document(s) face up into the ADF with the top edge of the document(s) in first.
OR
Place a single document face down on the document glass, and close the document cover.
For details about loading a document, see "Making Copies From the ADF" on page 191 or "Making Copies From
the Document Glass" on page 189.
2
Press the
(Copy)
button.
3
Press the
button until
Preferences
is highlighted, and then press the
(Set)
button.
4
Press the
button until
Margin Middle
is highlighted, and then press the
(Set)
button.
5
Press the
or
button or enter the desired value using the numeric keypad, and then press the
(Set)
button.
NOTE:
Values marked by an asterisk (
*
) are the factory default menu settings.
4 mm*/0.2 inch*
Specify the value in increments of 1 mm/0.1 inch.
Available Range:
0-50 mm/0.0-2.0 inch
0 mm*/0.0 inch*
Specify the value in increments of 1 mm/0.1 inch.
Available Range:
0-50 mm/0.0-2.0 inch
Summary of Contents for E525w
Page 1: ...Dell Color Multifunction Printer E525w User s Guide Regulatory Model Dell E525w ...
Page 2: ......
Page 260: ...260 Maintaining Your Printer 25 Maintaining Your Printer 261 26 Clearing Jams 276 ...
Page 287: ...Clearing Jams 287 8 Close the rear cover ...
Page 288: ...288 Troubleshooting 27 Troubleshooting 289 ...
Page 308: ...308 Appendix Appendix 309 ...


