114
Files and Folders
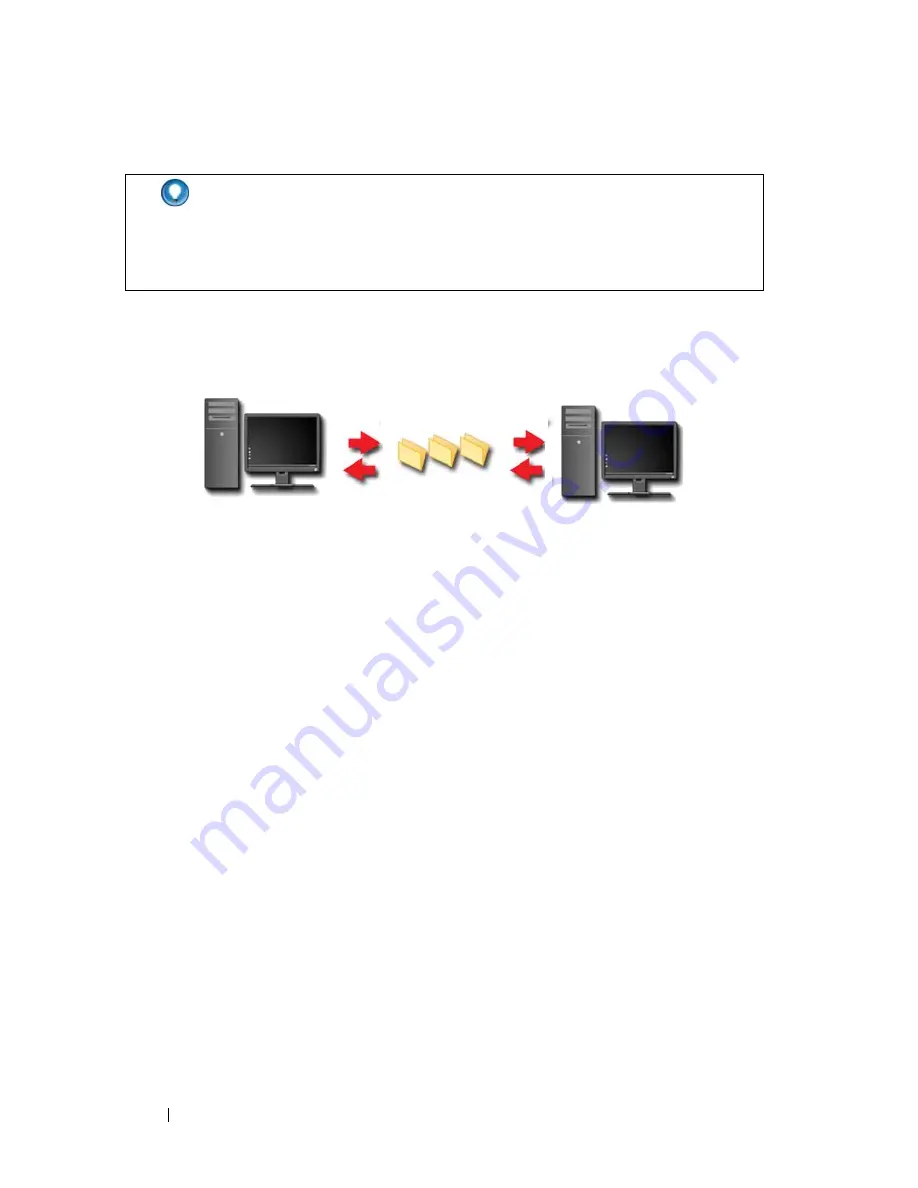
Sharing Files
Windows Vista
1
Click one or more files or folders that you want to share, and click
Share
.
2
In the
File Sharing
dialog box, click one of the following:
•
On the same computer:
Type the name of the person you want to
share files with, and click
Add
.
•
On a domain — individuals:
Click the arrow to the right of the text
box, and then click
Find
. Type the name of the person you want to
share files with, click
Check Names
, and click
OK
.
•
On a domain — everyone:
Click the arrow to the right of the text box,
click
Everyone
, and click
Add
.
•
On a workgroup
: Click the arrow to the right of the text box, click the
person's name, and click
Add
.
You may have to create a new user account to share files with some users.
3
Under
Permission Level
, click the arrow next to each person or group and
select sharing permissions:
•
A
Reader
can view shared files, but not add, alter, or delete them.
•
A
Contributor
can view or add shared files, but can only alter or delete
files he or she has contributed.
HINT:
When you delete a file, Windows places the file in the Recycle
Bin in case you need to restore the file. To permanently delete a file,
empty the Recycle Bin. To empty the Recycle Bin, double-click the
Recycle Bin icon and select Empty Recycle Bin from the File menu.
Summary of Contents for 540 - USB Photo Printer 540
Page 1: ...w w w d e l l c o m s u p p o r t d e l l c o m Dell Technology Guide ...
Page 32: ...32 Finding Information ...
Page 98: ...98 Drives and Media ...
Page 120: ...120 Files and Folders ...
Page 148: ...148 Power Power Settings Power Protection Devices and Batteries ...
Page 170: ...170 Networks LAN Wireless Mobile Broadband ...
Page 190: ...190 Accessing the Internet ...
Page 202: ...202 E mail ...
Page 214: ...214 Multimedia ...
Page 260: ...260 Security and Privacy ...
Page 264: ...264 Microsoft Windows XP Pro Remote Desktop ...
Page 306: ...306 Troubleshooting ...
Page 330: ...330 Ports ...
Page 338: ...338 Getting Help ...


