1.4.3 Installing Upgraded ISEs in the Mass Storage Cavity
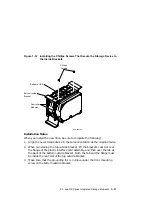
To install a 5.25-inch ISE upgrade or an upgraded 3.5-inch ISE, complete the
following procedure:
1.
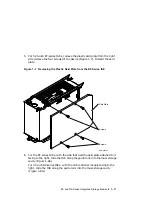
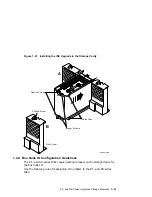
For the EF-series ISEs, with the side that had the skid plate attached to it
facing to the right, slide the ISE along the guide rails into the mass storage
cavity (Figure 1–13A).
For 3.5-inch RZ-series ISEs: with the ISE controller module facing to the
right, slide the ISE along the guide rails into the mass storage cavity
(Figure 1–13A).
2.
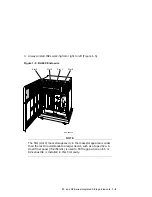
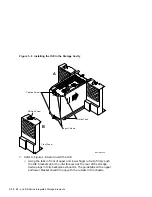
Refer to Figure 1–13A and install the ISE.
p
Using the tabs in front of upper and lower finger cutouts, firmly push
the ISE brackets until the interface card at the rear of the storage
device plugs into its backplane connector. The guide tabs on the upper
and lower bracket should line up with the cutouts in the chassis.
3.
Tighten the two captive screws at the top and bottom of the bracket.
CAUTION
It is normal for there to be a small gap between the ISE mounting
bracket tabs and the enclosure frame. Tighten the captive screws only
until they are securely fastened (9 inch pounds). Do not try to force the
tabs to fit flush against the frame.
4.
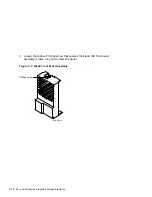
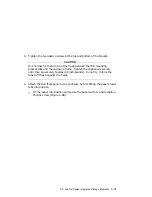
Attach the ISE front panel to the enclosure by first fitting the panel’s lower
tabs into position. Fit the panel into position and secure the panel with its
single captive Phillips screw (Figure 1–13B).
1–22 EF- and RZ-Series Integrated Storage Elements

