Chapter 3: Using the Administration Interface
52
Equalizer Installation and Administration Guide
Logging In and Navigating the Administrative Interface
The Equalizer Administration Interface can be opened in any Javascript-enabled browser. Two default logins are
provided: the
look
login provides read-only access to the interface, and the
touch
login lets you view and edit the
configuration. (The section “Managing Multiple Interface Users” on page 56 shows you how to add additional
logins as well as define the resource that any login can view or edit.)
Logging In
On an E250GX, log into the management IP for either the Internal Interface or the External Interface (if configured).
On other Equalizer models, log into Equalizer over any VLAN interface that is configured to allow GUI access. If
you have a new Equalizer that has just been configured as described in the previous chapter, only the Default VLAN
IP address will be available. If you have additional VLANs configured and enabled for GUI access, you can log in
using the VLAN IP address on those VLANs as well. The instructions below assume you are logging in on the
Default VLAN:
1. Open a Javascript-enabled web browser. We recommend that you use one of these browsers:
•
Internet Explorer Version 7 or later
•
Firefox Version 2 or later
2. From the browser, open the URL that corresponds to Equalizer's Default VLAN IP address, using either the
http
or
https
protocols. For example, if the Default VLAN IP address is
199.146.85.2
, open the Equalizer
Administration Interface by typing
http://199.146.85.2 or https://199.146.85.2
into the
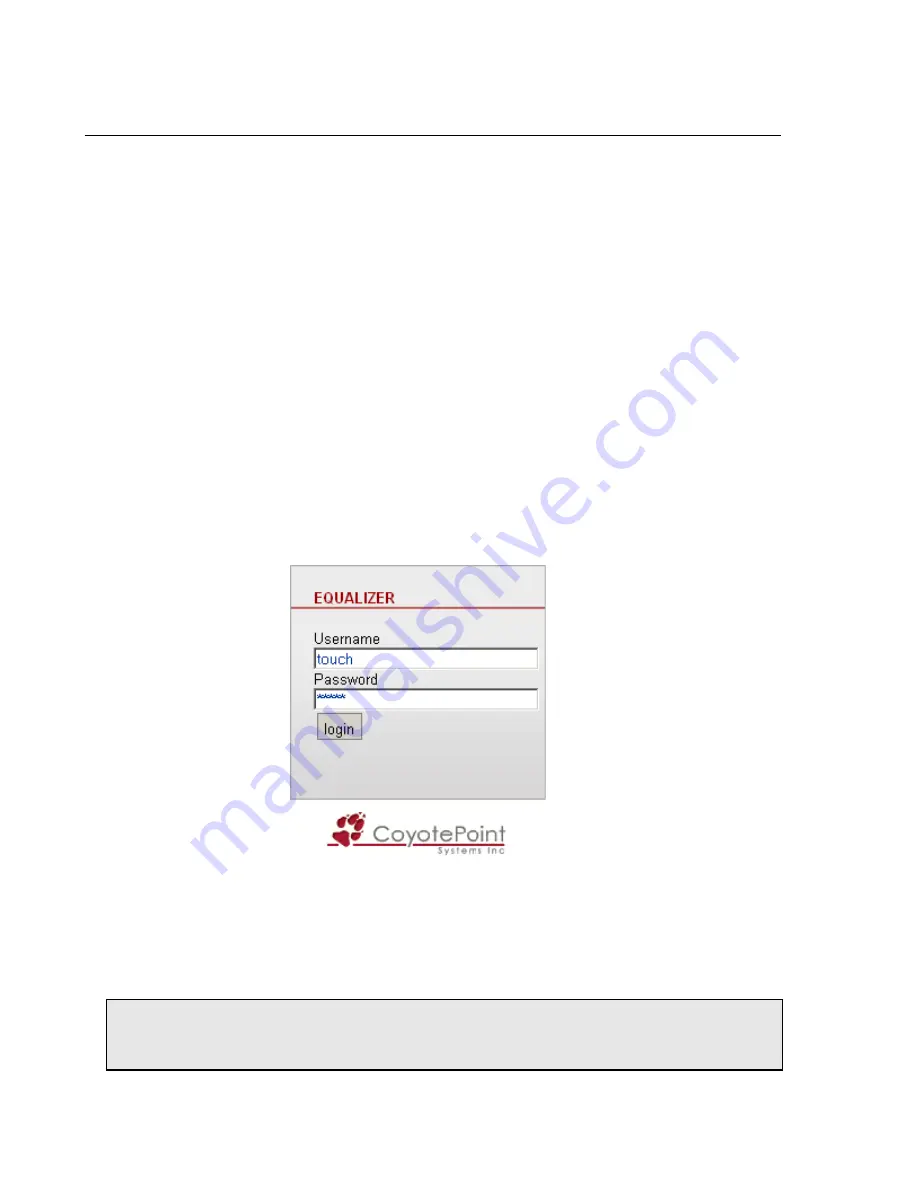
browser’s address bar. Equalizer displays the login screen:
Figure 14 The login screen
Use the
https
protocol to access the interface using SSL and a server certificate. This is recommended when
accessing Equalizer over a public network (such as the Internet).
3. Enter
touch
(administrator),
look
(read-only), or another defined login as
Username
. Enter the
Password
for
the login.
Note –
Initial passwords for the
touch
and
look
logins are “touch” and “look”, respectively. These passwords
can be changed and additional user logins defined as shown in
“Managing Multiple Interface Users” on
page 56.
Summary of Contents for E350GX
Page 18: ...Chapter Preface 18 Equalizer Installation and Administration Guide ...
Page 38: ...Chapter 1 Equalizer Overview 38 Equalizer Installation and Administration Guide ...
Page 80: ...Chapter 4 Equalizer Network Configuration 80 Equalizer Installation and Administration Guide ...
Page 110: ...Chapter 5 Configuring Equalizer Operation 110 Equalizer Installation and Administration Guide ...
Page 208: ...Chapter 7 Monitoring Equalizer Operation 208 Equalizer Installation and Administration Guide ...
Page 240: ...Chapter 8 Using Match Rules 238 Equalizer Installation and Administration Guide ...
Page 262: ...Appendix A Server Agent Probes 258 Equalizer Installation and Administration Guide ...
Page 274: ...Appendix B Timeout Configuration 270 Equalizer Installation and Administration Guide ...
Page 280: ...Appendix D Regular Expression Format 276 Equalizer Installation and Administration Guide ...
Page 310: ...Appendix F Equalizer VLB 306 Equalizer Installation and Administration Guide ...
Page 318: ...Appendix G Troubleshooting 314 Equalizer Installation and Administration Guide ...


