Using the scanner, how do I
…
Scan to File?
6-8
6.2.5 Set the Scan-to-File Size (input size)
This same Scan-to-File Menu option can also be reached by pressing the function
Size
button.
The value you set here determines the scan area. Usually this would be the size of the original unless you
wish only to input a portion.
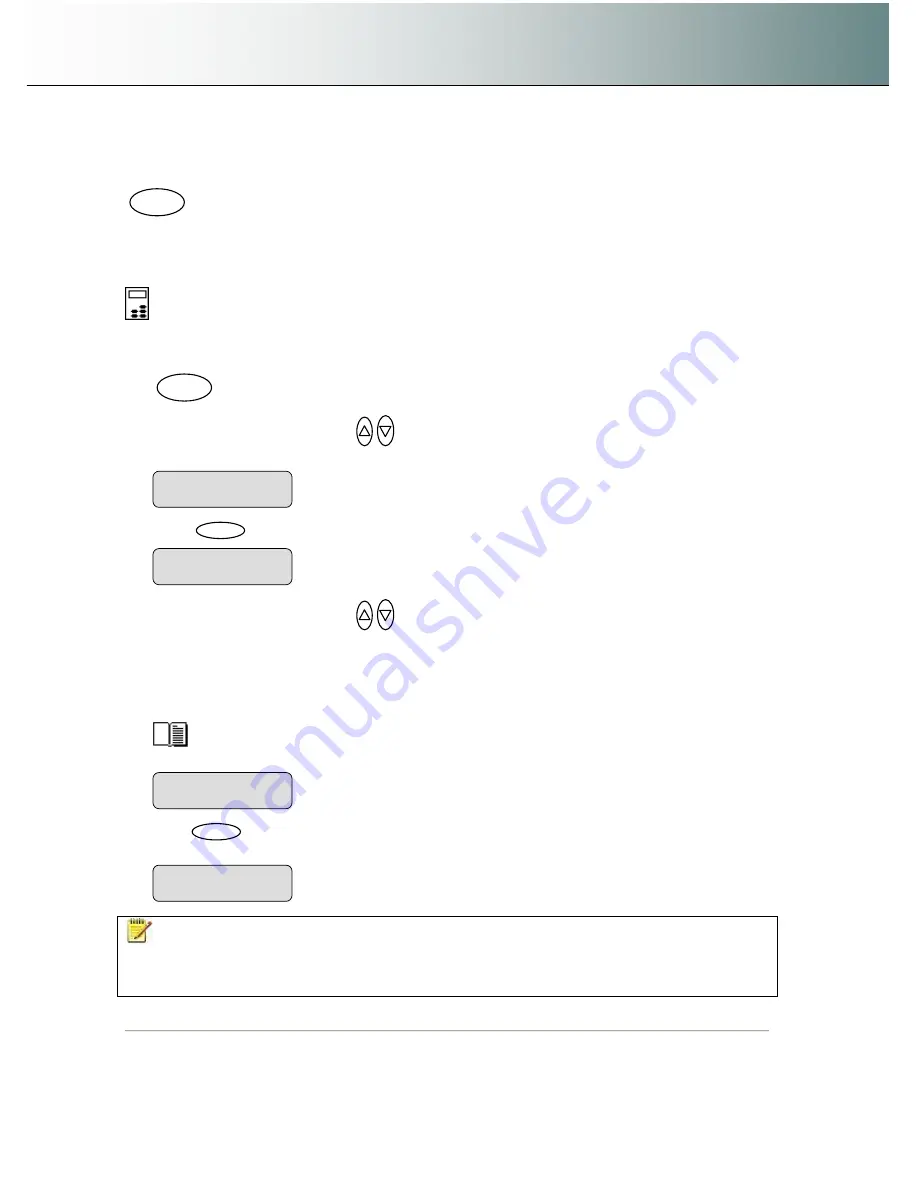
To set the Scan-to-File
Size
:
On the iJET Panel
–
1. If you are not already in the Scan-to-File menu, start/enter the menu with the Scan to button as
described in the beginning of this section.
2. Press the arrow up/down buttons
to move through the Scan-to-File Menu options until the
display shows
Size.
3. Press
Enter
to move the
“
>
”
marker down to indicate you want to change the
Size
value.
4. Press the arrow up/down buttons
to change the
Size
value.
5. The
Auto
option will detect the edges of the original and set the scan area to the full original size.
This is the recommended setting
. If necessary, you can later crop the image in an image editor
after it has been saved to the target PC.
The standard sizes shown are those that belong to the
Paper Series
you selected through
Menu >
Advanced > Options > Paper Series.
See this guide
’
s section on
“
Personalizing and Localizing the System
”
for details on selecting a
Paper Series
preference.
6. Press
Enter
to accept the selected value and move the
“
>
”
marker back up to the Scan-to-File
Menu level so you are ready to move on to the next Scan-to-File setting.
NOTE
:
About the Size value:
Size
is a global system variable that can be changed in 3 different
ways: 1. With the
Size
button 2. With the
Menu
button >
Size
option and 3. With the Scan-to button >
Size
option. This means that when you change the size for a copy job, it will also apply for a scan-to-file job
and vise versa until you change it again.
.
Size
> Auto
The
“
>
”
marker is back up to the Scan-to-File Menu
level.
>
Size
Auto
The
“
>
”
marker is down to the value level so you can
change the value.
Size
>
A3
>
Size
A3
Scan to
Size


