Configuration and Setup
3-6
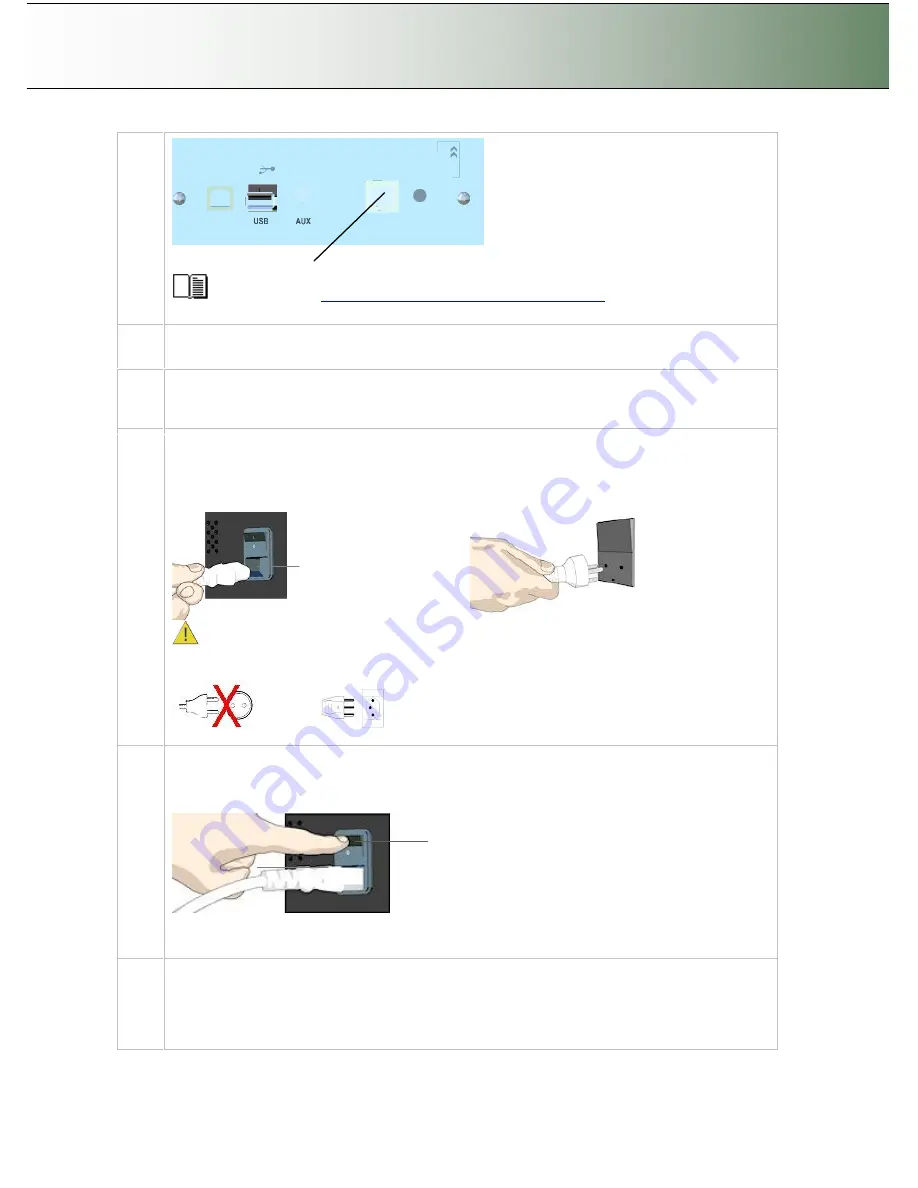
LAN port
See the section
“
Locating the Interface Cable Connector Panel
”
for instructions regarding
your specific scanner model.
3
Connection
–
network end.
Connect the other end of the LAN cable to the network or switch.
4
Quick clean for dust
Clean your scanner
’
s surface so dirt and dust are not dragged into the scan area with the original.
Wipe the glass with a dry cloth to remove any dust in the scan area.
5
Connect scanner power cable
At back of the scanner, you will find the scanner-end power cable socket, just below the Main Poer
Switch. Connect the cable to the scanner plug socket and then the other end to your grounded
power source.
Scanner-end power socket
Plug-in in power source
Caution:
The scanner is equipped with a three-wire (pin) grounding type plug. If you cannot
insert the plug into your outlet, contact your electrician to replace the outlet and ensure a
grounded power connection. Do not try to defeat or ignore the purpose of the grounding-type plug.
6
Turn (power) on the scanner and the printer
To turn on the scanner - at back of the scanner, above the scanner-end power cable plug you will
find the main power switch. Flip the main power switch to ON (marked
“
I
”
). The scanner starts the
init and self test sequence and you must wait until these are finished.
Main Power switch
Press the
“
I
”
to turn on.
See your printer
’
s documentation for instructions on connecting power cables to the printer and
switching the printer ON.
Perform Preliminary Maintenance
–
Calibration
You will have to use a PC with WIDEsystem and Scanner Maintenance software installed. To run
scanner maintenance.
Use a local USB connected PC or a LAN connected PC with WIDEsystem and Scanner


