iJET Panel Quick Reference Guide
11-4
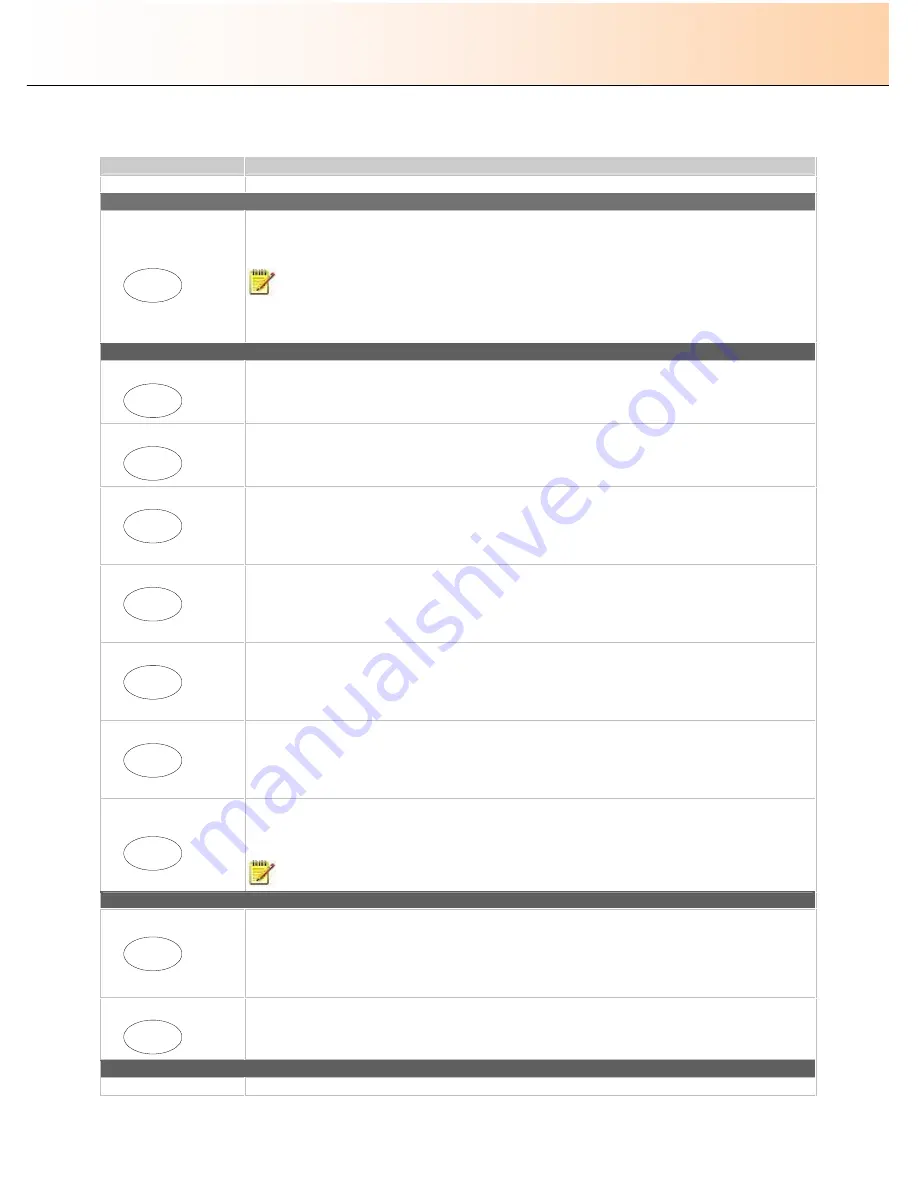
11.1 iJET Panel Buttons Overview
Button
Description
SIZE OF ORIGINAL
–
for both Copy and Scan-to-File jobs
Size
Size
Settings
button
- For setting the size of the original. The
Size
button is used for both copy and scan-to-
file operation. Press the button to activate option setting. You then change the value each time you again
press the button or with the arrow up/down buttons. You can select
Auto
detection
or a standard size
setting.
NOTE
that
Size
is a global system variable that can be changed in 3 different ways: 1. With the
Size
button 2. With the
Menu
button >
Size
option and 3. With the Scan-to button >
Size
option. This
means that when you change the size for a copy job, it will also apply for a scan-to-file job and vise versa
unless you change it again.
COPY (scan to printer)
B&W Copy
B&W
Copy
Action Button:
Starts the scan-to-printer process (copying) based on the current B&W copy settings
made through the
Menu
button and the panel
’
s Lightness, Quality, Copies, Scale, Size buttons.
Color Copy
Color
Copy
Action Button:
Starts the scan-to-printer process (copying) based on the current color copy settings
made through the
Menu
button and the panel
’
s Lightness, Quality, Copies, Scale, Size buttons.
Lightness
Lightness
Settings Button:
For increasing or decreasing lightness in the copy. Press the button to activate option
setting. You then change the value each time you again press the button or with the arrow up/down
buttons.
Quality
Quality
Settings Button:
For setting copy quality to
Fast
,
Normal
or
Best
. Press the button to activate option
setting. You then change the value each time you again press the button or with the arrow up/down
buttons.
Copies
Copies
Settings Button:
For setting the number of (how many) copies you want output. Press the button to
activate option setting. You then change the value each time you again press the button or with the
arrow up/down buttons.
Scale
Scale
Settings Button:
For setting a value that defines the output size in relation to the input size. For making
copies larger or smaller than the original. Press the button to activate option setting. You then change
the value to predefined scale ratios each time you again press the button. Use the arrow up/down
buttons for fine tuning - 1 step increments of the currently displayed value. Press the
Enter
button to
save.
Menu
Menu
Menu Button:
Leads to submenus and options for:
Entering company defaults for color and B&W copy jobs and changing settings for special jobs.
Setting up the system including network, printer and preferences.
Maintenance and calibration of the scanner.
NOTE
: See a complete overview of submenus and options in the Menu button section.
SCAN TO FILE
Scan to
scan to
Settings and Menu Button:
For Scan-to-file
–
For selecting a scan-to-file target (PC on the network)
and for setting scan-to-file options. You change the scan target each time you press the button. Keep
pressing until you see the right target in the window. Then, pressing
Enter
will lead to the Scan to File
Menu with its many scan-to-file options you can select for the job. Scan-to-file options include modes,
formats, and resolution.
Note: See complete overview of the submenus and options in the Scan to button section.
Scan
Scan
Action Button:
Starts the scan-to-file process based on the current settings made through the
Scan to
button.
OPERATION
–
CONTROL / NAVIGATION
Enter
Control Button:
To move through
menu options
until the right option is displayed.


