CTD-N Technical Manual
P/N 95F-6000-00 (February 2017)
page 39
EAR-Controlled Technology Subject to Restrictions Contained on the Cover Page.
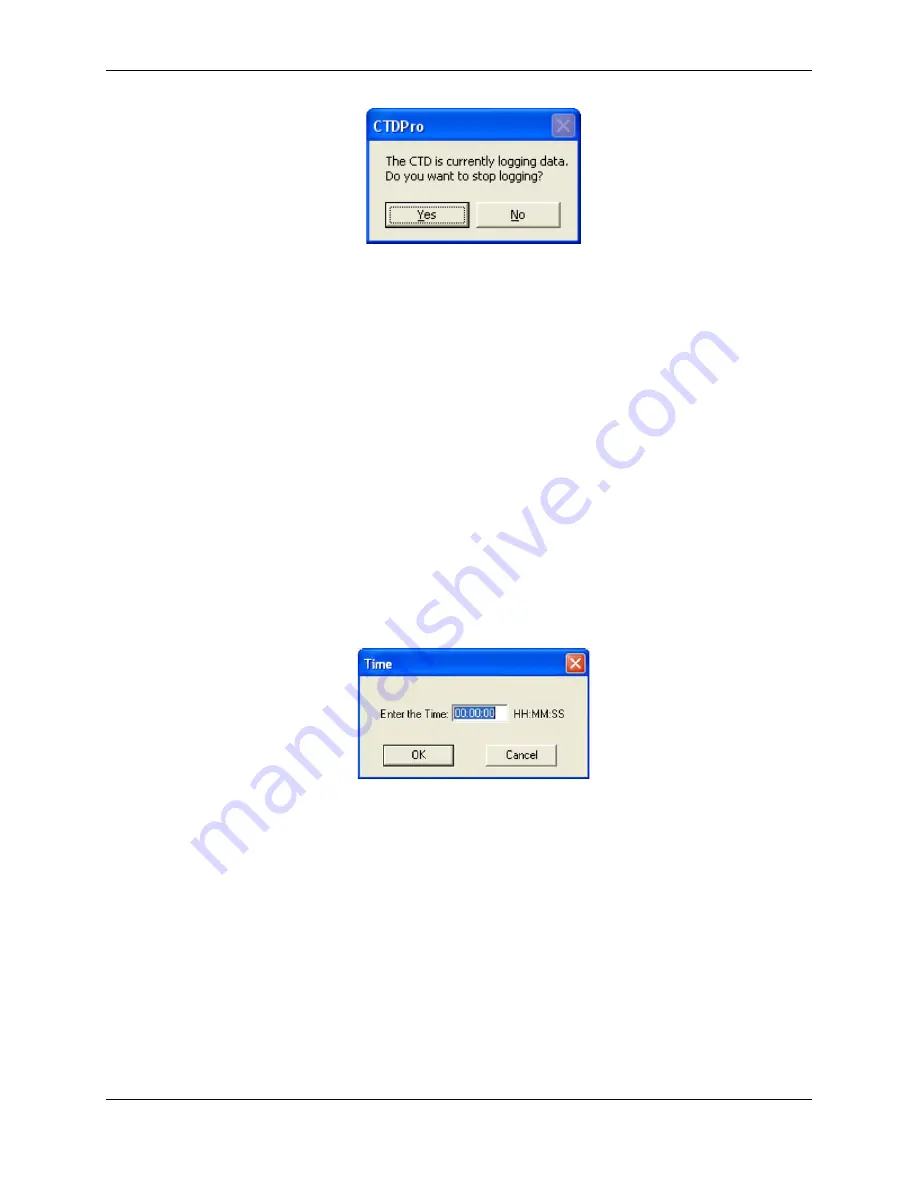
5. Click Yes to stop data logging, or click No to continue.
If you click No, the window closes and data acquisition continues without interruption.
If you click yes, data logging stops, the window closes and the CTD-N Configuration dialog
box shown in Figure 13 opens.
6. If the local time and date require setting, click Set Time Date in the CTD-N-CTD Configura-
tion dialog box.
The Set Time window opens displaying the time and date as acquired from the computer on
which CTDPro is running, along with the difference in time between that of the computer
and the instrument.
Click OK to save the new time and date and close the Set Time window.
7. In the Running Mode area of the CTD-N Configuration dialog box, select Interval.
8. Using the up and down arrows in the Interval Time and Record Time scroll boxes, enter the
Interval Time and Record Time in hours, minutes and seconds (hh:mm:ss). Or instead,
click inside each of the scroll boxes, one at a time, to open a Time window:
Enter the time in hours, minutes and seconds (hh:mm:ss) in the Enter the Time text box,
and then click OK. The minimum Record Time is 10 seconds.
9. In the Sampling Rate area, select the desired sampling rate in hertz of the CTD-N from the
drop-down list box.
10. In the Average Time area, use the up and down arrows in the Length scroll box to enter the
Average Time in minutes and seconds (mm:ss).
11. Click Deploy.
The Erase Memory window opens:


