CTD-N Technical Manual
page 36
EAR-Controlled Technology Subject to Restrictions Contained on the Cover Page.
Configuring and Deploying the CTD-N
The CTD-N is configured and deployed in one of the four running modes: Continuous, Interval, De-
layed Start Continuous, or Delayed Start Interval. In addition, in all modes you can select to average
the data over the Average Time.
NOTE.
When selecting to average the data, the Average Time should be evenly divisible into
the Record Time.
Configuring and Deploying the CTD-N in Continuous Mode
To configure a CTD-N for deployment and to acquire and store data in Continuous mode:
1. If necessary, replace the battery pack in the CTD-N. See
structions on how to replace the battery pack.
NOTE.
Replacing the battery pack will not affect the instrument’s configuration, stored data,
or time and date settings.
2. Connect the CTD-N to your computer.
3. Choose Start
➤
All Programs
➤
RD Instruments
➤
CTDPro.
CTDPro starts and the CTDPro Main window opens.
4. Choose CTD
➤
Configure and Deploy.
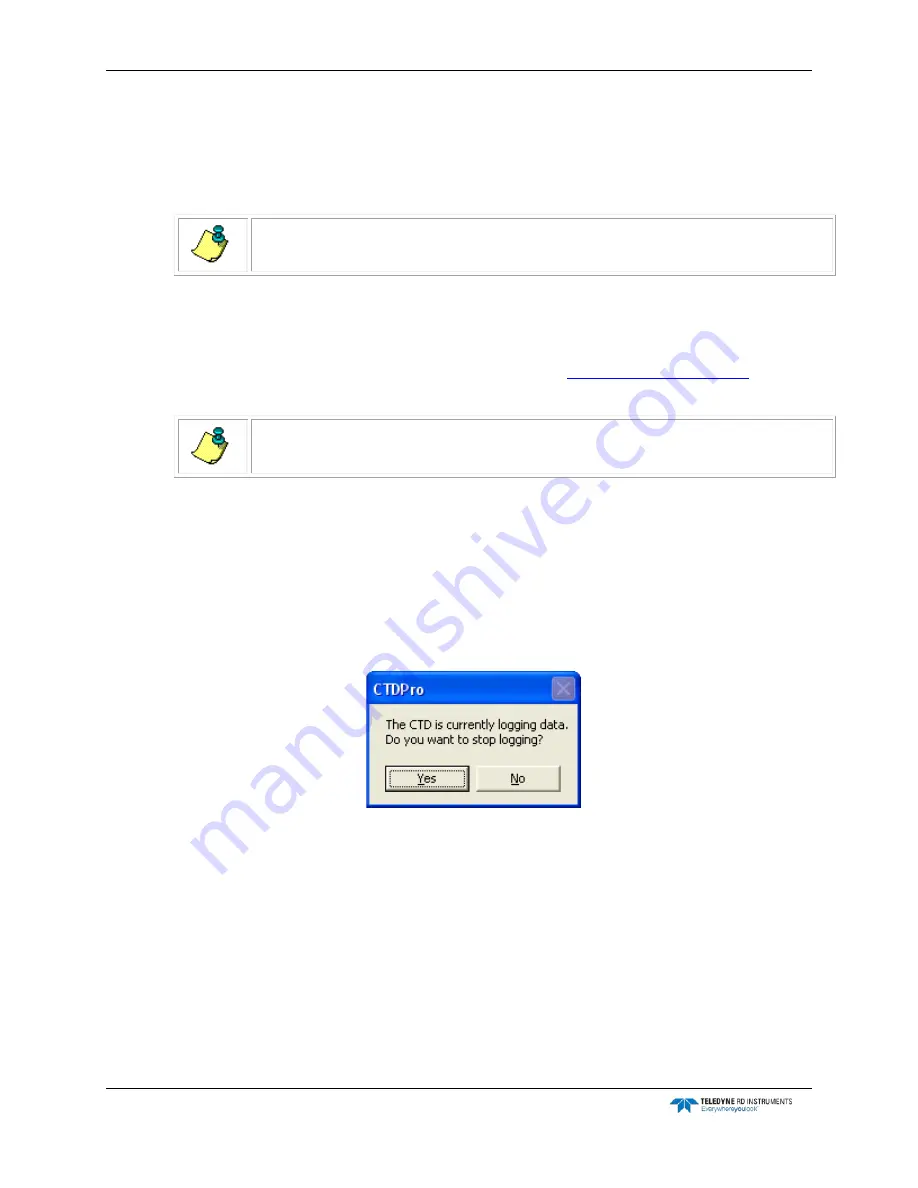
If the CTD-N is currently logging data, a window opens asking if you want to stop logging:
5. Click Yes to stop data logging, or click No to continue.
If you click No, the window closes and data acquisition continues without interruption.
If you click yes, data logging stops, the window closes and the CTD-N Configuration dialog
box shown in Figure 13 opens.
6. If the local time and date require setting, click Set Time Date in the CTD-N Configuration
dialog box.
The Set Time window opens displaying the time and date as acquired from the computer on
which CTDPro is running, along with the difference in time between that of the computer
and the instrument.
7. Click OK to save the new time and date and close the Set Time window.


