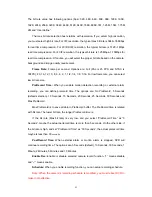
Step 9: Copy the parameters to other external alarm input
You can copy the
parameters of current alarm input to other external input.
Step 10: Save setup
In “Alarms” menu, press “Confirm” button to save the
parameters. Press “Cancel” button or
[
ESC
]
key to abort.
Alarm relay output setup
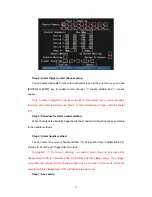
Step 1:
In “Alarms” menu, use
[
↑
] [
↓
]
keys to select one alarm output.
Step 2: Select delay time
The delay time is when the alarm is disappeared, the alarm output will continue
output time. The delay time options are: 5 Seconds, 10 Seconds, 30 Seconds, 1 Minute, 2
Minutes, 5 Minutes, 10 Minutes and Manual Stop. If you select “Manual’ option, the alarm
output will not stop until you press “Clear Alarm” button in “Utilities” menu. So the actual
alarm output time is made up of alarm input time and this delay time.
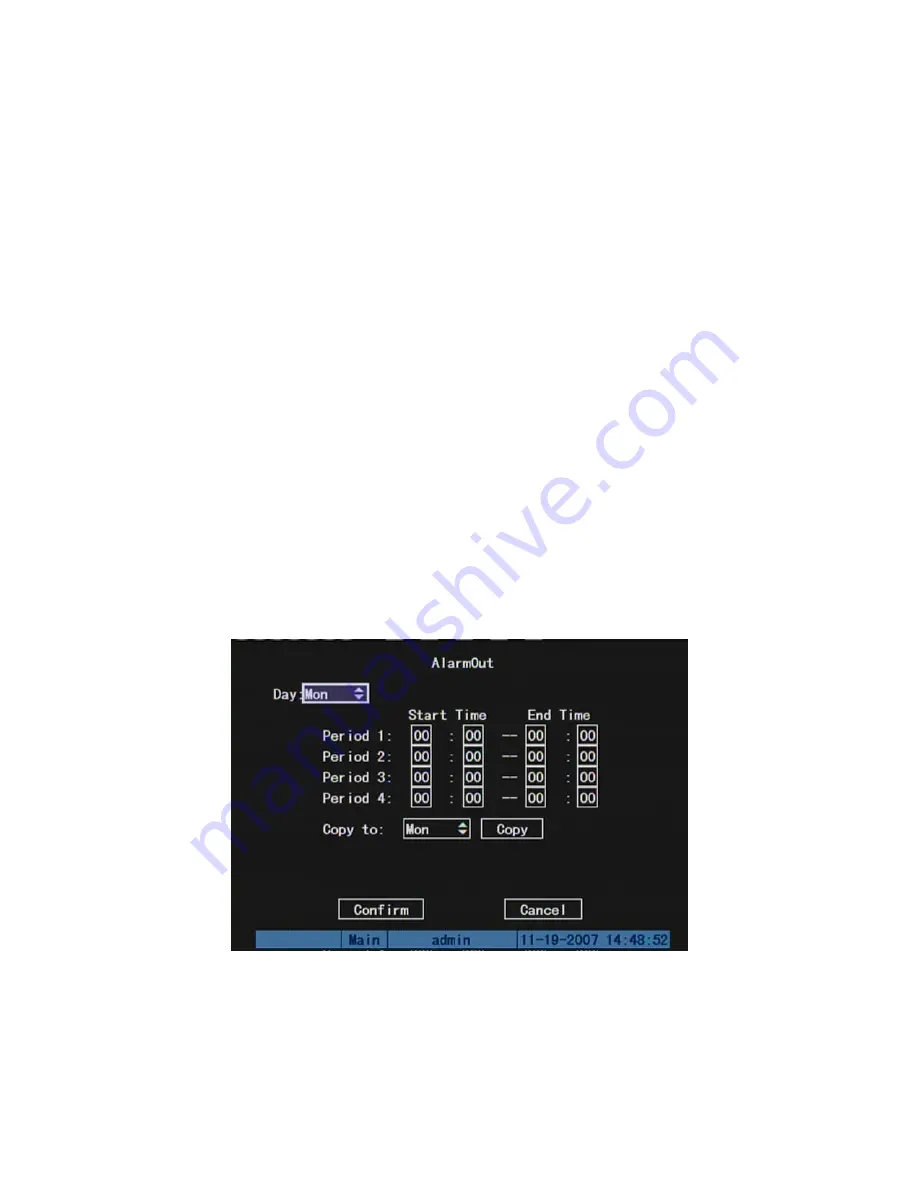
Step 3: Enter into alarm out schedule
You can set the schedule to make alarm output into effective. Move “Active Frame” to
“Schedule” button on right side of “Alarm Out Time” item, press
[
ENTER
]
key to enter into
the corresponding schedule menu:
Step 4: Setup alarm out schedule
Like other schedule setup, you can set 4 time periods for one day and 7 days for one
week. When you finish setup, press “Confirm” button to return “Alarms” menu.
89
Summary of Contents for SVR-80xx-S series
Page 11: ...1 3 Typical Application 11 ...
Page 15: ...6 Check all connections and mount back the metal cover of the DVR 7 Switch on the DVR 15 ...
Page 26: ...How to exit menu Press PREV or ESC key to exit menu and return to preview mode 26 ...
Page 53: ...In this case press ENTER to return password edit box and input new password again 53 ...
Page 59: ...59 ...
Page 69: ...69 ...
Page 108: ...Step 6 You can preview the image of 192 1 0 2 by using client end software 108 ...
Page 124: ...In the formula a means alarm occurrence rate 124 ...
Page 126: ...The corresponding relationship of cross cable 126 ...
Page 136: ...Suggestions 136 ...


