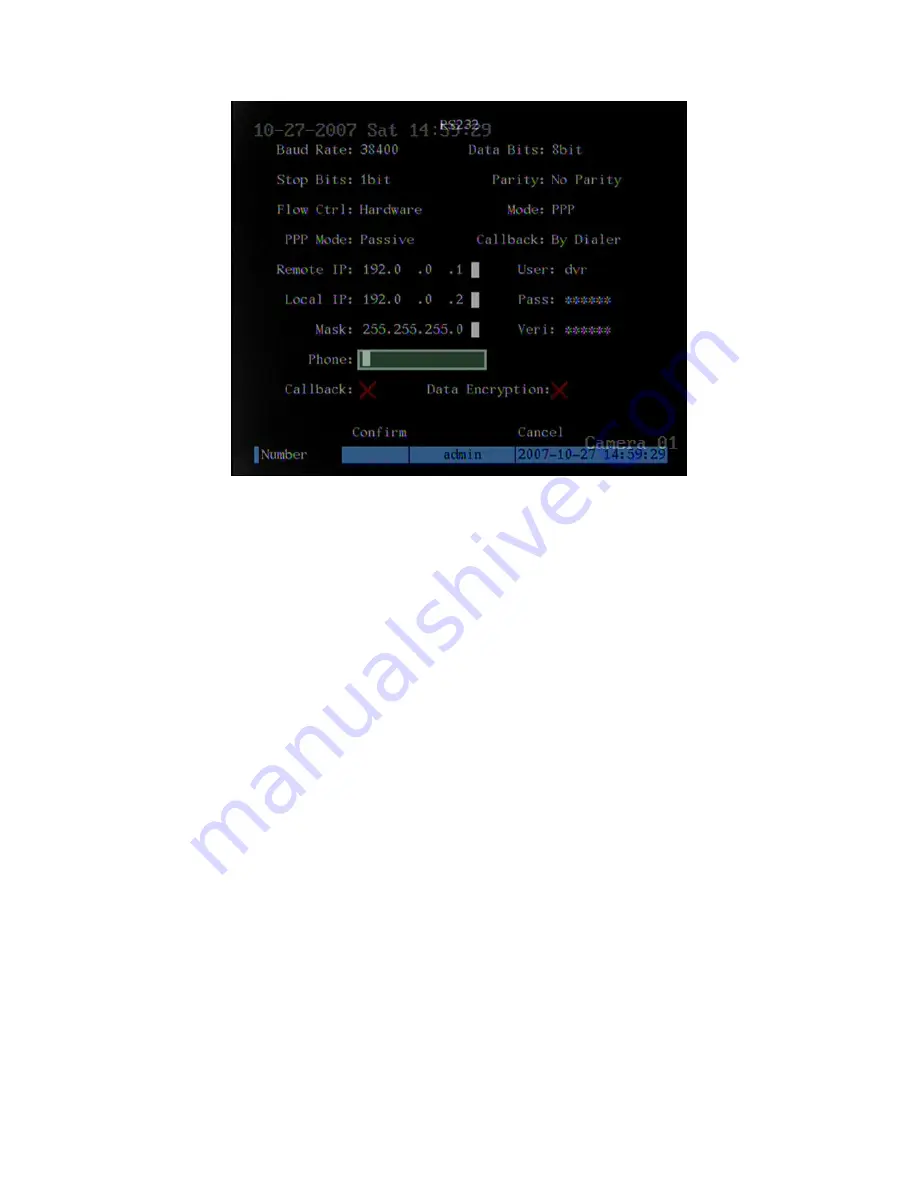
Step 2: Video setup
In “Recording” menu, select the camera you want to transfer
through PSTN. If you set CIF resolution, we suggest you set frame rate as 1 FPS. If you
set QCIF resolution, the frame rate can be selected under 4FPS. You can adjust bit rate,
resolution and frame rate according to real conditions in DVR “Recording” menu.
Step 3: Save setup
In “Recording” menu, press “Confirm” button to save parameters.
Step 4: Setup Modem used on DVR side
Use DCE calbe to connect Modem with
PC serial port. You can use HyperTerminal or NetTerm to setup modem:
AT&F ---- Retore default parameters (Generally, Modem is hard flow control)
AT&S0=1---- Set Modem as answer
ATE0 ---- Not display the input characters
ATQ1 ---- Commit instruction and not display
AT&W&W1 ---- Save parameters
Step 5: Use DCE cable to connect Modem with DVR RS232 port.
Setup at PC end
Step 1: Setup Modem used on PC side.
Use DCE calbe to connect Modem with PC
serial port. You can use HyperTerminal or NetTerm to setup modem:
AT&F ---- Restore default parameters (Generally, Modem is hard flow control)
AT&W&W1 ---- Save parameters
105
Summary of Contents for SVR-80xx-S series
Page 11: ...1 3 Typical Application 11 ...
Page 15: ...6 Check all connections and mount back the metal cover of the DVR 7 Switch on the DVR 15 ...
Page 26: ...How to exit menu Press PREV or ESC key to exit menu and return to preview mode 26 ...
Page 53: ...In this case press ENTER to return password edit box and input new password again 53 ...
Page 59: ...59 ...
Page 69: ...69 ...
Page 108: ...Step 6 You can preview the image of 192 1 0 2 by using client end software 108 ...
Page 124: ...In the formula a means alarm occurrence rate 124 ...
Page 126: ...The corresponding relationship of cross cable 126 ...
Page 136: ...Suggestions 136 ...


