Remote Surveillance
DVR User Manual
85
12.3 Web WAN Access
NAT Access
①
Set the network of the DVR. Please refer to 11.1.1 TCP/IP Configuration for details.
②
Enable NAT and then set the NAT server address. Please refer to 11.1.7 NAT
Configuration for details.
③
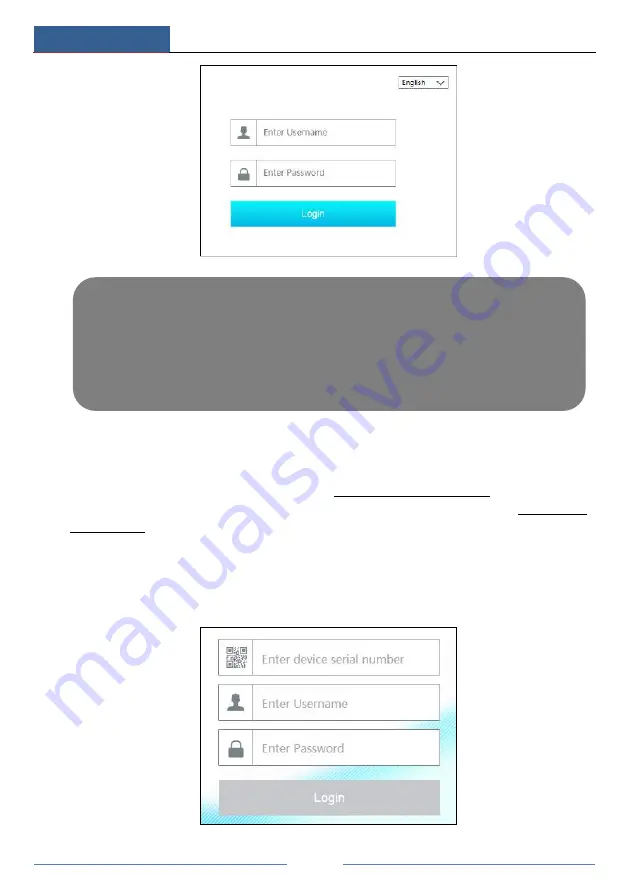
Open IE browser on a computer, input the NAT server address
www.autonat.com
in the IE
address bar and then press enter to go to the interface as shown below (download and install the
relative plugin according to the popup tip if you access the DVR through NAT for the first
time).
Notes: 1. Please make sure that the IP address of the DVR and the computer are both in the same
local network segment. For example, supposing that the IP address of the computer is
192.168.1.41, the IP address of the DVR shall be set to 192.168.1.XXX.
2. If the HTTP port of the DVR is not 80, but other number instead, you need to input the IP
address plus port number in the IE address bar when accessing the DVR over network. For
example, the HTTP port is 81. You should enter http://192.168.1.42:81 in the IE address bar.
Summary of Contents for AVK-TL91E4-1T
Page 57: ...Record Disk Management DVR User Manual 51 ...
Page 102: ...FAQ DVR User Manual 96 Fig 9 2 ...
Page 105: ...A1 ...


