Configuring Communication
104
VG-Series Modero Touch Panels
Step 2: Configuring the Card’s Wireless Security Settings
The second step to successfully setting up your wireless card is to configure the Wireless Settings section
of the Wireless Settings page. The section configures both the communication and security parameters
from the internal wireless card to the WAP.
The procedures outlined within the following sections use
an NXA-WAP200G and the target WAP.
Configuring the Modero’s wireless card for unsecured access to a WAP200G
1.
Power-down the Modero unit and follow the wireless card installation procedures (on NXD panels)
outlined in the
Step 2: Install the 802.11g mini-PCI Wireless Card
section on page 38.
2.
Power-up the panel (this allows it to detect the card).
3.
Press the
Protected Setup
button (located on the lower-left of the panel page) to open the Protected
Setup page and display an on-screen keypad.
4.
Enter
1988
into the Keypad’s password field and press
Done
when finished.
5.
Press the
Wireless Settings
button (located on the lower-left) to open the Wireless Settings page.
6.
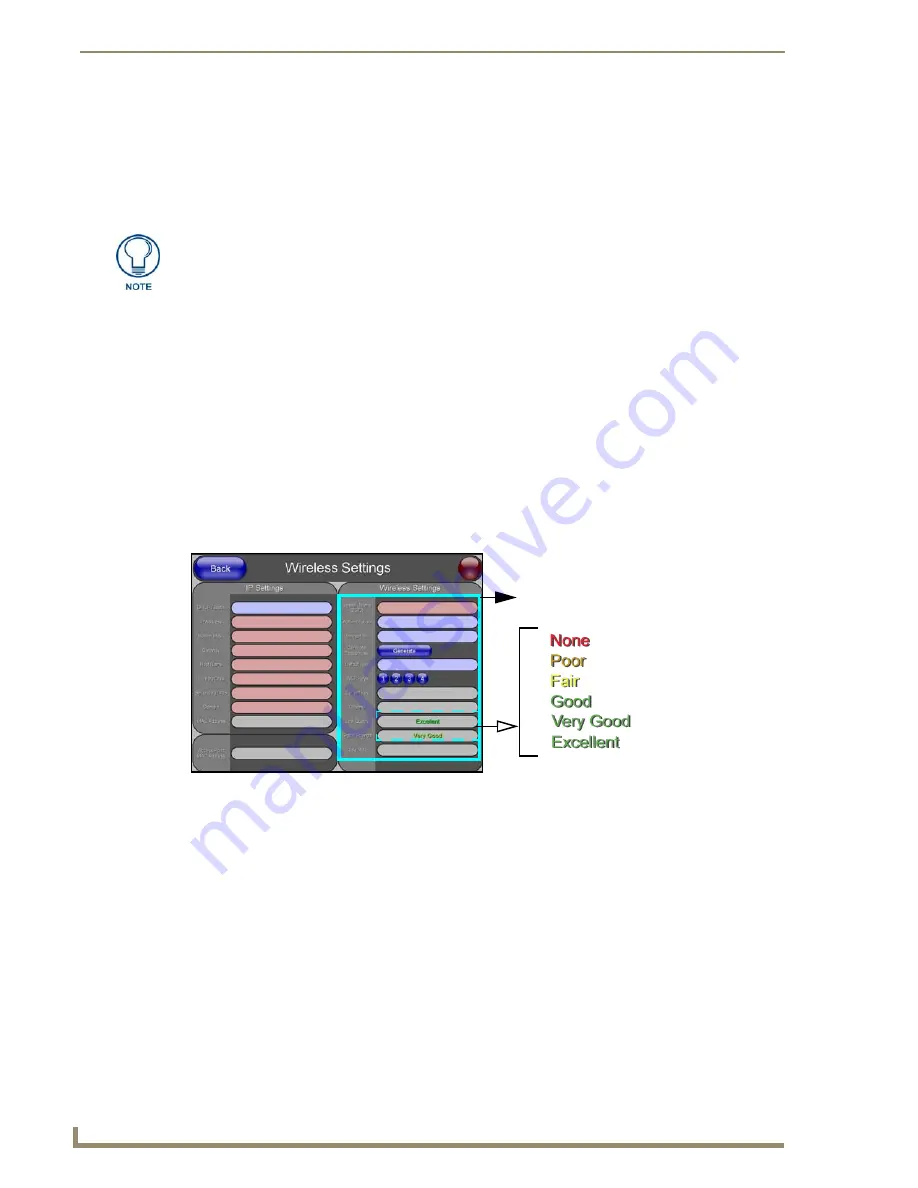
From within the Wireless Settings section of the Wireless Settings page, touch the
Network Name
(SSID)
field (FIG. 80).
7.
From the
Service Set Identifier
keyboard, enter the SSID name used by your target Wireless Access
Point (
case sensitive
).
The card should be given the SSID used by the target WAP. If this field is left blank, the unit
will attempt to connect to the first available WAP. By default, all WAP200Gs use AMX as
their assigned SSID value.
One of the most common problems associated with connection to a WAP arise because the
SSID was not entered properly. You must maintain the same case when entering the SSID
information. ABC is not the same as Abc.
8.
Toggle the
Authentication
field to an
Open System (default)
.
Open System Authentication
allows any device to join the network if the panel’s SSID
matches the WAP’s SSID.
9.
Toggle the
Encryption
field until it reads
Clear Text (default)
.
Once you have completed setting up the wireless card parameters, you must then
navigate to the System Settings page and configure the communication parameters
for the target Master. Until those parameters are configured, your Connection Status
icon will remain red (indicating that there is no current connection to a Master).
FIG. 80
Wireless Settings page (showing default values)
Mini-PCI
settings
Summary of Contents for Modero NXT-1500VG
Page 4: ......
Page 62: ...Touch Panel Accessories 52 VG Series Modero Touch Panels...
Page 100: ...Installation Procedures 17 Panels 90 VG Series Modero Touch Panels...
Page 178: ...Firmware Pages and Descriptions 168 VG Series Modero Touch Panels...
Page 250: ...Appendix 240 VG Series Modero Touch Panels...
Page 251: ...Appendix 241 7 Modero Widescreen Touch Panels...


