Chapter 7: Installing the AT-SBx81CFC960 Controller and Ethernet Line Cards
162
Section II: Installing the Chassis
5. Slowly and carefully slide the card into the slot.
Caution
Keep the card level with the chassis as you slide it into the slot. You
might damage the components on the top or bottom of the card if
you slide it in at an angle. Refer to Figure 69 on page 145.
Caution
Do not force the card into the slot. If you feel resistance, remove the
card and try again. Be sure that the edges of the card are properly
aligned with the card guides.
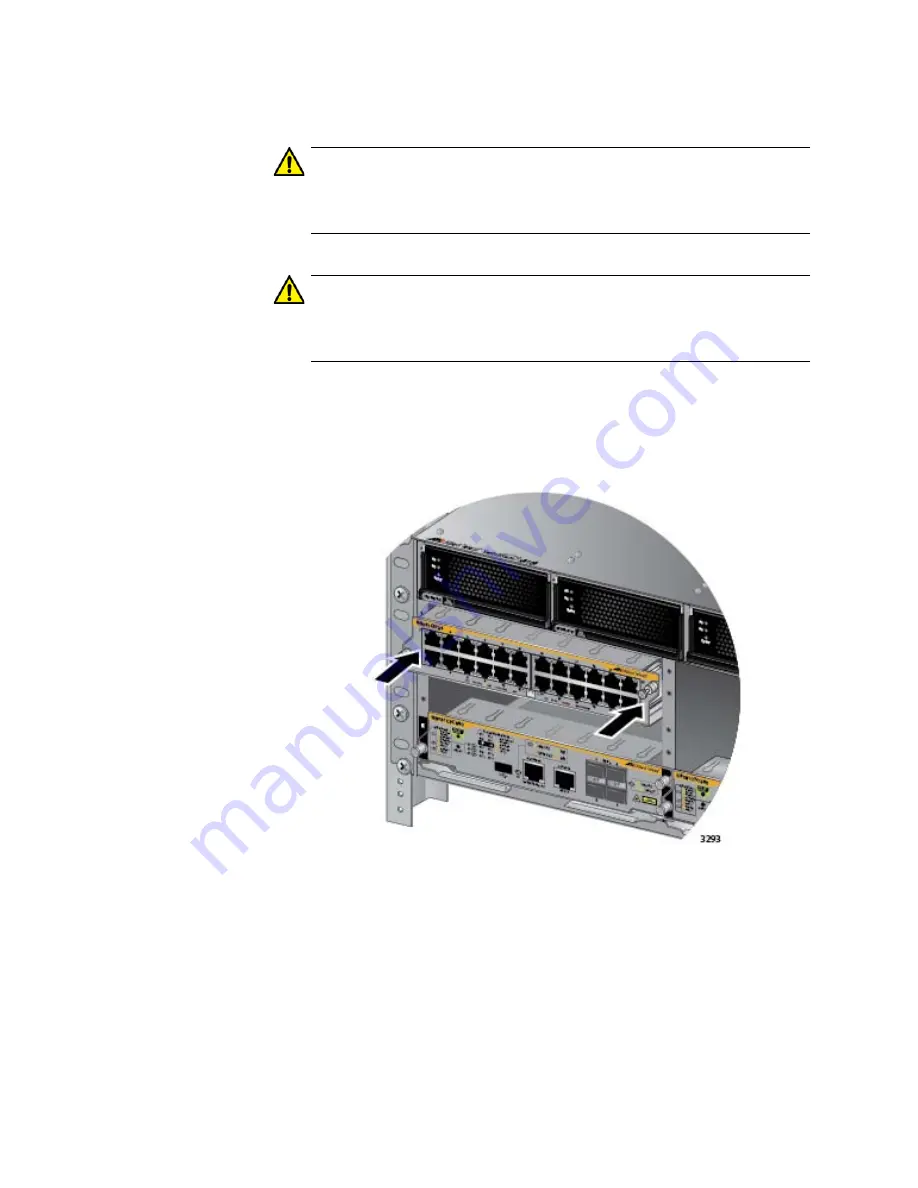
6. When you feel the line card make contact with the connector on the
backplane of the chassis, gently press on both sides of the faceplate to
seat the card on the connector. Refer to Figure 92.
Figure 92. Seating an Ethernet Line Card on the Backplane Connector
7. Finger tighten the two thumbscrews on each side of the line card to
secure it to the chassis, as shown in Figure 93 on page 163.
Summary of Contents for AT-SB*81CFC960
Page 20: ...20...
Page 34: ...Chapter 1 Chassis and Power Supplies 34 Section I Hardware Overview...
Page 94: ...Chapter 3 AT SBx81CFC960 Controller Fabric Card 94 Section I Hardware Overview...
Page 96: ...96...
Page 142: ...Chapter 6 Installing the Power Supplies 142 Section II Installing the Chassis...
Page 230: ...Chapter 10 Powering On the Chassis 230 Section II Installing the Chassis...
Page 254: ...Chapter 12 Troubleshooting 254 Section II Installing the Chassis...
Page 298: ...Chapter 14 Upgrading the Controller Fabric Card 298 Section II Installing the Chassis...
Page 300: ...300...
Page 314: ...Chapter 15 VCStack Plus Overview 314 Section III Building a Stack with VCStack Plus...


