


72
EDG-4508/4516 User's Manual
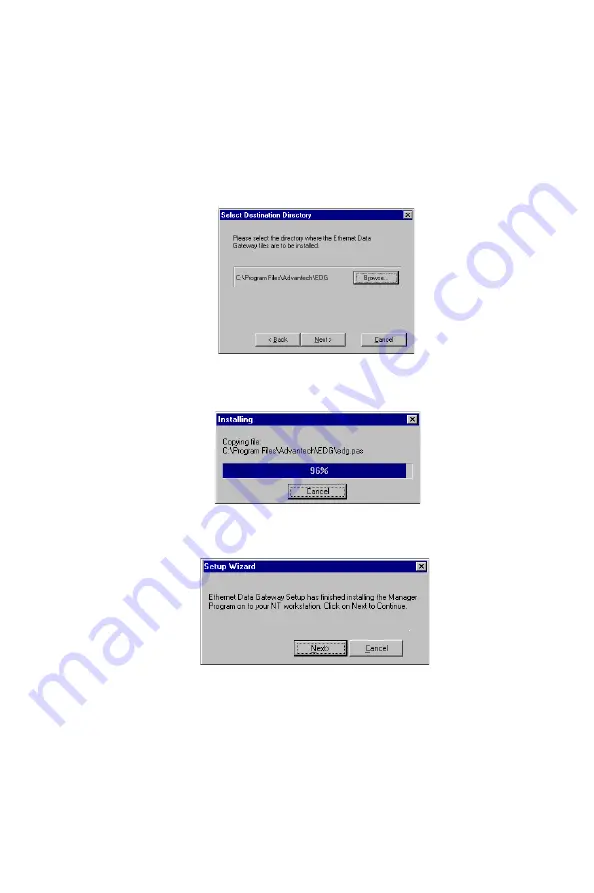
5. The Select Destination Directory window gives you the option to
change the directory that program files will be copied to. Click on Next
to copy EDG-4508/4516 files to the given default directory. To choose
a different directory, click on Browse, navigate to the desired directo-
ry, and then click on Next.
6. The Installing window shows the progress of the installation process.
Click on Cancel at any time to terminate the installation.
7. The next window verifies that the installation process has completed.
Click on Next to continue.
Note:
If you click on Cancel you will need to run Add Server
Wizard at a later time to install your EDG-4508/4516 .
8. Clicking on Next in the previous window activates the Add Server
Wizard.
Refer to the subsection Adding an EDG-4508/4516 -Add Server Wiz-
ard in the next section for instructions on how to add an EDG-4508/
4516 .
Summary of Contents for EDG-4508
Page 9: ...1 Overview CHAPTER...
Page 14: ...6 EDG 4508 4516 User s Manual...
Page 15: ...2 C HAPTER Getting Started...
Page 24: ...16 EDG 4508 4516 User s Manual...
Page 25: ...3 C HAPTER IP Address Configuration...
Page 32: ...24 EDG 4508 4516 User s Manual...
Page 33: ...4 C HAPTER Setting Up Single Host...
Page 51: ...5 C HAPTER Setting Up Multi Host...
Page 74: ...66 EDG 4508 4516 User s Manual 3 Click OK to finish...
Page 75: ...6 C HAPTER Setting Up Custom...
Page 105: ...7 C HAPTER Utility Programs...
Page 126: ...118 EDG 4508 4516 User s Manual 3 Click on Finish to complete the uninstall procedure...
Page 127: ...8 C HAPTER Changing Your Installation Type...
Page 129: ...A C HAPTER Troubleshooting...
Page 135: ...B C HAPTER Cable Pinouts...
Page 138: ...130 EDG 4508 4516 User s Manual...
Page 139: ...C C HAPTER Setting Up a Windows NT 95 98 Network...


