64
Control panel
rEF
MENU
FWD
LOC
49
.
1
Hz
SET
FWD
50
.
0
Hz
SET
FWD
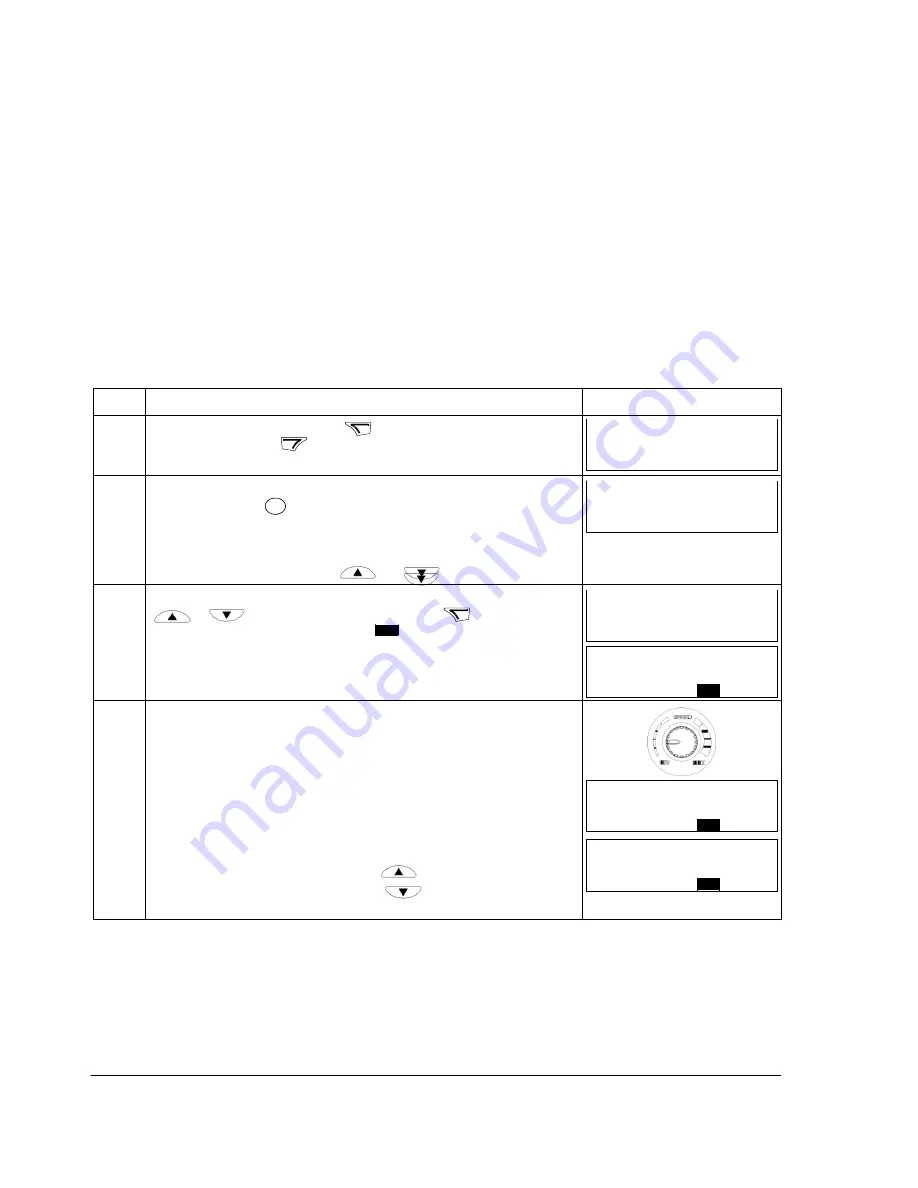
Step
Action
Display
1.
Go to the Main menu by pressing
if you are in the Output mode,
otherwise by pressing
repeatedly until you see MENU at the bottom.
REM
PAr S
MENU
FWD
2.
If the drive is in remote control (REM shown on the left), switch to local
control by pressing
LOC
. The display briefly sh
ows “LoC” before switching
REM
to local control.
Note
: With group
11 REFERENCE SELECT
, you can allow changing of the
remote (external) reference in remote control (REM) for example, using the
integrated potentiometer or keys and
.
LOC
PAr S
MENU
FWD
3.
or
until you see “rEF” and then press
. Now the display
shows the current reference value with
SET
under the value.
LOC
4.
If parameter
1109
LOC REF SOURCE = 0 (POT, default):
• To increase the reference value, rotate the integrated potentiometer
clockwise.
• To decrease the reference value, rotate the integrated potentiometer
counterclockwise.
The new value (potentiometer setting) is shown on the display.
• To increase the reference value, press
.
• To decrease the reference value, press
.
The new value is shown on the display.
LOC
Reference mode
In the Reference mode, you can:
• view and set the frequency reference
• start, stop, change direction and switch between local and remote control.
How to view and set the frequency reference
You can set the local frequency reference with the integrated potentiometer in any
mode when the drive is in local control if parameter
1109
LOC REF SOURCE has
the default value 0 (POT). If parameter
1109
LOC REF SOURCE has been changed
to 1 (KEYPAD), you have to set the local frequency reference in the Reference
mode.
You can view the current local reference in the Reference mode only.
If the panel is not in the Reference mo
de (“rEF” not visible), press key
50
.
0
Hz
LOC
SET
FWD
If parameter
1109
LOC REF SOURCE = 1 (KEYPAD):
Summary of Contents for ACS150 series
Page 4: ......
Page 5: ......
Page 15: ...14 Safety ...
Page 19: ...18 Introduction to the manual ...
Page 39: ...38 Planning the electrical installation ...
Page 51: ...50 Installation checklist ...
Page 57: ...56 Start up and control with I O ...
Page 69: ...68 Control panel ...
Page 79: ...78 Application macros ...
Page 160: ...L Q M 0 I II D I II I I ro I m D en m D D Q Q f 3AFE68633931 A 0 Frame size R2 IP20 INEMA 1 ...
Page 161: ...ji 4 I 5 I 6 4 J ...
Page 162: ......
Page 163: ...160 Dimension drawings ...
Page 169: ...166 Appendix Process PID control ...
Page 171: ...168 ...


