LSM 710 and LSM 780
CENTER SCREEN AREA / IMAGE CONTAINERS - …
Systems
2D View
Carl Zeiss
02/2010 M60-1-0025
e
161
(3) Reuse
Clicking the
button transfers
ALL
acquisition parameters (exception: objective and
collimator, see below) from the stored image data to the
Microscope Hardware Settings / Control
tools
and applies those parameters directly to the system.
The acquisition parameters of an image are displayed in the Information View (section
Information
View
).
In the
Maintain
tab
(section
LSM Options
) (
LSM Options
-
Reuse
tab), it can be set whether the
objective and the collimator settings are also "re-used" and applied to the system.
Reuse
of the
microscope objective only works in microscopes with motorized objective revolvers.
(4)
Dimensions – Crop
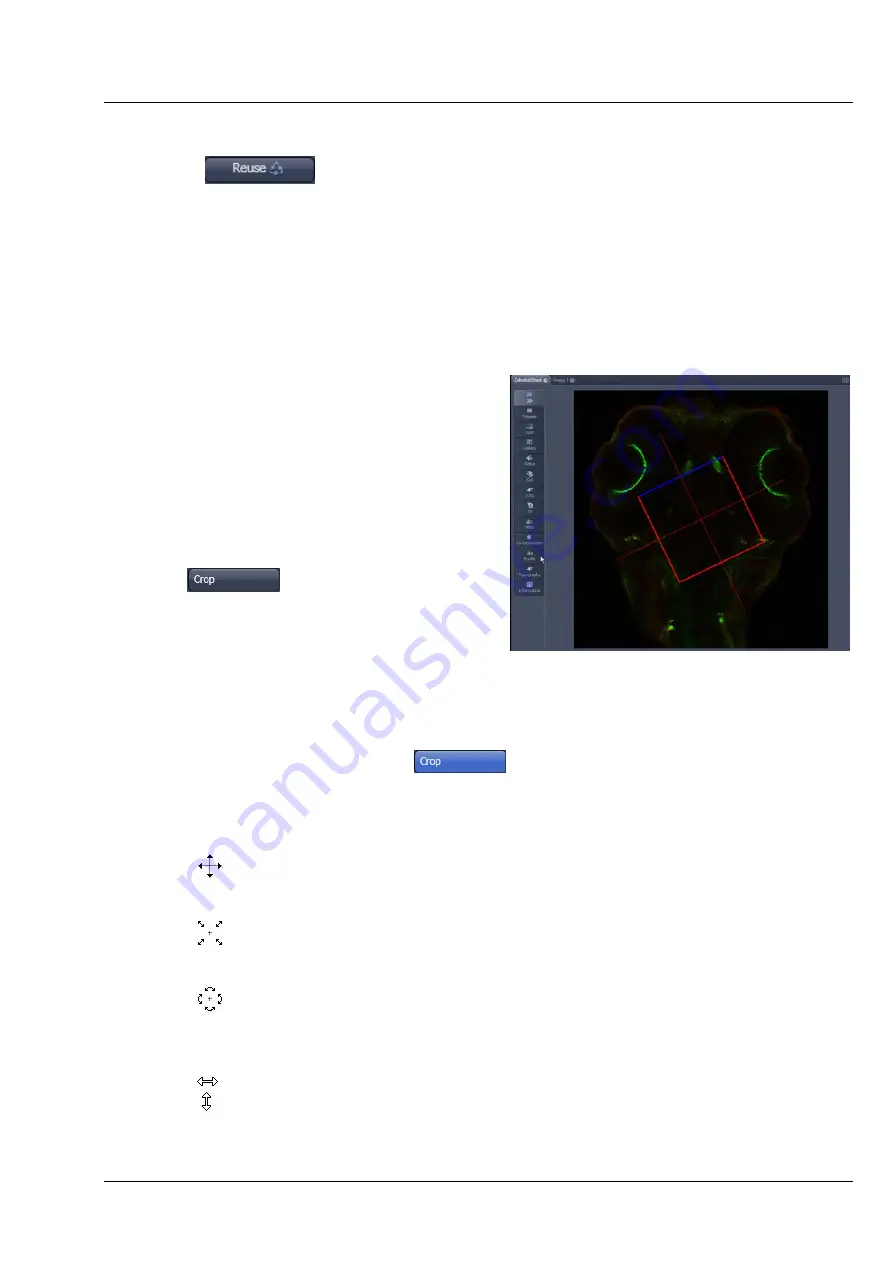
This function allows to interactively define the size
and orientation of a rectangular scan area on the
image displayed in the
Image Display
window.
The defined area is synchronized with the
Zoom,
Offset and Rotation
parameters in the Scan Area
panel (partially
Show all
mode) in the
Acquisition
Mode
tool (section
Tool Group Online
Acquisition: Acquisition Mode Tool
).
Click on
will display the
Crop
Rectangle
in the
Image Display
(Fig. 182). Any
changes done with the
Crop Rectangle
are
setting the scan parameters immediately. On the
next execution of a scan (
Auto Exposure
,
Live
,
Continuous
,
Snap
) these new scan parameters
will be applied. To reset the crop function and use
default values set
Zoom=1
,
Offset=0
and
Rotation=0
in the
Scan Control
window in the Scan Area panel in the
Acquisition Mode
tool (or click
"reset all" in the same panel). When the
button is de-selected, the scan parameters are
reset as well.
The
Crop Rectangle
is controlled via the following functional elements:
Offset
Click into the crop rectangle, keep the left mouse button pressed and drag the crop
rectangle to the required position. Release the mouse button.
Zoom
Click on a corner of the crop rectangle, keep the left mouse button pressed and set
the required size. Release the mouse button.
Rotation
Click on one end of the crosslines, keep the left mouse button pressed and set the
required rotation angle. Release the mouse button. The first line scanned is
highlighted in blue.
Side ratio
Click on any of the intersection points between crossline and crop rectangle, keep the
left mouse button pressed and change the side ratio as required. Release the mouse
button.
Fig. 182
Image Display - Dimensions - Crop


