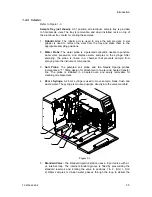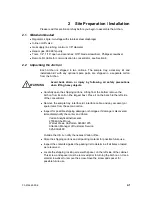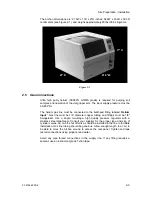
Site Preparation / Installation
03-914642-00:6
2-13
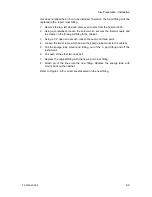
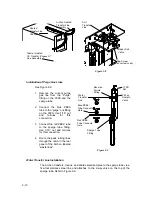
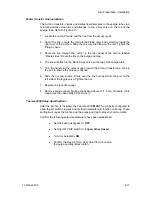
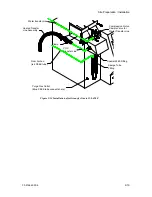
1. Locate the nut and ferrule and the line from the accessory kit.
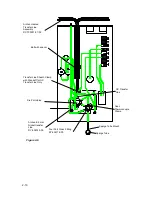
2. Uncoil the line. Locate the tan-colored PEEK valve body manifold inside the
right rear of the Archon. Slide the line into the fitting on the left. Tighten the
fitting by hand.
3. Route the line through the “notch” in the rear panel of the Archon labeled
“Waste Lines.” Route the line to the purge and trap.
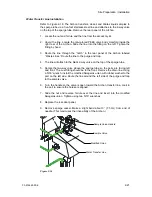
4. The line will attach to the black 2-way valve on the top of the sparge tube.
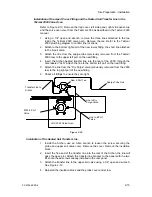
5. Turn the handle so the valve is open toward the Archon transfer line. Look in
the port to ensure the holes are aligned.
6. Slide the nut and reverse ferrule over the line and insert into the port on the
left side of the toggle valve. Tighten the nut.
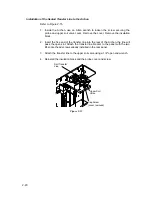
7. Replace the rear door panel.
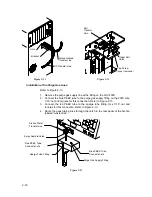
8. Remove sparge vessel. Make a slight bend about 3” (7.2 cm) from end of
needle. (This maximizes the rinse ability of the Archon.)
Note: Make sure needle is not touching frit.
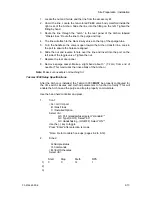
Tekmar 3000 Setup Specifications
After the Archon is installed, the Tekmar 3000 MUST be properly configured for
the I/O switch closures and method parameters to function correctly. This will
enable the Archon and the purge and trap to properly communicate.
Use the hand held controller and press:
1.
Conf
<A>= GC I/O port
B =Gas Flows
C =Installed Option
Select <A>
GC Port (standard/user) select “standard”*
GC Type=(63/31) Select “63”
GC Handshaking - (ON/OFF) Select “ON”*
Use the (-) key to toggle.
Press “Enter” after selection is made
*Note: Refer to cable hook-ups (pages 8-2 to 8-12).
2.
Sched
A=Sample status
C=Commands
<E>=Edit Schedules
Select <E>
Start
Stop
Meth
RPS
1)
0
0
14
1
2)
3)
Содержание archon
Страница 43: ...4 6 ...
Страница 73: ...6 18 ...
Страница 103: ...9 4 ...
Страница 117: ...11 10 11 6 Interconnect Diagram Note F R L R and U D P O T should be set at 3 4 std valve full power ...
Страница 119: ...12 2 ...

