2-22
OI 4560 Setup Specifications
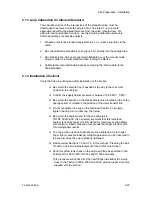
These Parameter settings will ensure handshaking of the OI 4560 and the
Archon.
Note: The sample mount heater cartridge option should be installed to
minimize carryover.
1. From the keypad on the OI 4560, select: 2nd function - Configure and select
“STATES”, then press ENTER; Use the
keys to select INPUTS or
OUTPUTS, then press ENTER.
2. Select INPUTS PRG - RDY or
Desorb RDY: If PRG - RDY is selected, set, Wait For Start, ON, then
ENTER; If Desorb RDY is selected, set, Wait For RDY, ON, then ENTER.
3. Press
the
“Clear” key.
4. Select OUTPUTS, then ENTER; Select Desorb - Output at Start ON
5. Press the “Clear” key.
6. Select
Flows, then ENTER; Config. Desorb then Bake. First, Desorb -
Sample Drain ON, then ENTER, second, Config. Bake - Sample Purge ON,
then ENTER.
7. Press
the
“Clear”
key to exit.
2.12
Soil Helium Purge Gas Flow Adjustment
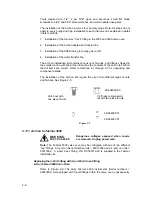
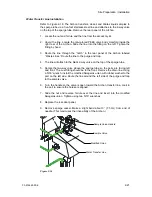
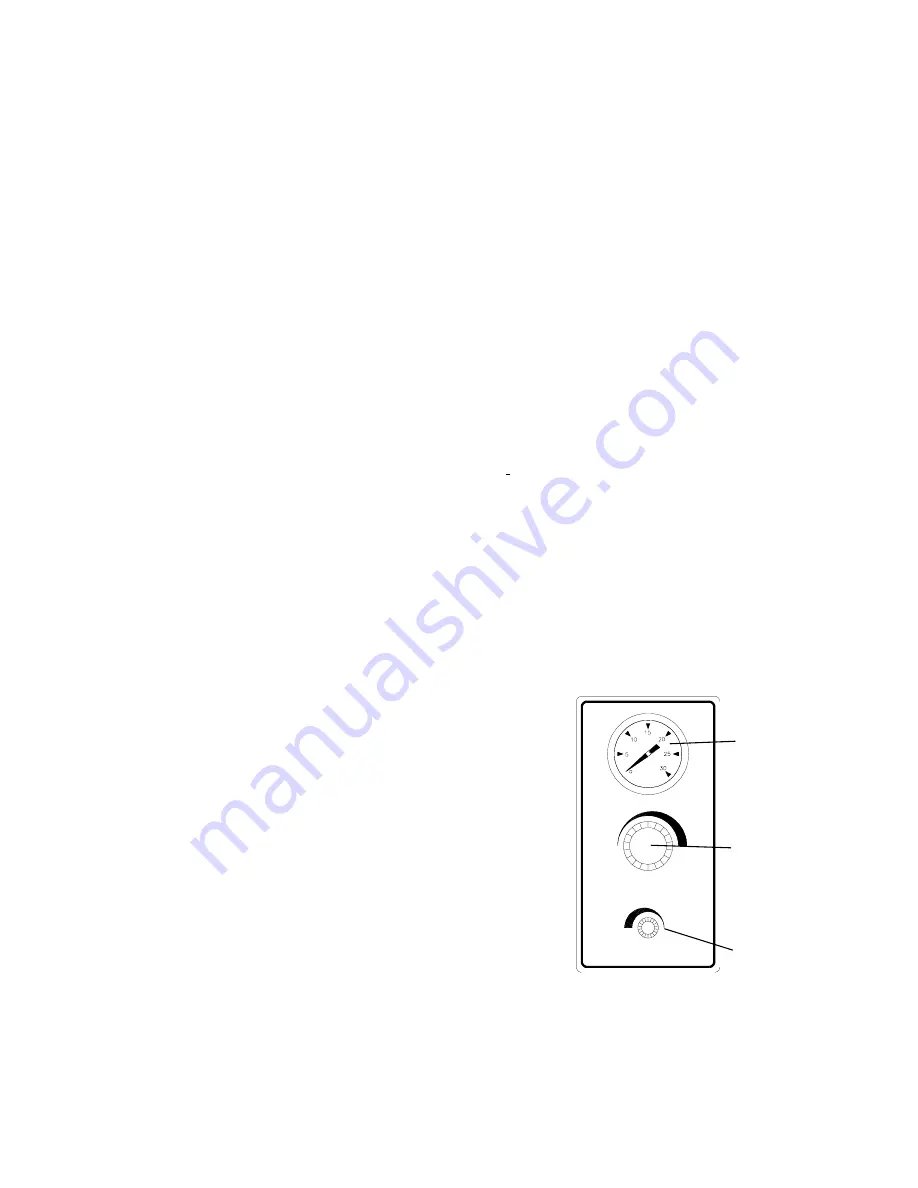
Before running a soil sample the helium purge gas flow rate should be set. This is
accomplished by the helium purge gas flow controller (1), pressure adjustment
regulator (2), and gauge (3) located on the front right side of the Archon, see
Figure 2-17.
1. Adjust the purge gas regulator until the gauge
reads 20 -25 psi.
2. Load a clean vial with a new septum in the tray
and run a manual soil sample using this vial (see
Section 4.2).
3. Once the soil purge begins, check the flow rate at
the purge vent on the host purge and trap. Adjust
the helium purge gas flow controller on the Archon
to give the desired purge gas flow rate through the
purge and trap unit (typically 40 mL/min for many
methods).
Note:All units are set to 40mL/min prior to
shipping.
P U R G E G A S
P R E S S U R E
P U R G E G A S FLO W
+
_
+
Figure 2-17
3
2
1
Содержание archon
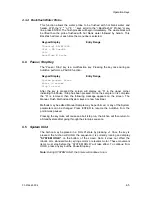
Страница 43: ...4 6 ...
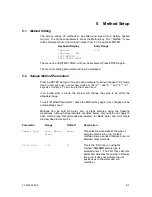
Страница 73: ...6 18 ...
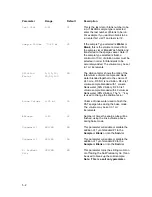
Страница 103: ...9 4 ...
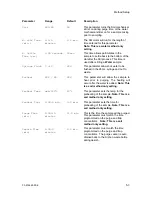
Страница 117: ...11 10 11 6 Interconnect Diagram Note F R L R and U D P O T should be set at 3 4 std valve full power ...
Страница 119: ...12 2 ...

