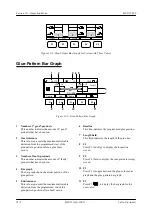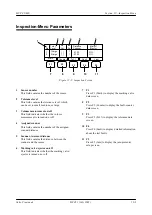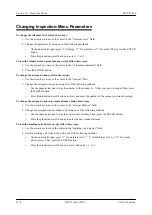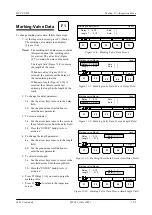
Section 10
—
Glue-Pattern-Edit Menu (Flexoseal)
MCP-25/MS
Valco Cincinnati
10-9
MC051 (July 2002)
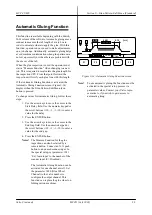
Programming the Automatic Gluing Function
The automatic gluing function measures the tab length for every box and gives the dimension to the control so it can
calculate where to apply the glue.
To program the automatic gluing function, follow these steps:
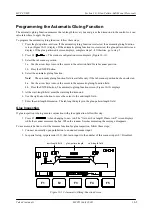
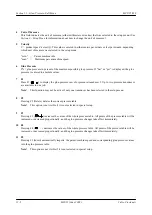
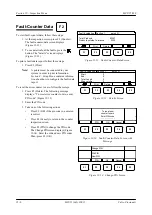
1. Press the glue-pattern-edit icon. If the automatic gluing function is selected, the automatic gluing function
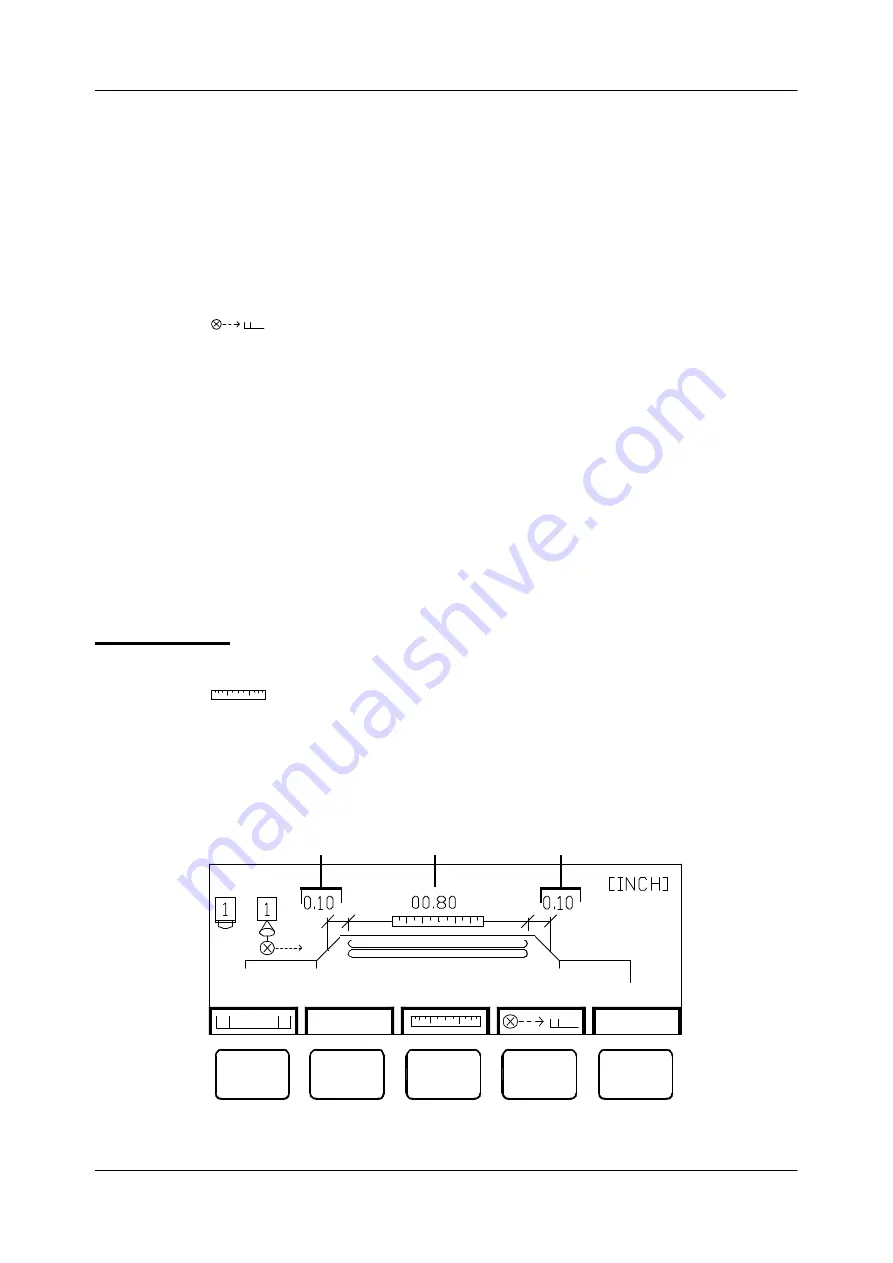
screen (Figure 10-12) displays. If the automatic gluing function is
not
selected, the glue-pattern-edit screen
displays. If the glue-pattern-edit screen displays, complete steps 2-4. Otherwise, go to step 5.
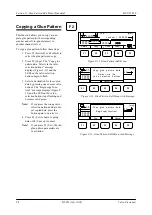
2. Press F4 ( ). The scanner-configuration screen displays (Figure 10-11).
3. Select the tab scanner position:
3a. Use the arrow keys to move the cursor to the selection field for tab scanner position.
3b. Press the ENTER button.
4. Select the automatic gluing function:
Note!
The automatic gluing function field is available only if the tab scanner position has been selected.
4a. Use the arrow keys to move the cursor to the automatic-gluing-function field.
4b. Press the ENTER button. The automatic-gluing-function screen (Figure 10-12) displays.
5. At the start-length field, enter the start-length dimension.
6. Use the right-arrow button to move the cursor to the end-length field.
7. Enter the end-length dimension. The tab length displays in the glue-pattern-length field.
Glue Inspection
If glue inspection is being used in conjunction with glue application, follow this step:
1. Press F3 ( ) when changing to new job. The “Get new box length! Please wait!” screen displays
while the scanner measures the box. When the scanner finishes measuring, the message disappears.
To use a remote button to start the measure function for glue inspection, follow these steps:
1. Connect a normally open pushbutton to an unused scanner input.
2. In special setup, set parameter 1031 (Ext. learn input) to the number of this scanner input (0 = Disabled).
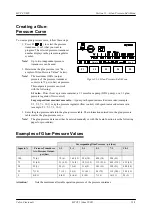
Figure 10-12. Automatic-Gluing-Function Screen
F1
F2
F3
F4
F5
start-length field
end-length field
glue-pattern length
Содержание MCP-25/MS
Страница 1: ...MCP 25 MS Control Manual Number MC051 Release Date June 2004 ...
Страница 25: ......
Страница 27: ......
Страница 28: ......
Страница 29: ...3 4 5 1 2 2 4 5 3 1 ...
Страница 30: ......
Страница 31: ......
Страница 33: ...4 8 12 11 10 9 6 7 5 3 2 1 ...
Страница 34: ...3 7 9 10 8 5 6 4 1 2 1 4 3 2 ...
Страница 35: ...1 3 4 2 ...
Страница 36: ...7 9 10 8 3 5 6 4 1 2 ...
Страница 37: ...SHD NPN 5 4 3 24V Low Level Detector 0V 1 2 ...
Страница 38: ......
Страница 39: ......
Страница 40: ......
Страница 41: ......
Страница 42: ......
Страница 43: ...3 4 5 6 2 3 1 5 6 4 1 2 ...
Страница 44: ......
Страница 45: ......
Страница 46: ......
Страница 47: ......
Страница 48: ......
Страница 49: ...RODUCT 7 10 9 8 3 5 6 4 1 2 8 10 9 2 5 7 6 3 4 1 ...
Страница 50: ......
Страница 51: ......
Страница 52: ...6 8 10 9 7 1 3 5 4 2 ...
Страница 53: ......
Страница 54: ......
Страница 55: ...6 8 10 9 7 1 3 5 4 2 ...
Страница 56: ...VA LC O CI NCIN NA TI INC 513 87 4 6550 5 13 87 4 6550 VALC O C INCIN NATI INC ...
Страница 57: ......
Страница 58: ......
Страница 59: ......
Страница 60: ......
Страница 61: ......
Страница 62: ......
Страница 87: ......
Страница 99: ...F1 F2 F3 F4 F5 ...

